
Money Green
For my last and final installment as a Made Sewing Network Blogger, I really wanted to go out with a bang. At the beginning of all of this my goal was to push myself and make some stand out pieces by drafting unique patterns for all of my looks.
Part of this collaboration meant I got to try out being a Mood Insider which I can say is such a convenience! I am able to get my orders delivered free and lightening fast but you also see additional discounts on sale items which was really nice. When I got my fabric from my first order I got a swatch of this gorgeous green taffeta. The quality was so amazing I was surprised it wasn’t silk. I kept that swatch on my inspo board because I had always been inspired by the Red Monochromatic suit Zendaya wore a few years ago.
So for this last look I decided to go for it. The focal point was the blazer which is my original pattern, it is separated at the elbow and features eyelets which ties them together.
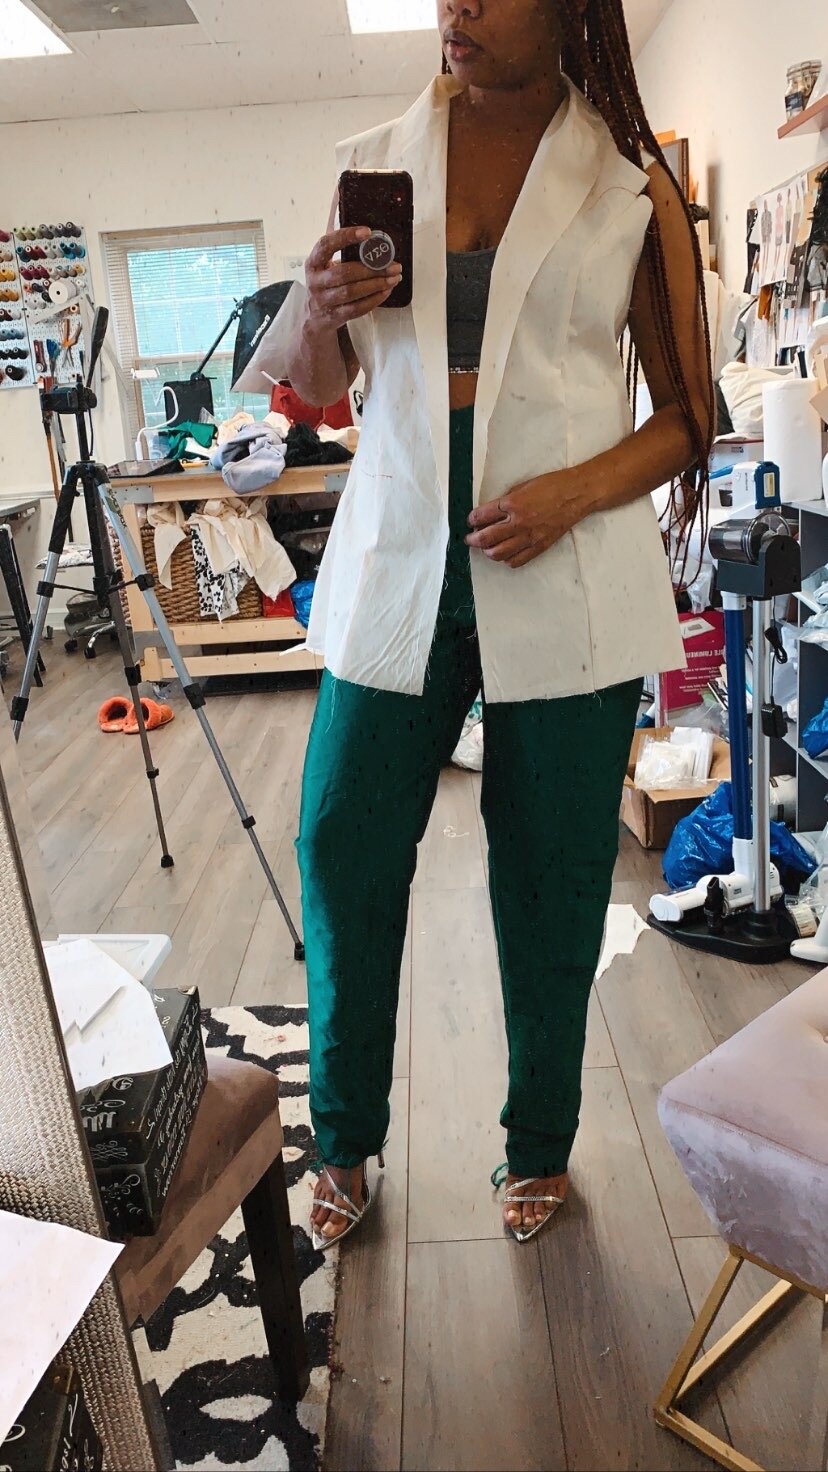
I ordered 6 yards of this Polyester Green Taffeta and 2.5 yard of Emerald Green Polyester Organza. This was definitely a slow but fun process seeing my vision turn right before me.

Welt Pockets!

Sleeve Detail
I really customized this look including dyeing the eyelets to match and blend into the jacket.


Organza was used to create the button up. Mood Sewciety Melia Blouse
In the end I achieved the exact monochromatic look I was going for!
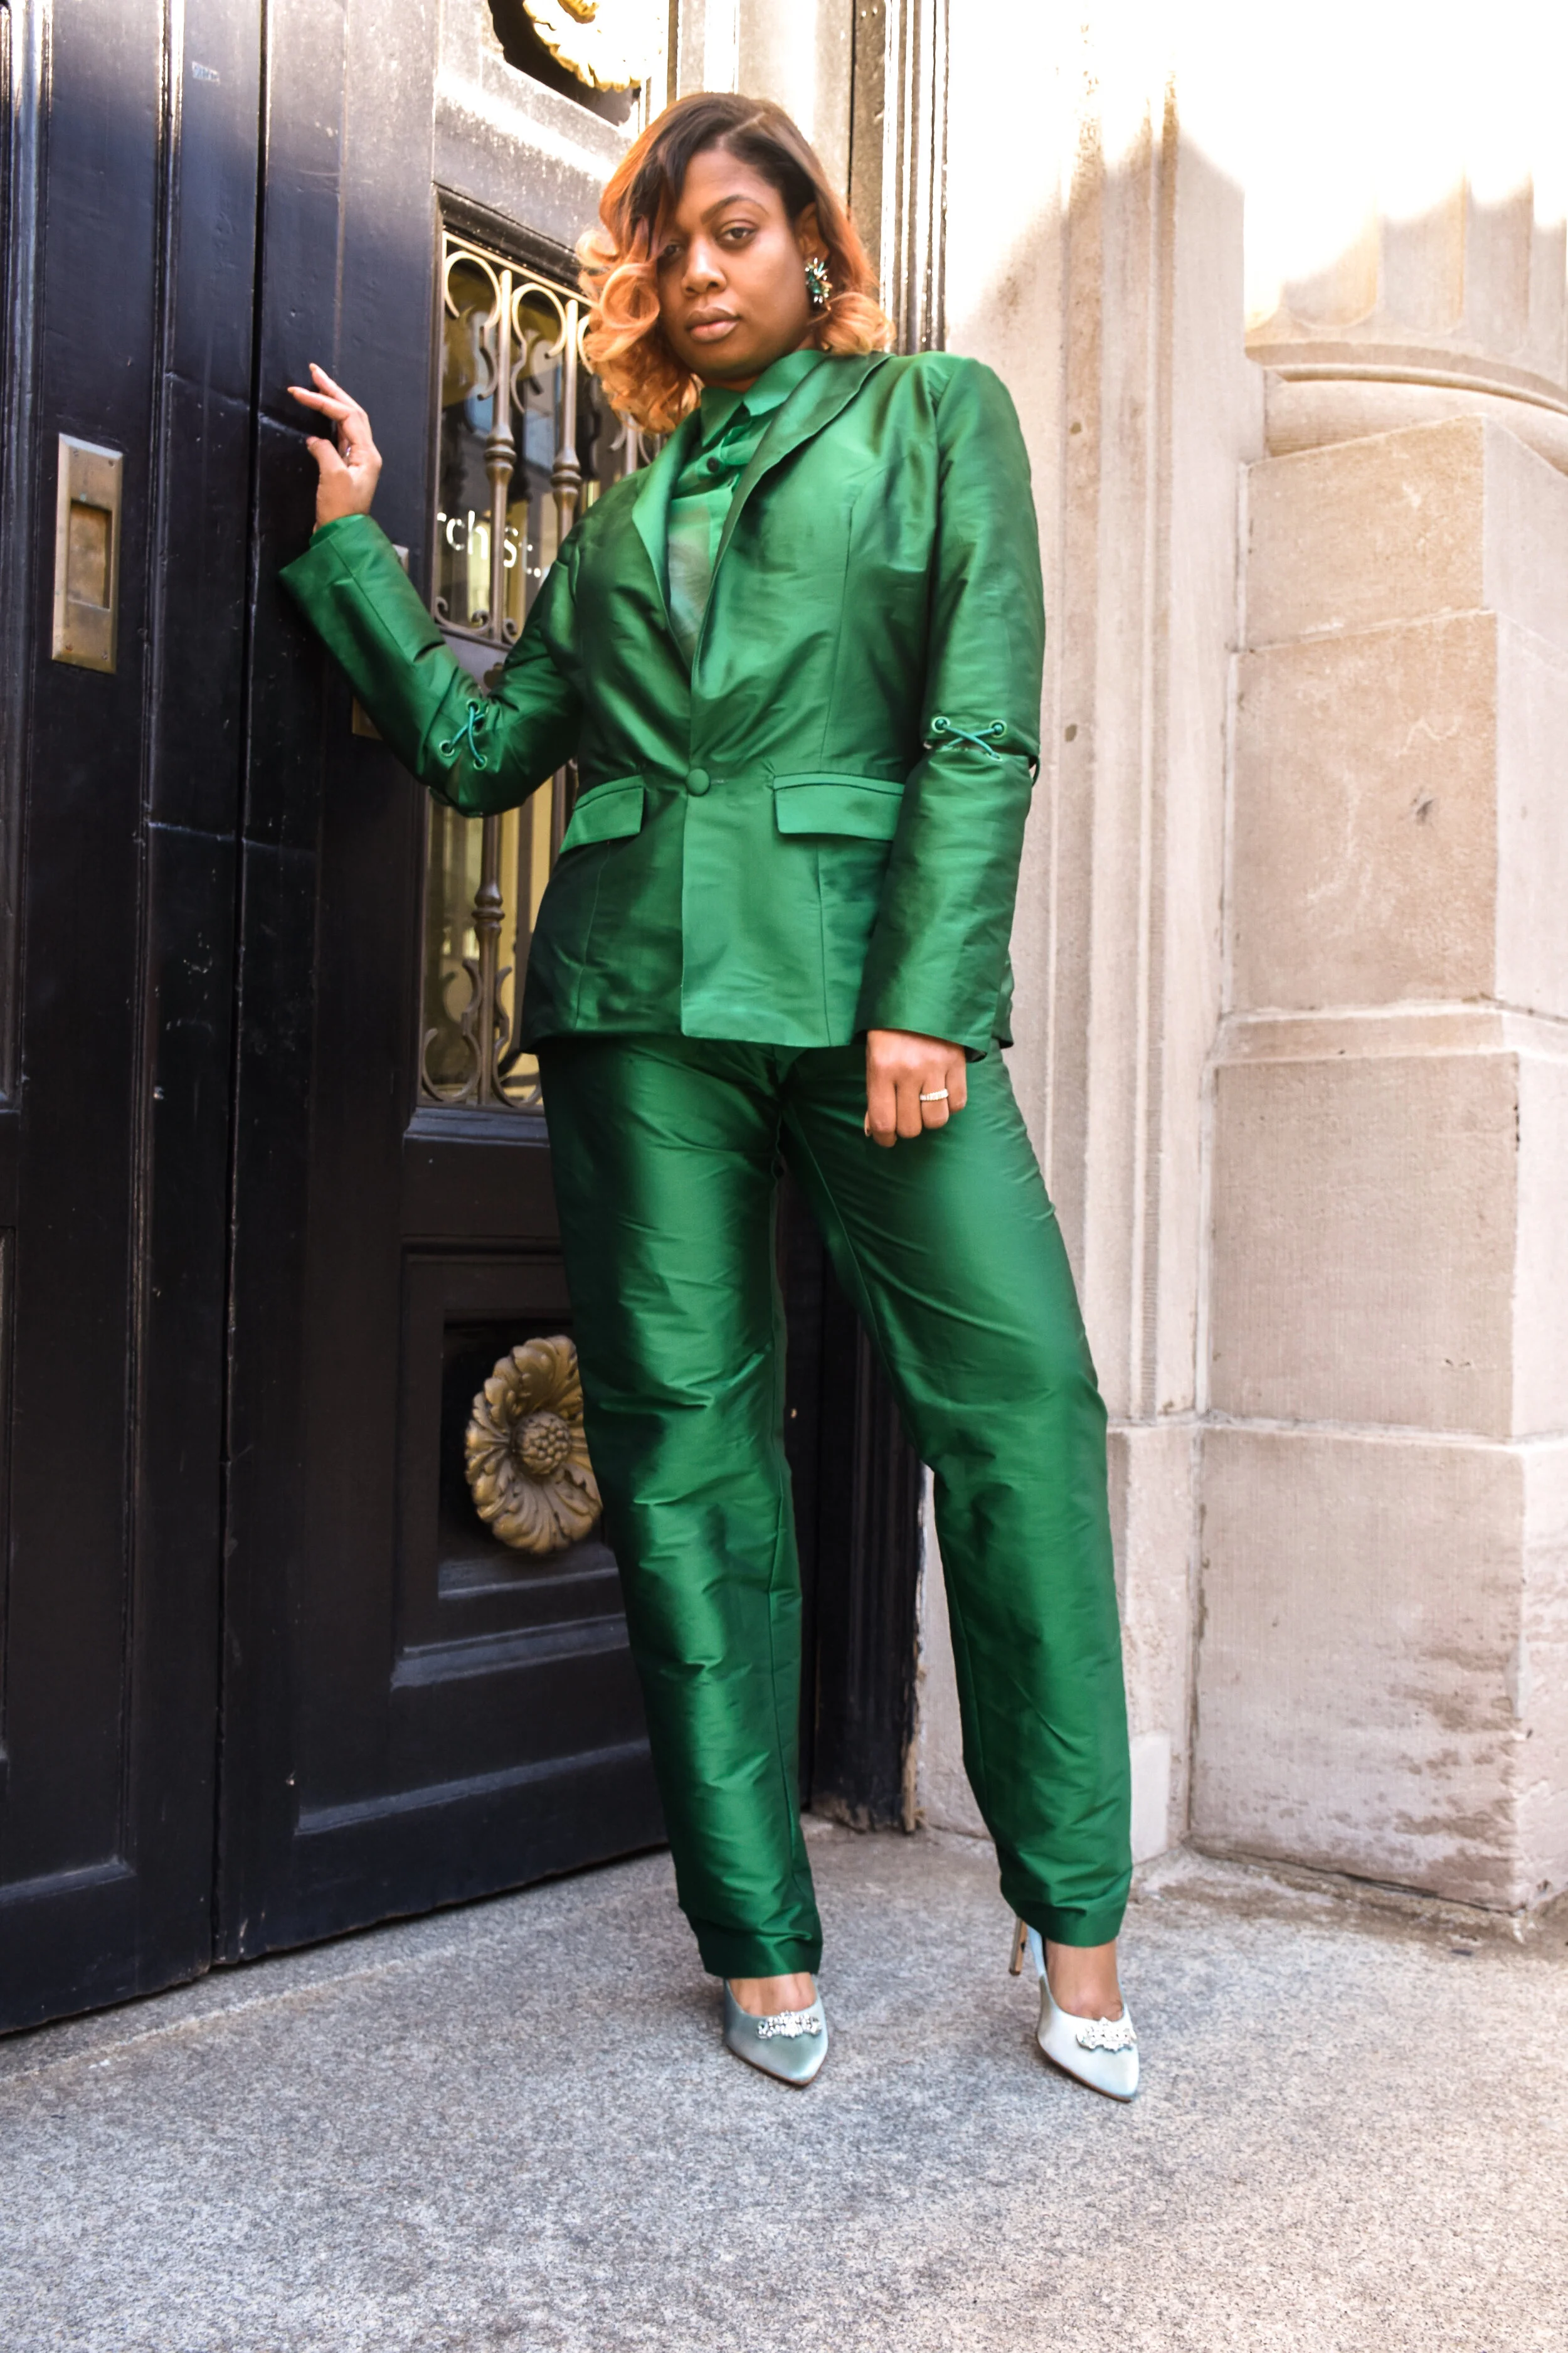
Shot by: @mere_argyris
I also had enough fabric left over to create some extra matching pieces. Keechii had an awesome DIY to recreate THE ROW Ascot inspired handbag which went perfect with my look. Check her blog to make your own, it can be found HERE

Shot by: @mere_argyris
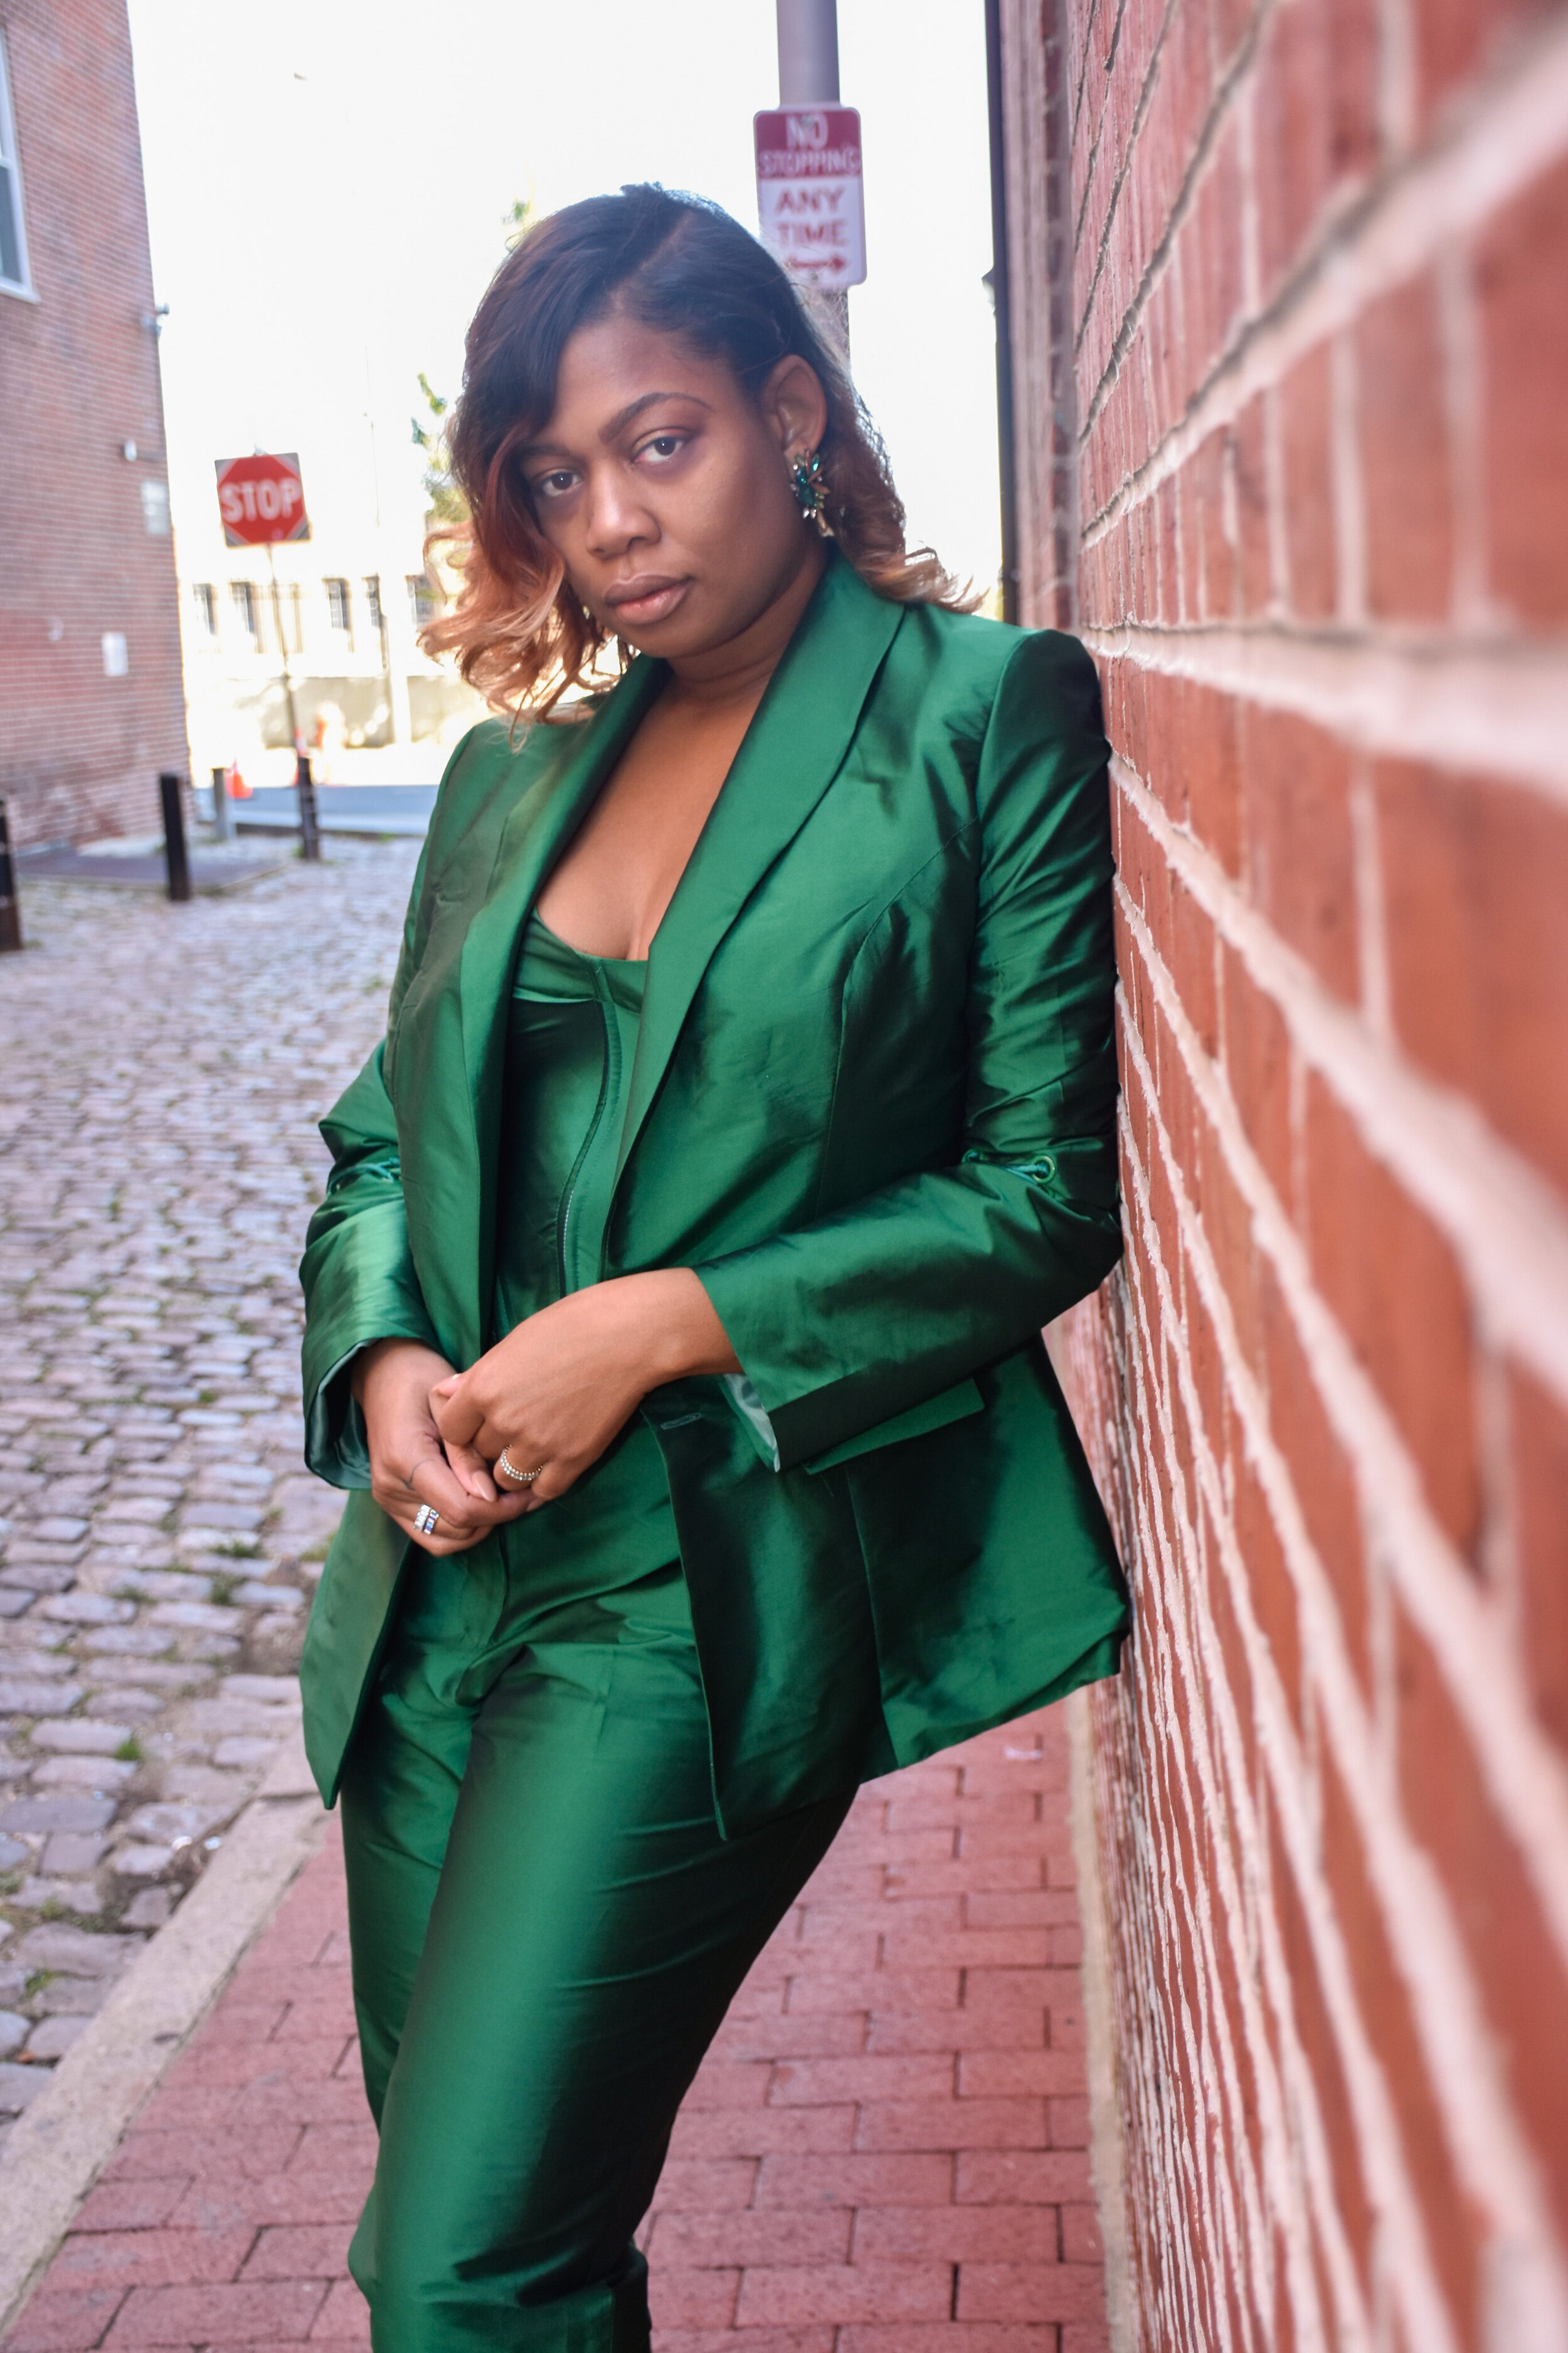
The last piece I made was this amazing corset which is so on trend right now. ItsSEWkool has a free pattern and Youtube video to create this piece the link to the pattern and video can be found HERE I love how this pattern just amplified the edginess of this look.

Shot by: @mere_argyris
Did I also mention I custom dyed my shoes as well? Please let me know what you think!! I so enjoyed working on these projects as a Mood Sewing Network blogger and I hope you enjoyed viewing my pieces as well. I want to end by saying #thankyoumood!


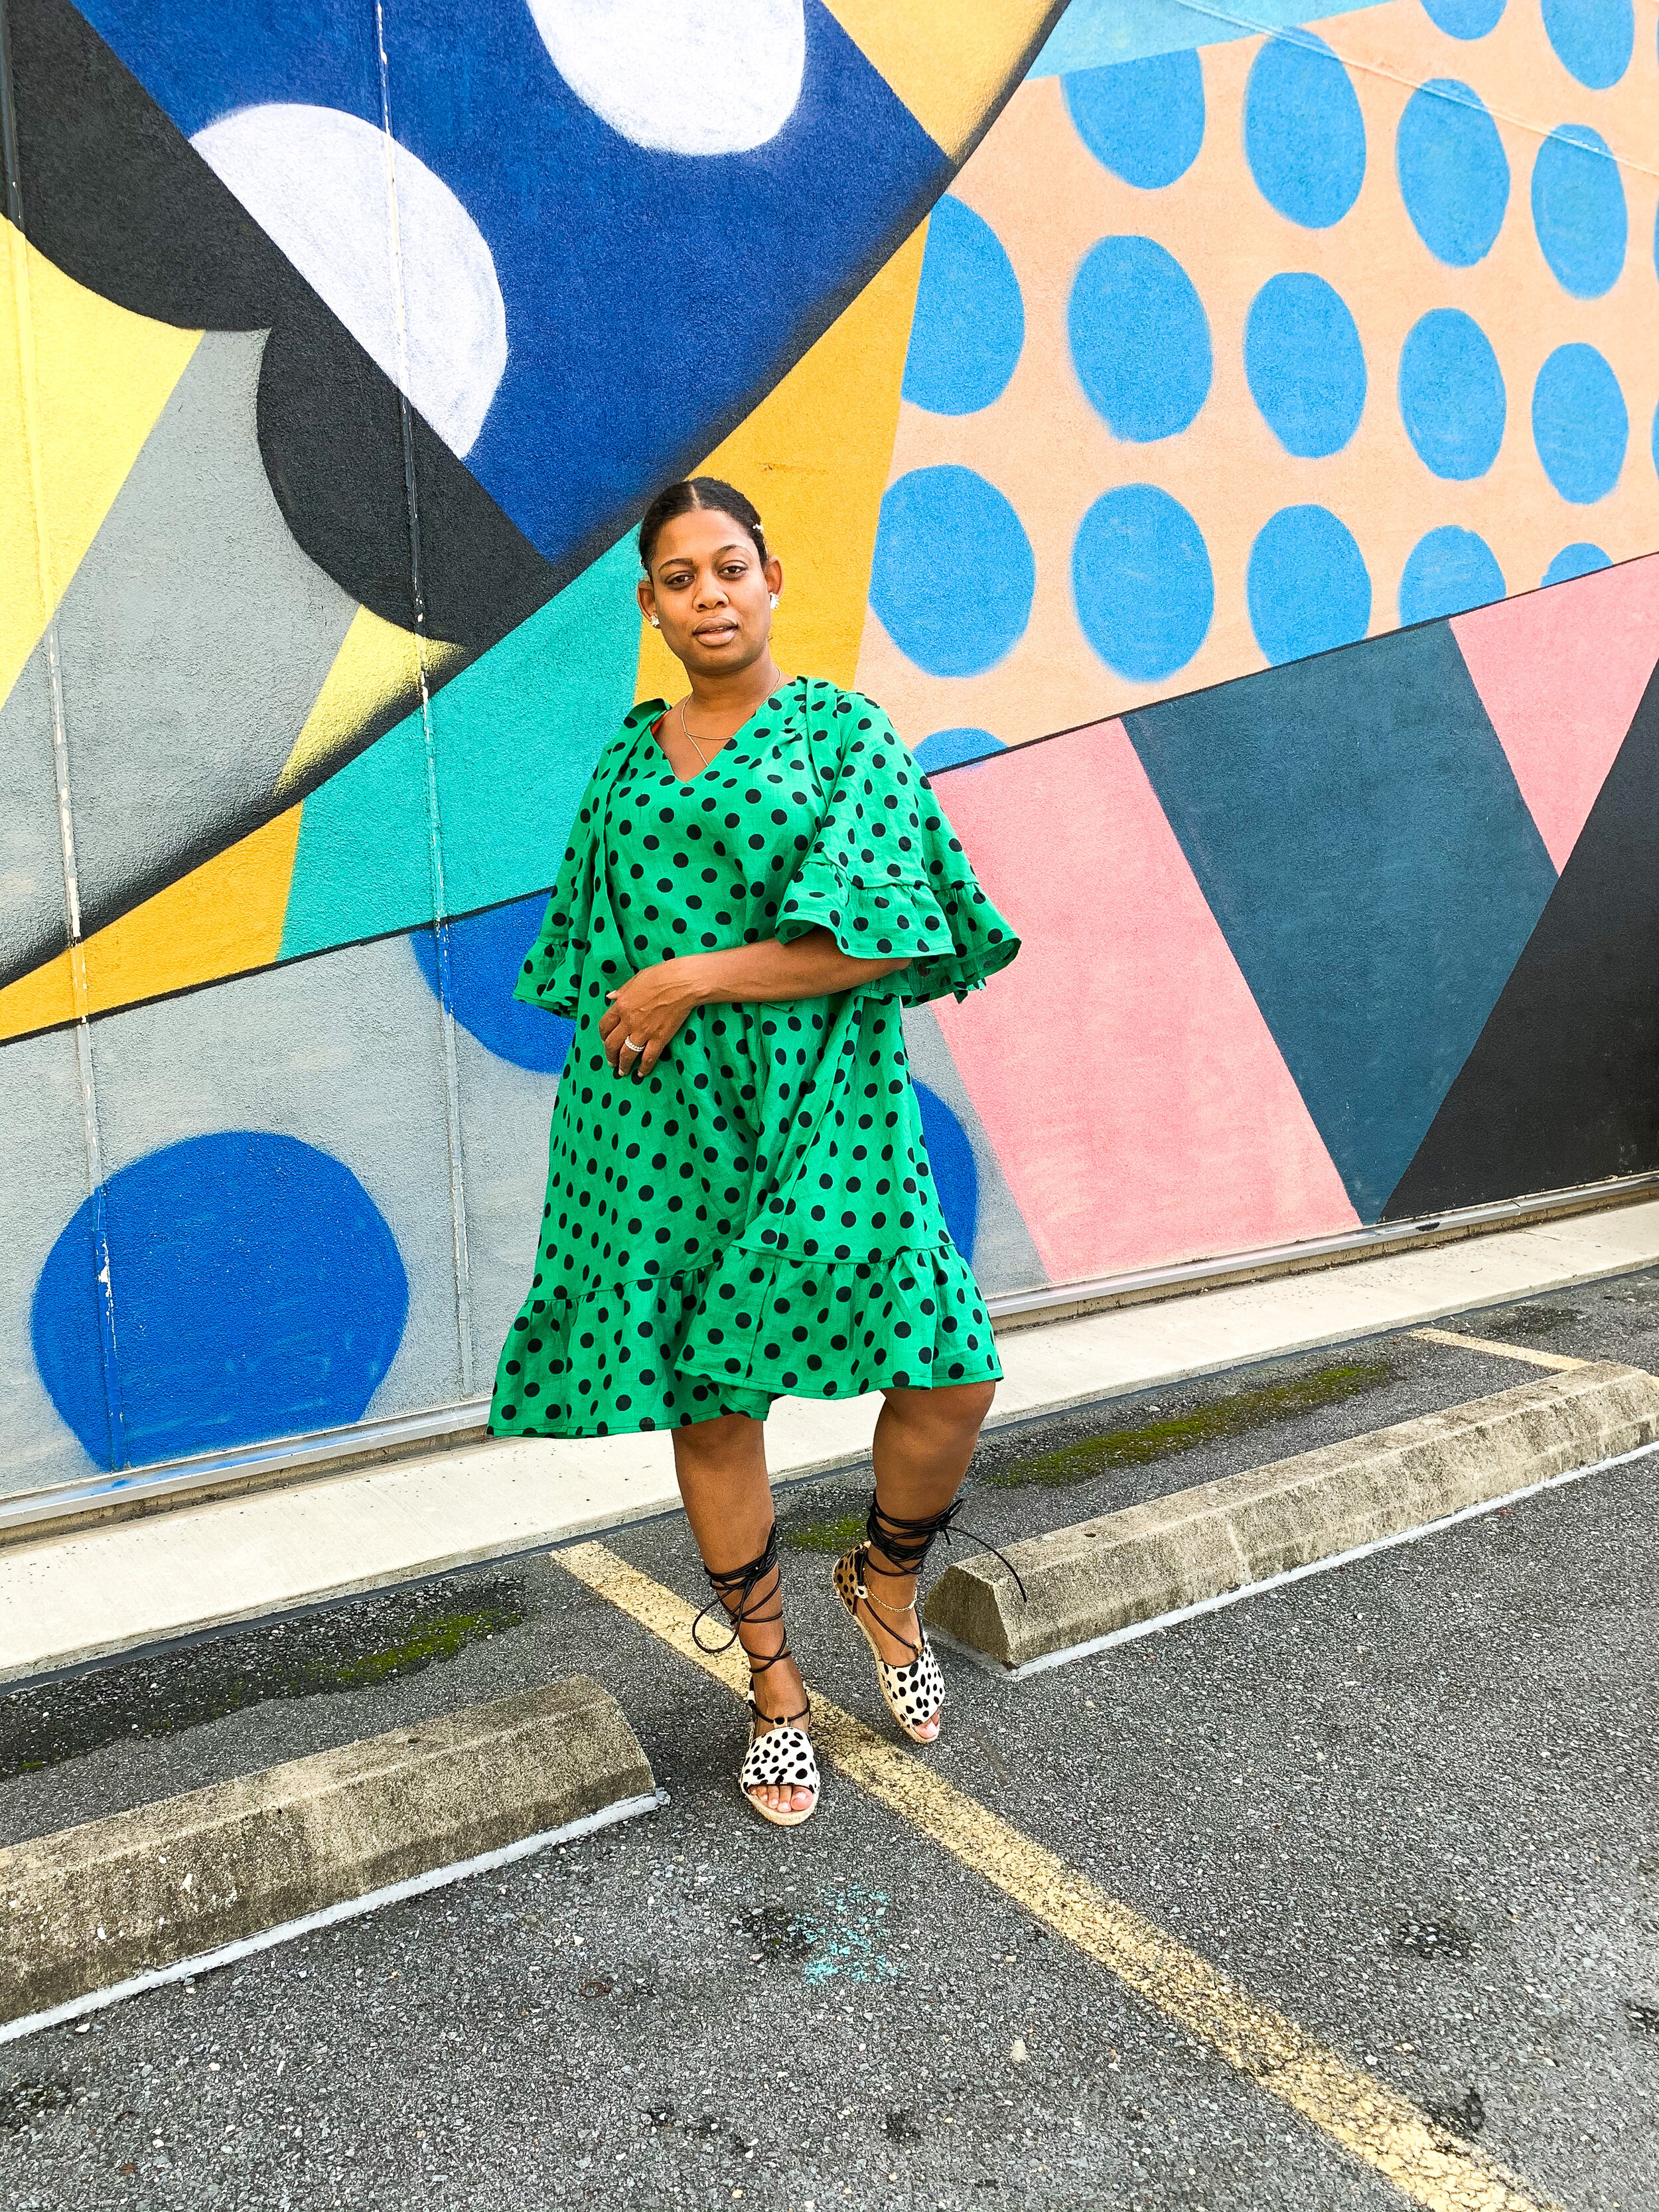
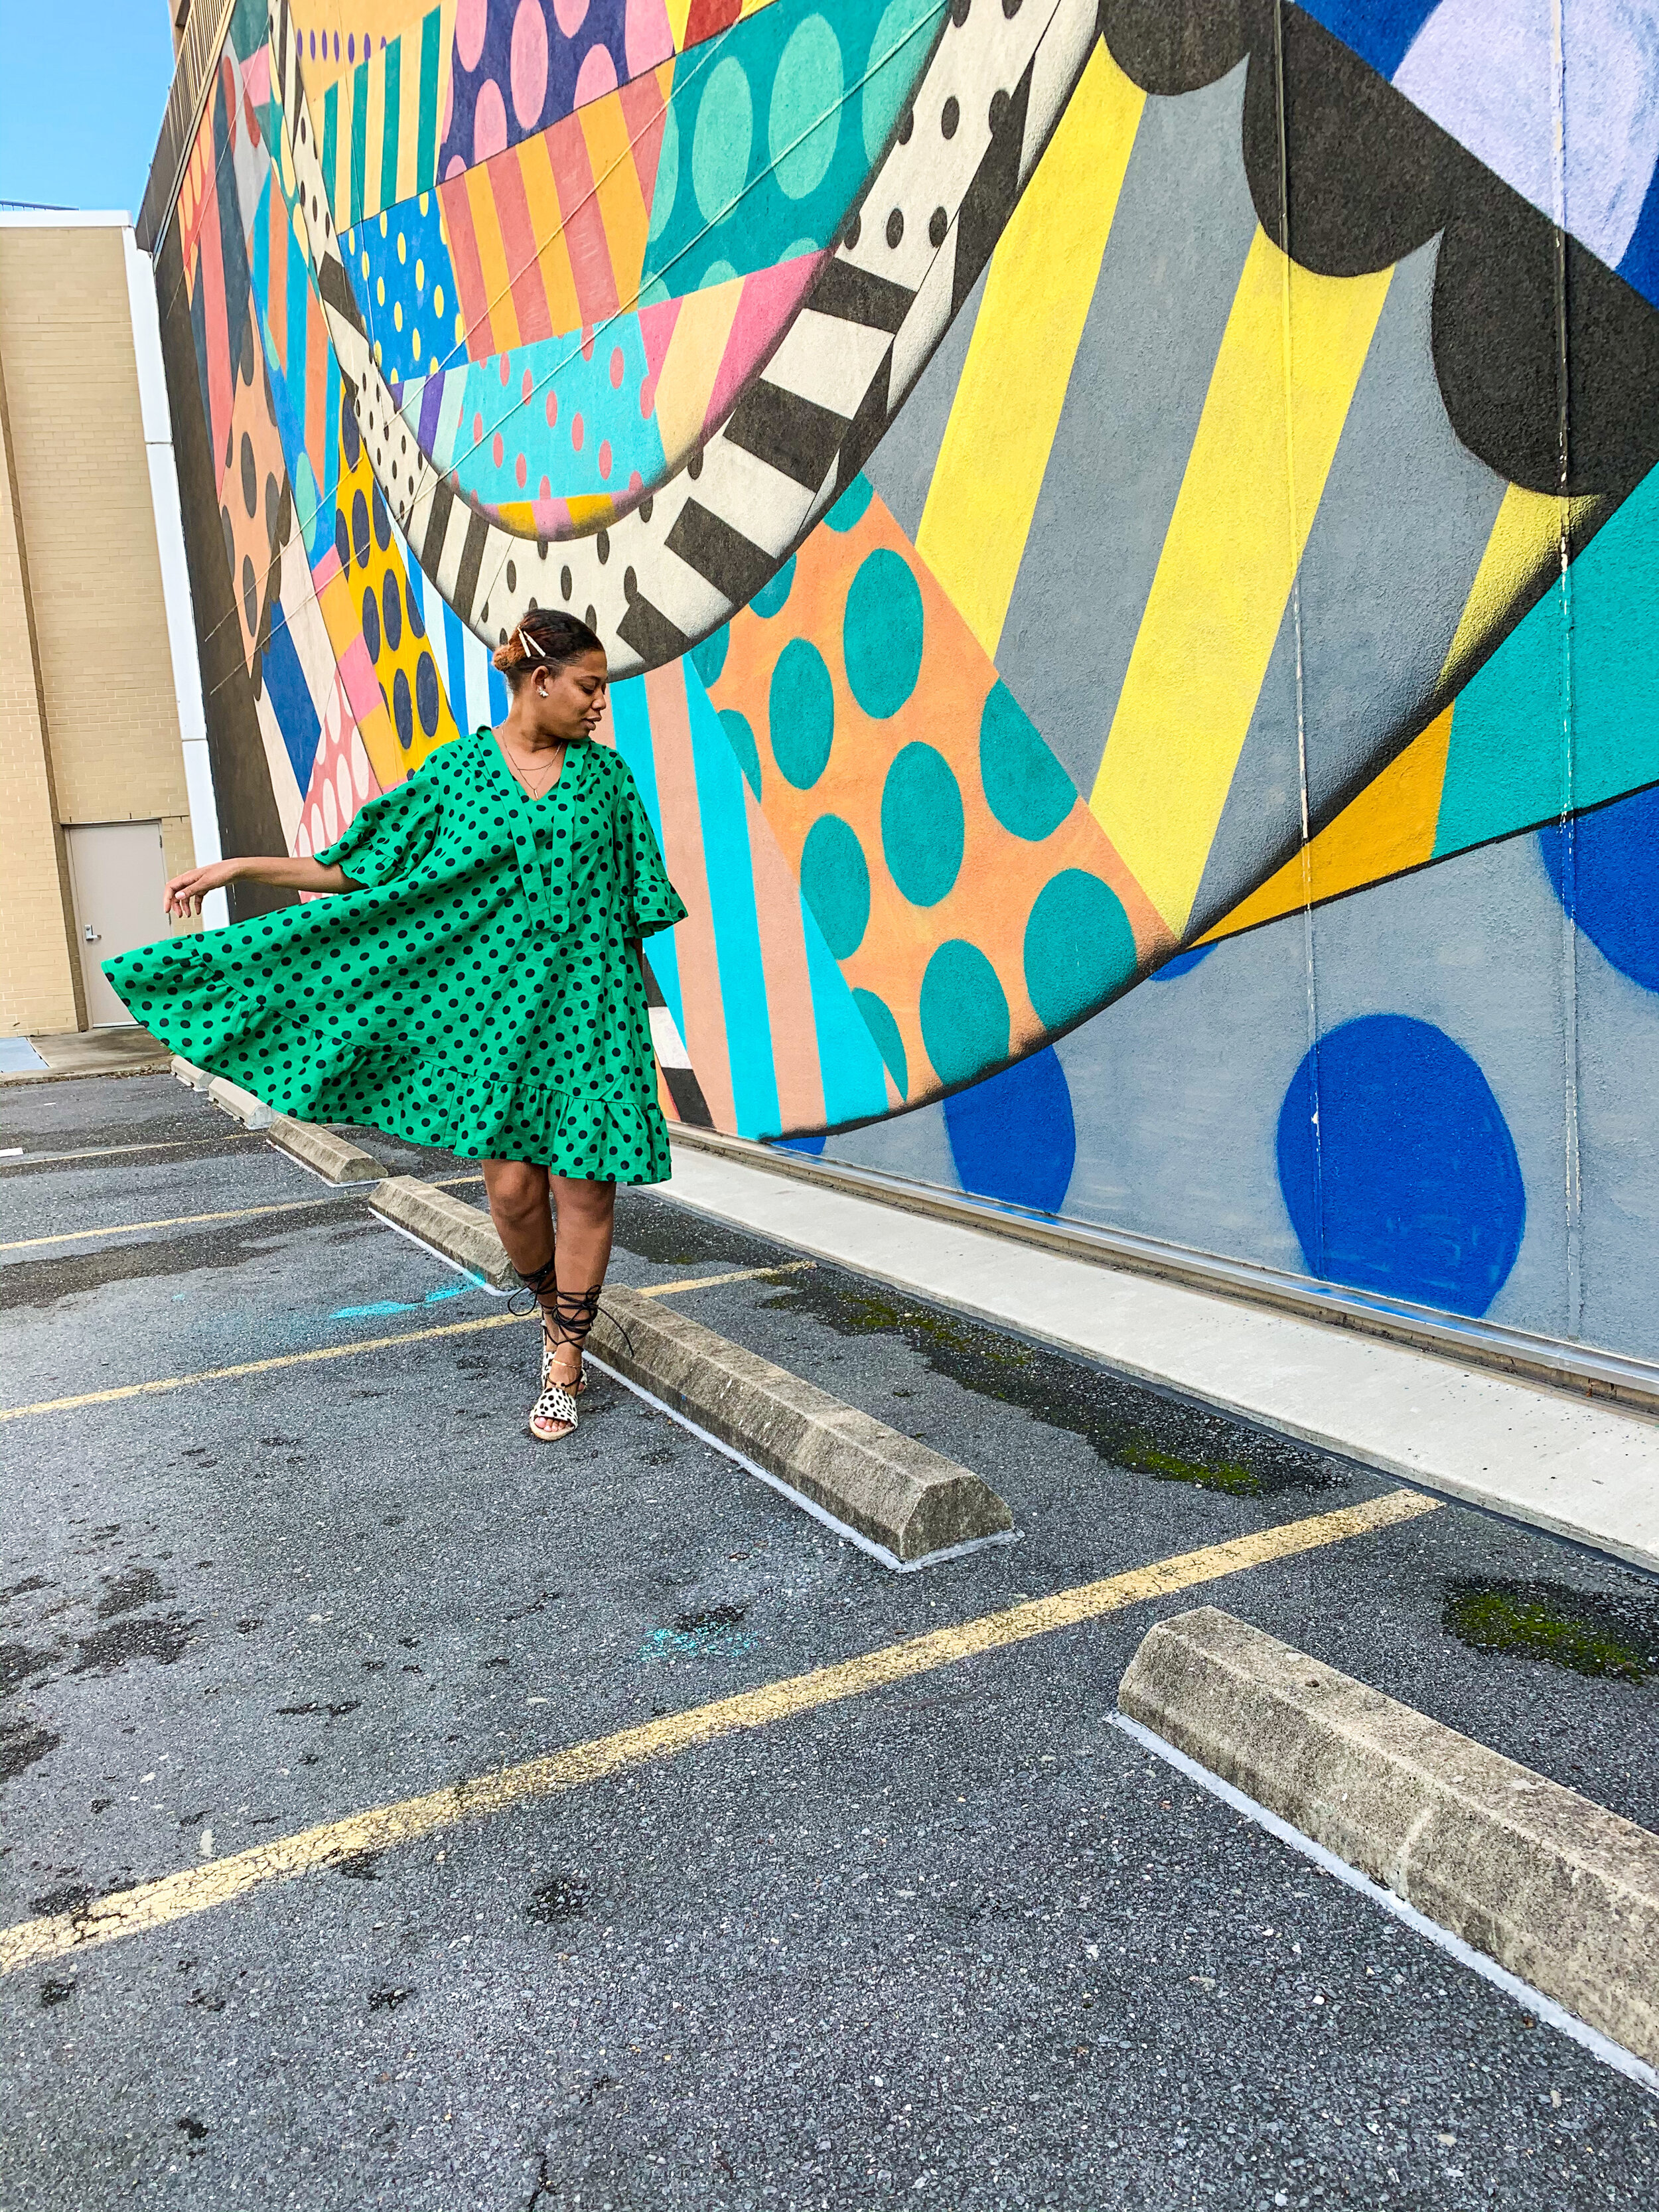
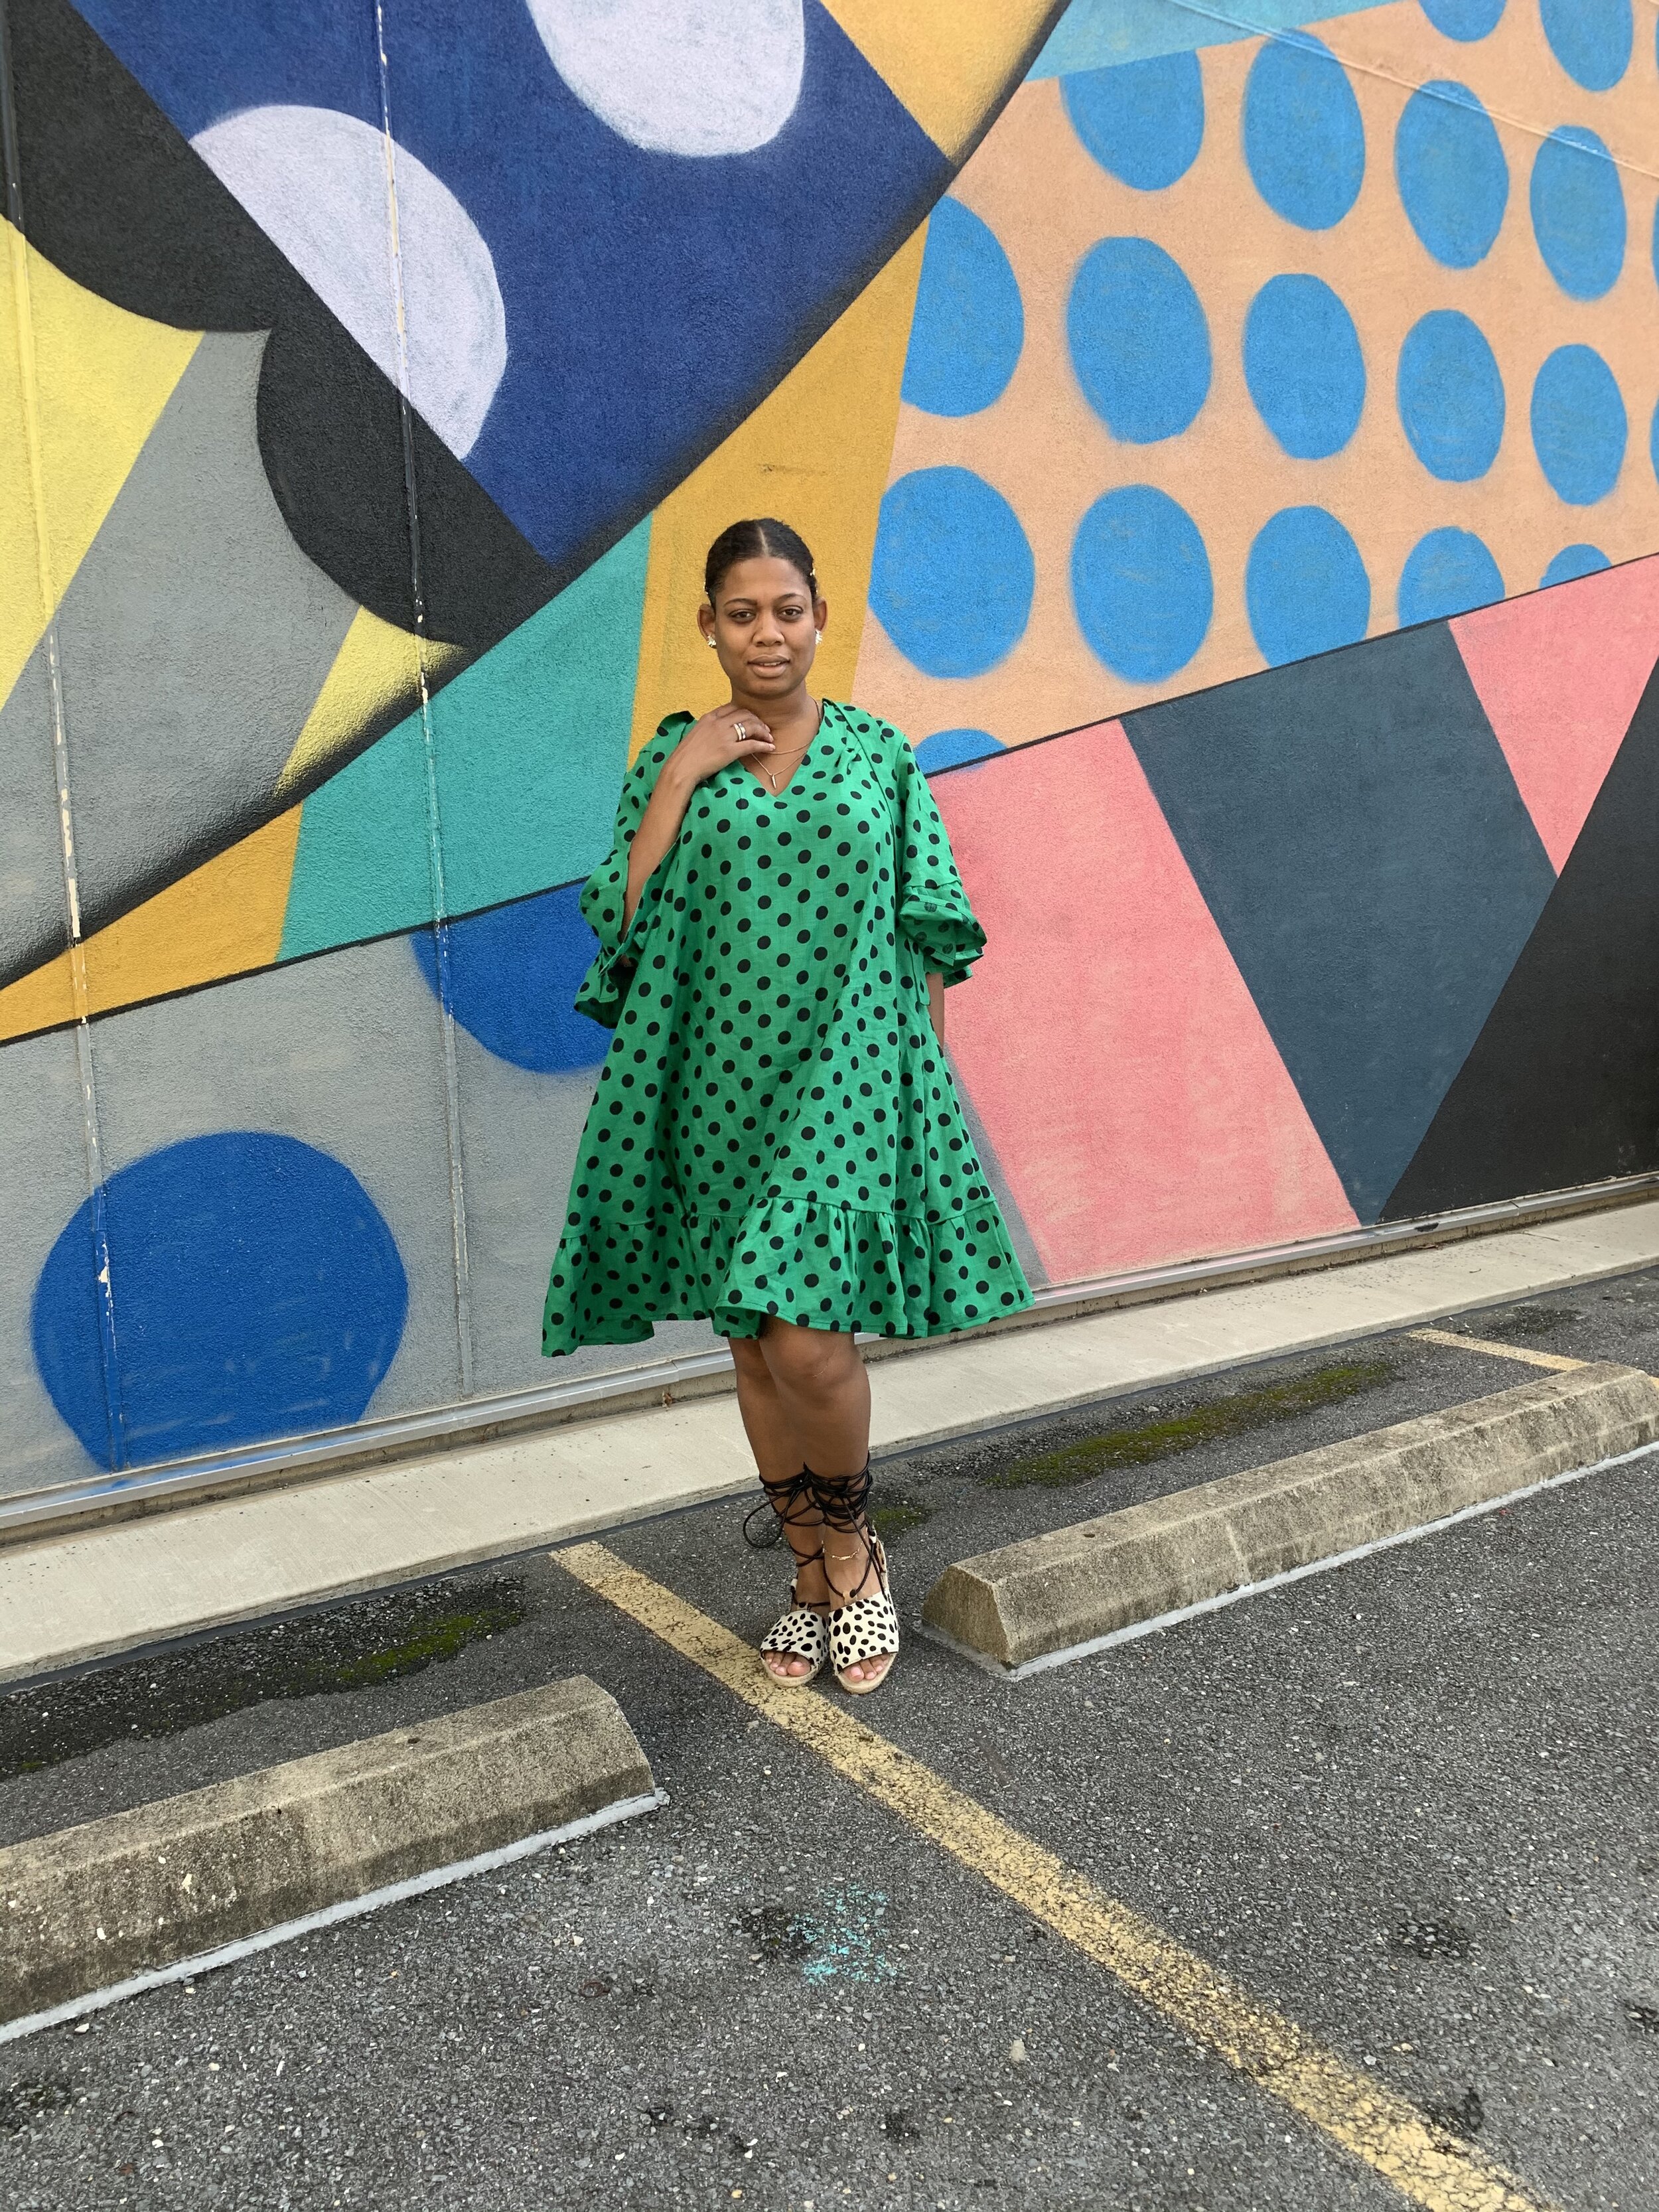
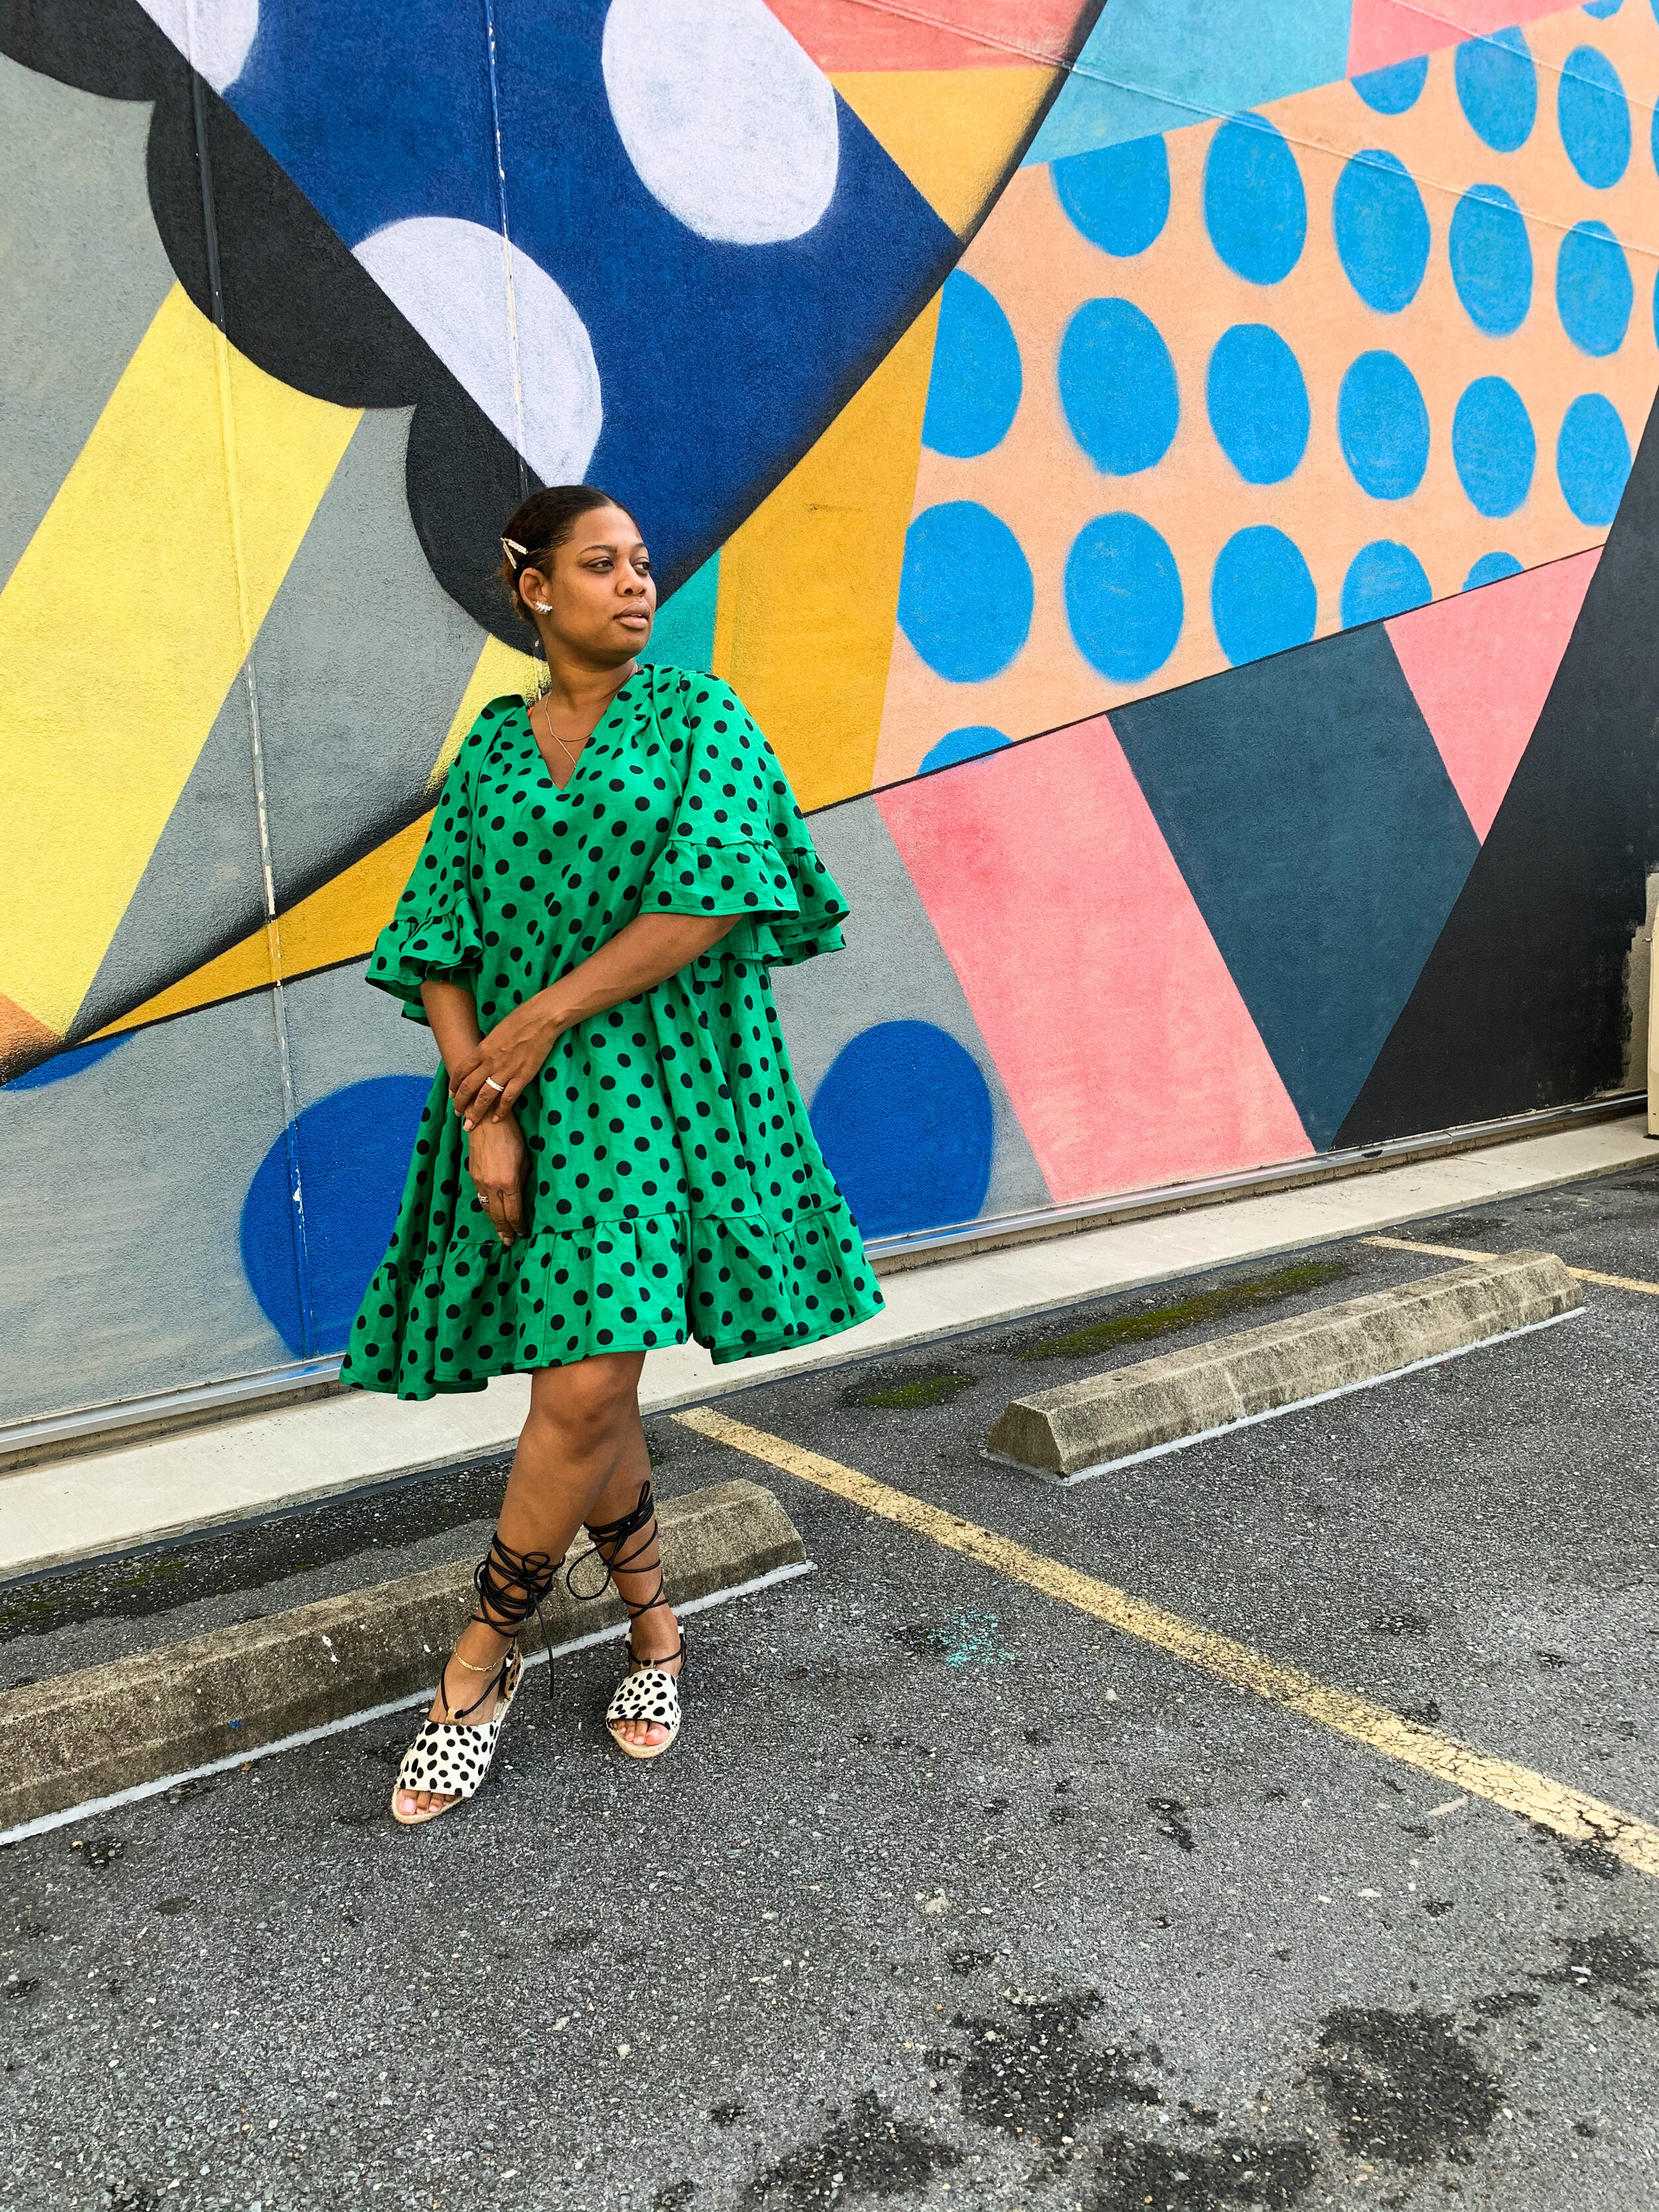
Spotted
Sharing my latest make using MoodFabrics.com! I came across this gorgeous green polka dot linen fabric #330695 and wanted to make something cute and flirty. And what could be more flirty than a ruffled swing dress!

This is another self-drafted pattern. To make I took my bodice sloper and used the slash and spread method to flare it out, I also used the same technique of the sleeves. For the ruffles I just calculated my proportions to make them the correct length and added on the tie at the neck.

I love the amount of movement this dress gives, I can also see myself styling this look for fall with some tigh high boots! Did you know I also made my shoes! They are spotted as well!!
Don’t forget you can get 10% your MoodFabrics.com order using my code MSNJD432 at checkout. Until next time…
It’s my Mood forever....

In July I found out that I was selected to be part of the Mood Sewing Network for the next 3 months! Instantly I was excited, then I was like “what am I going to make?” I felt the pressure, and I definitely didn’t want to sleep on this huge opportunity I had been given.
After confiding in some of my other sewist friends and revisiting my Pinterest boards (which I was on for hours!) I finally came up with a concept. My main goal is to be as original as possible, during my 3 month residence I don’t want to work from any pattern company’s design but use my fashion background and follow flat pattern or draping methods to draft my designs. I want to create looks that will reflect my personal aesthetic as well as showcase my technical skills in the garment.

My original sketch
Now that I had my concept and sketch it was time to create my pattern. I started by using a bodice pattern as sloper and made a muslin mockup and pinned it to my dress form. From there I was able to drape the sleeve additions and mark my style lines that was interpreted from my original sketch. Pro tip: when making your muslin be sure to transfer important info such as your grainline and center front info etc.
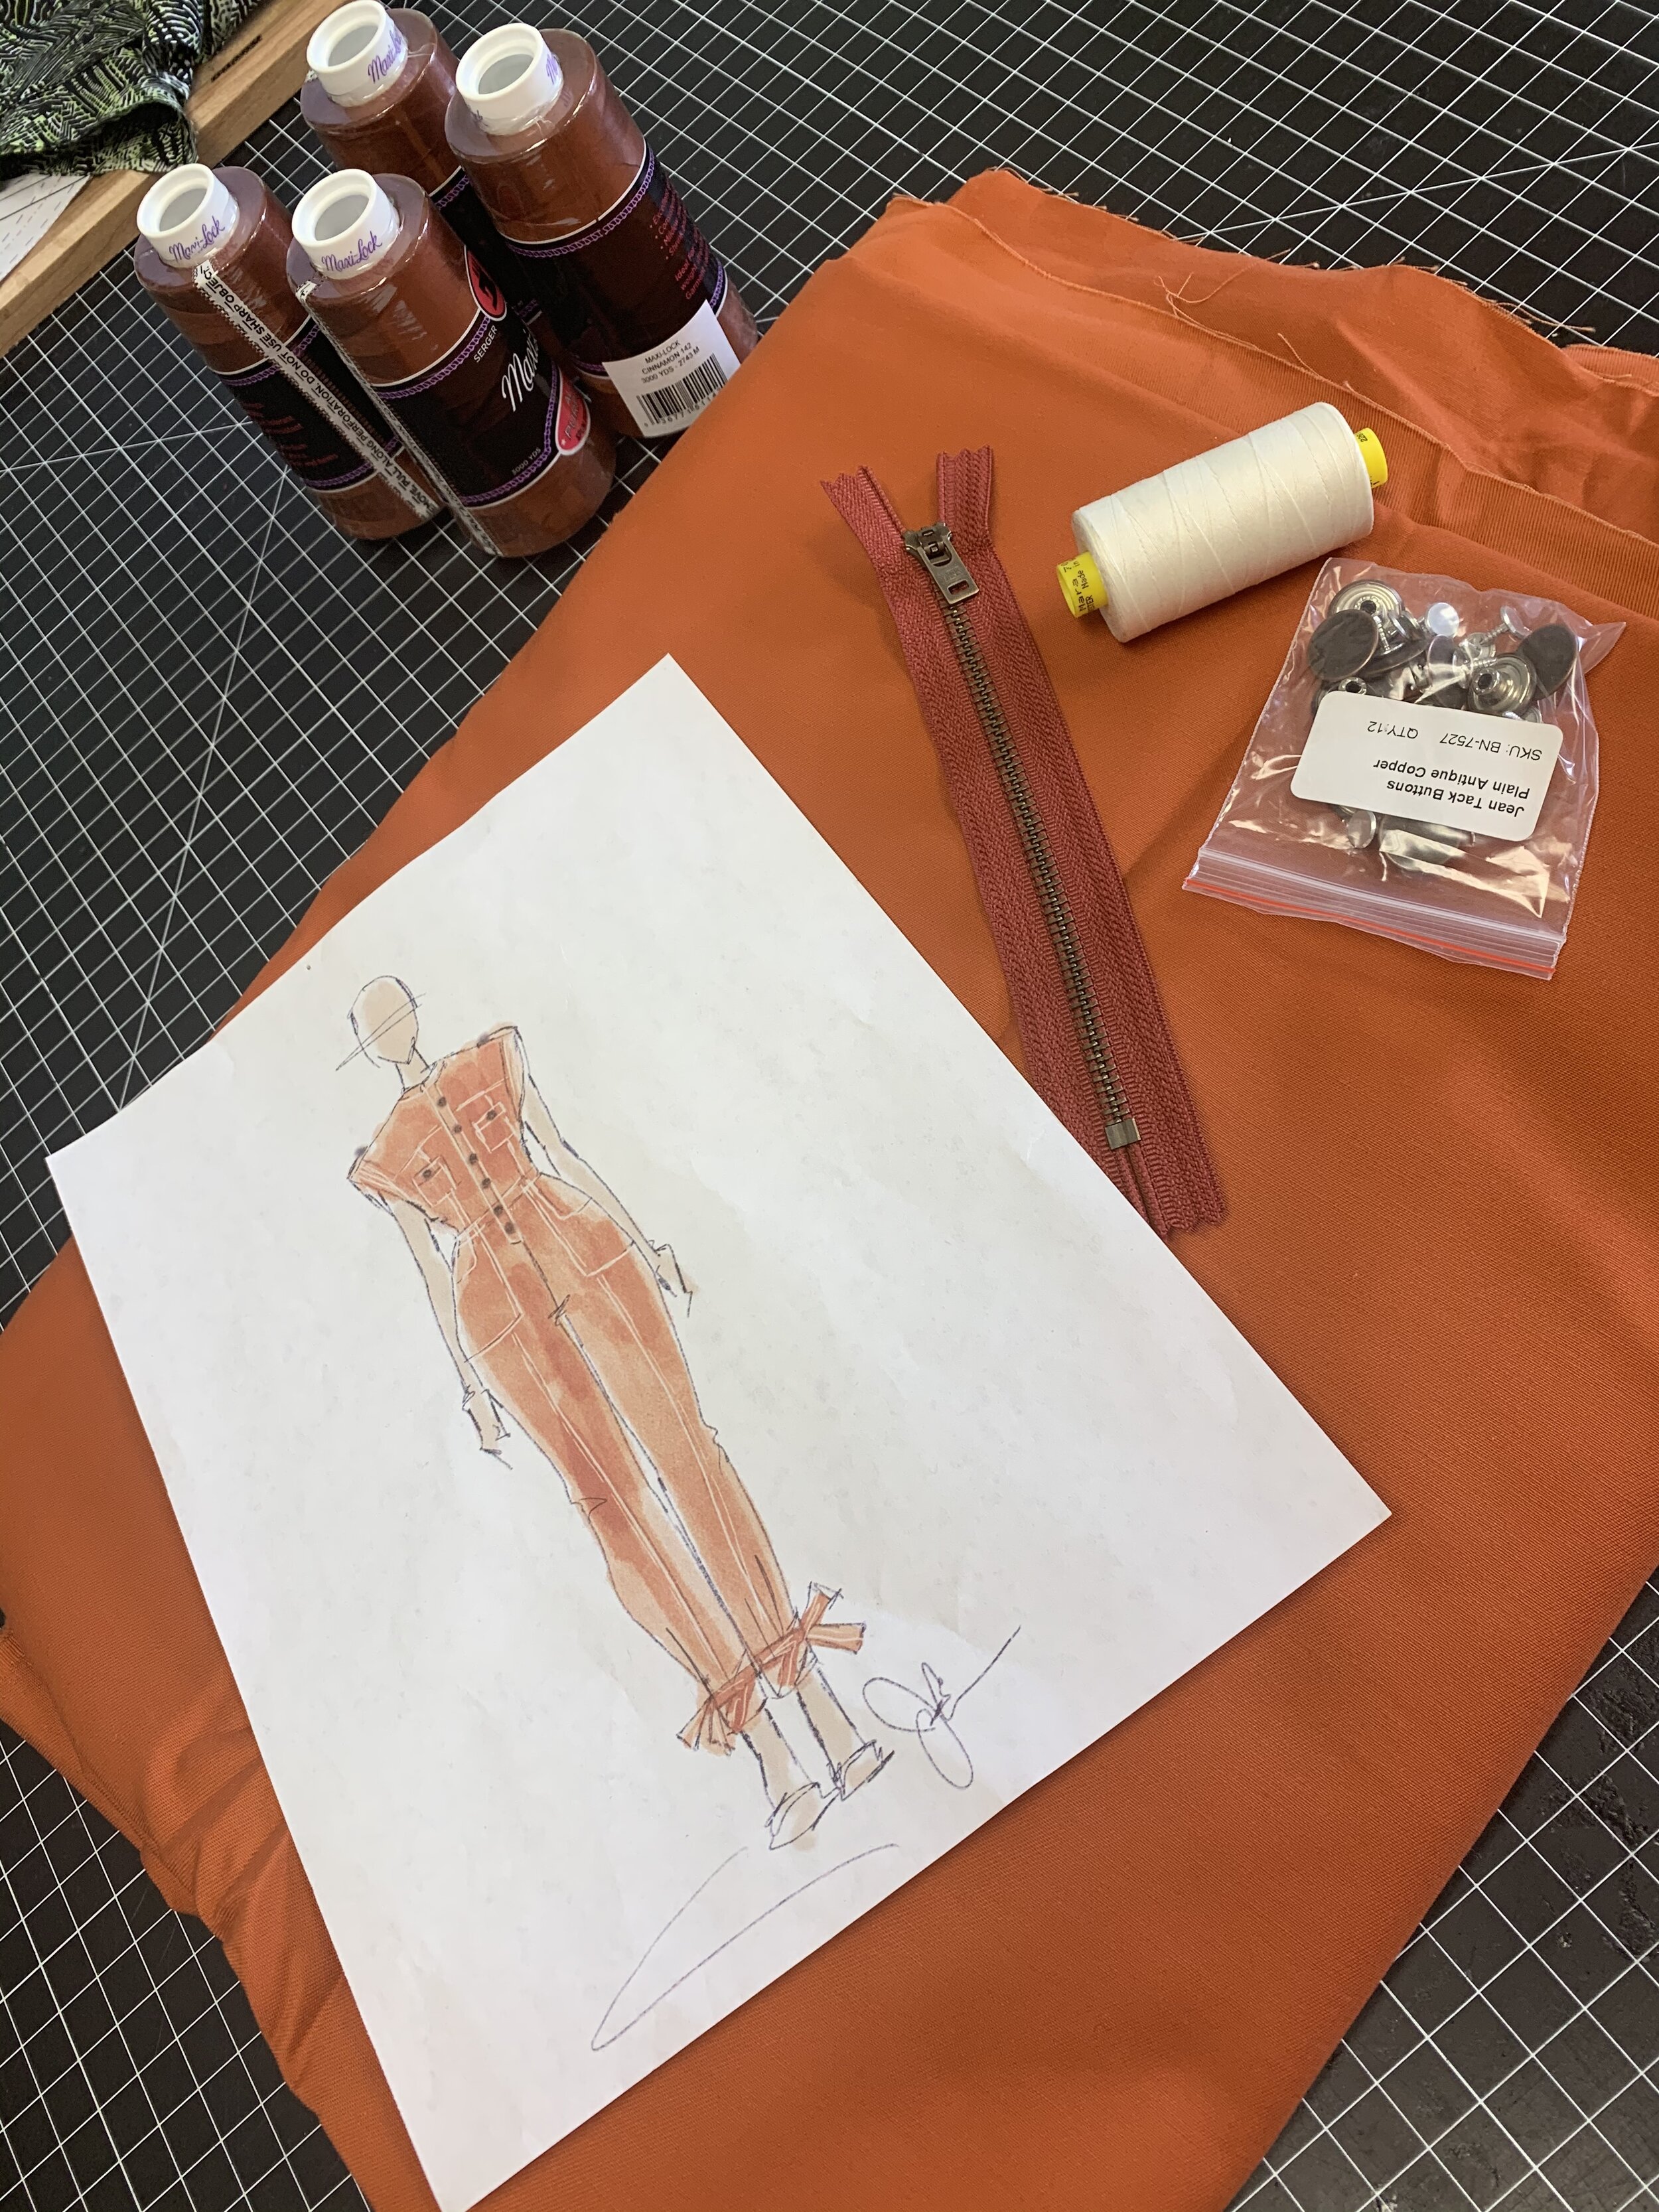
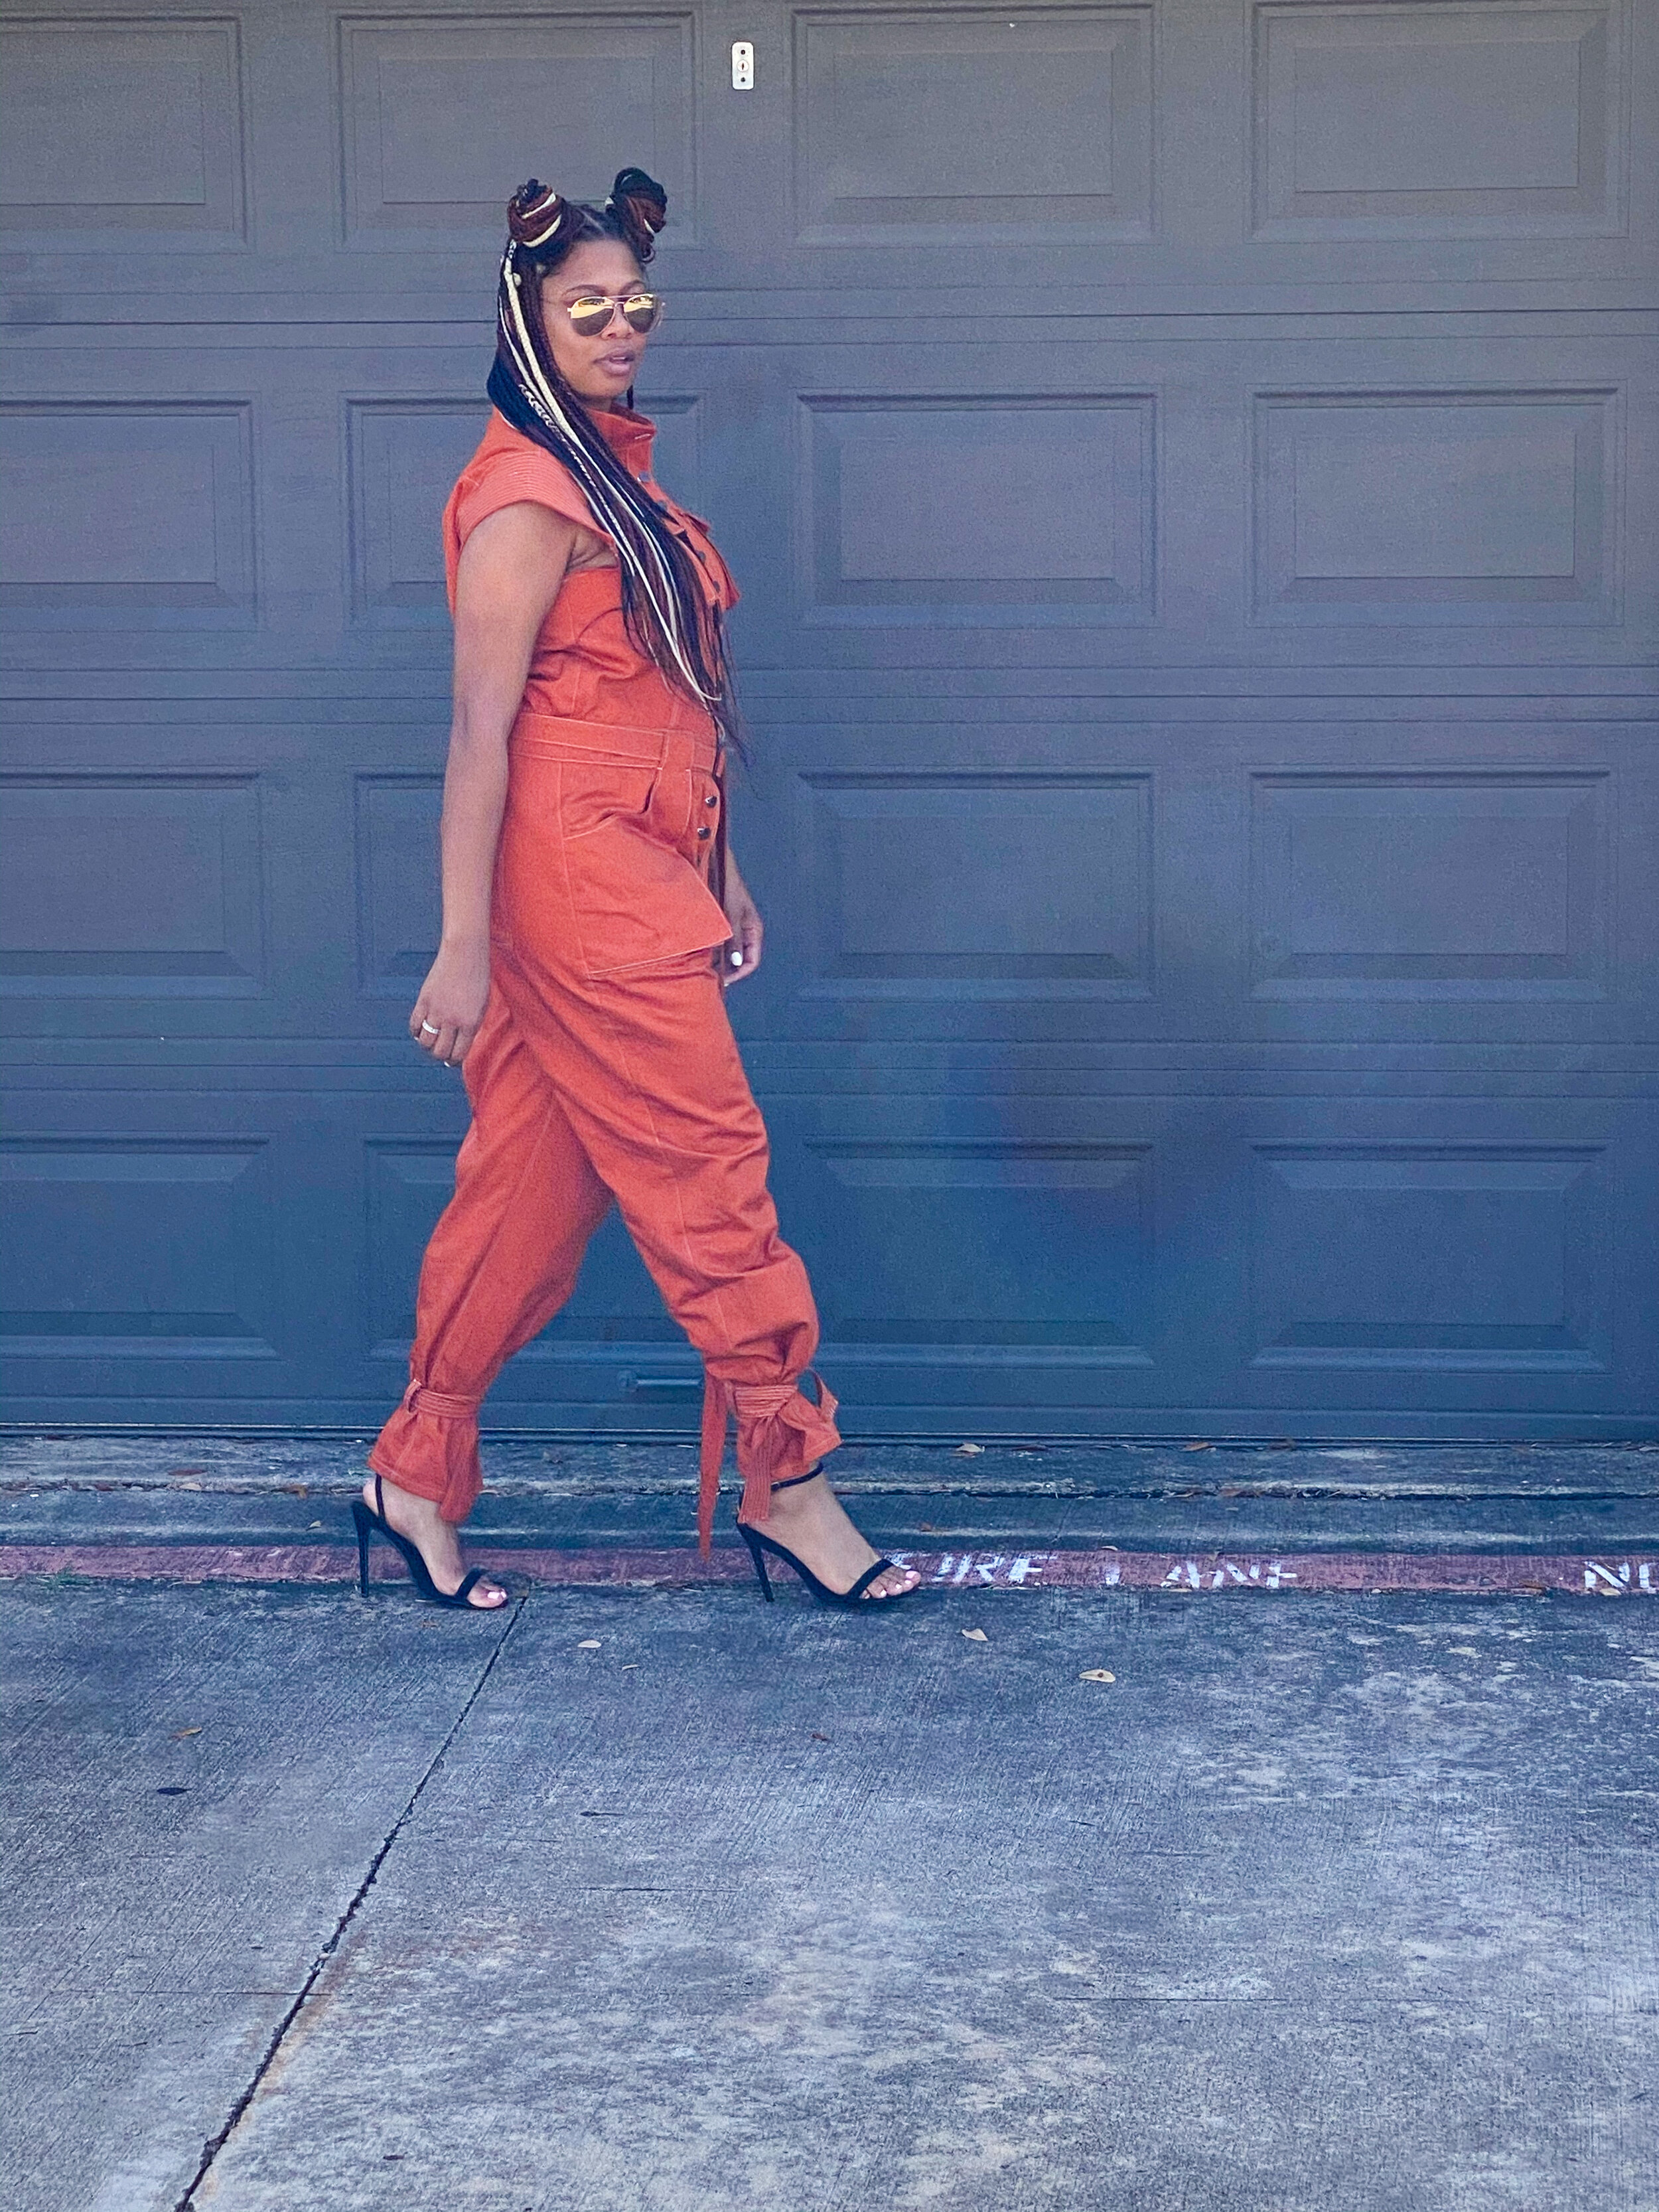
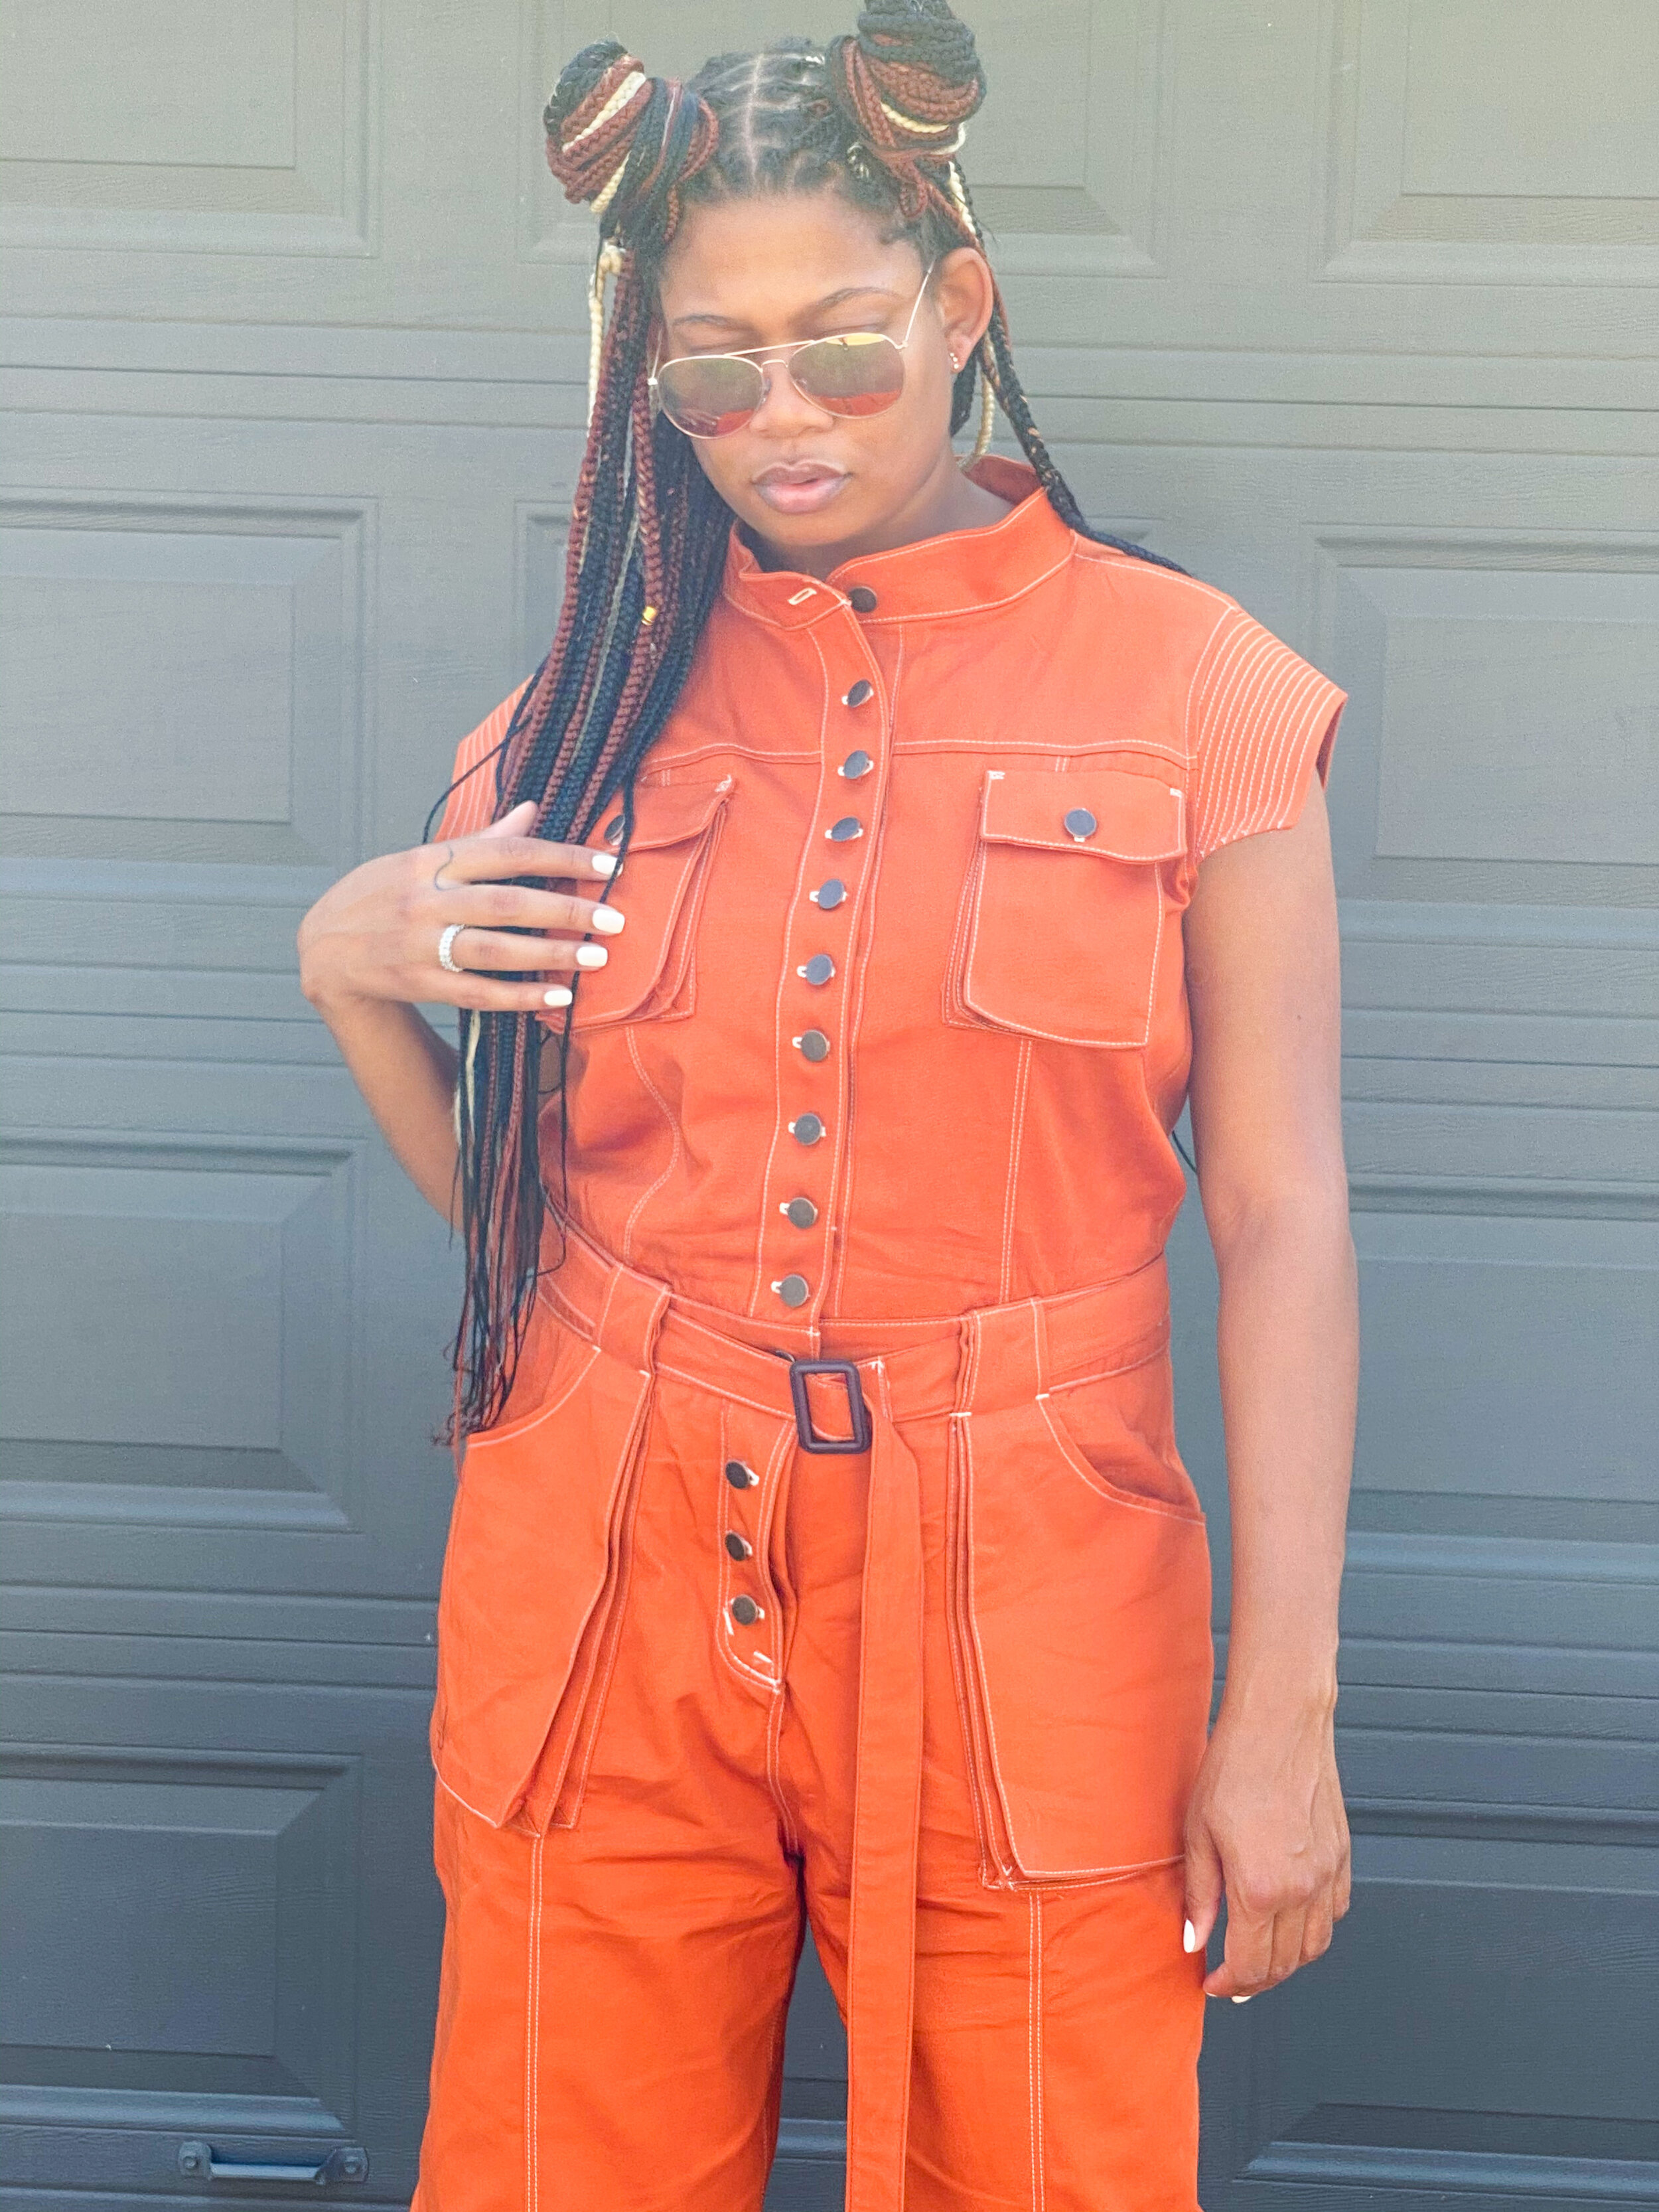
I used 4 yards this gorgeous organic cotton twill from Mood.com in the color “Sweet Potato” #FC8706 and purchased all of my notions from Wawak.com
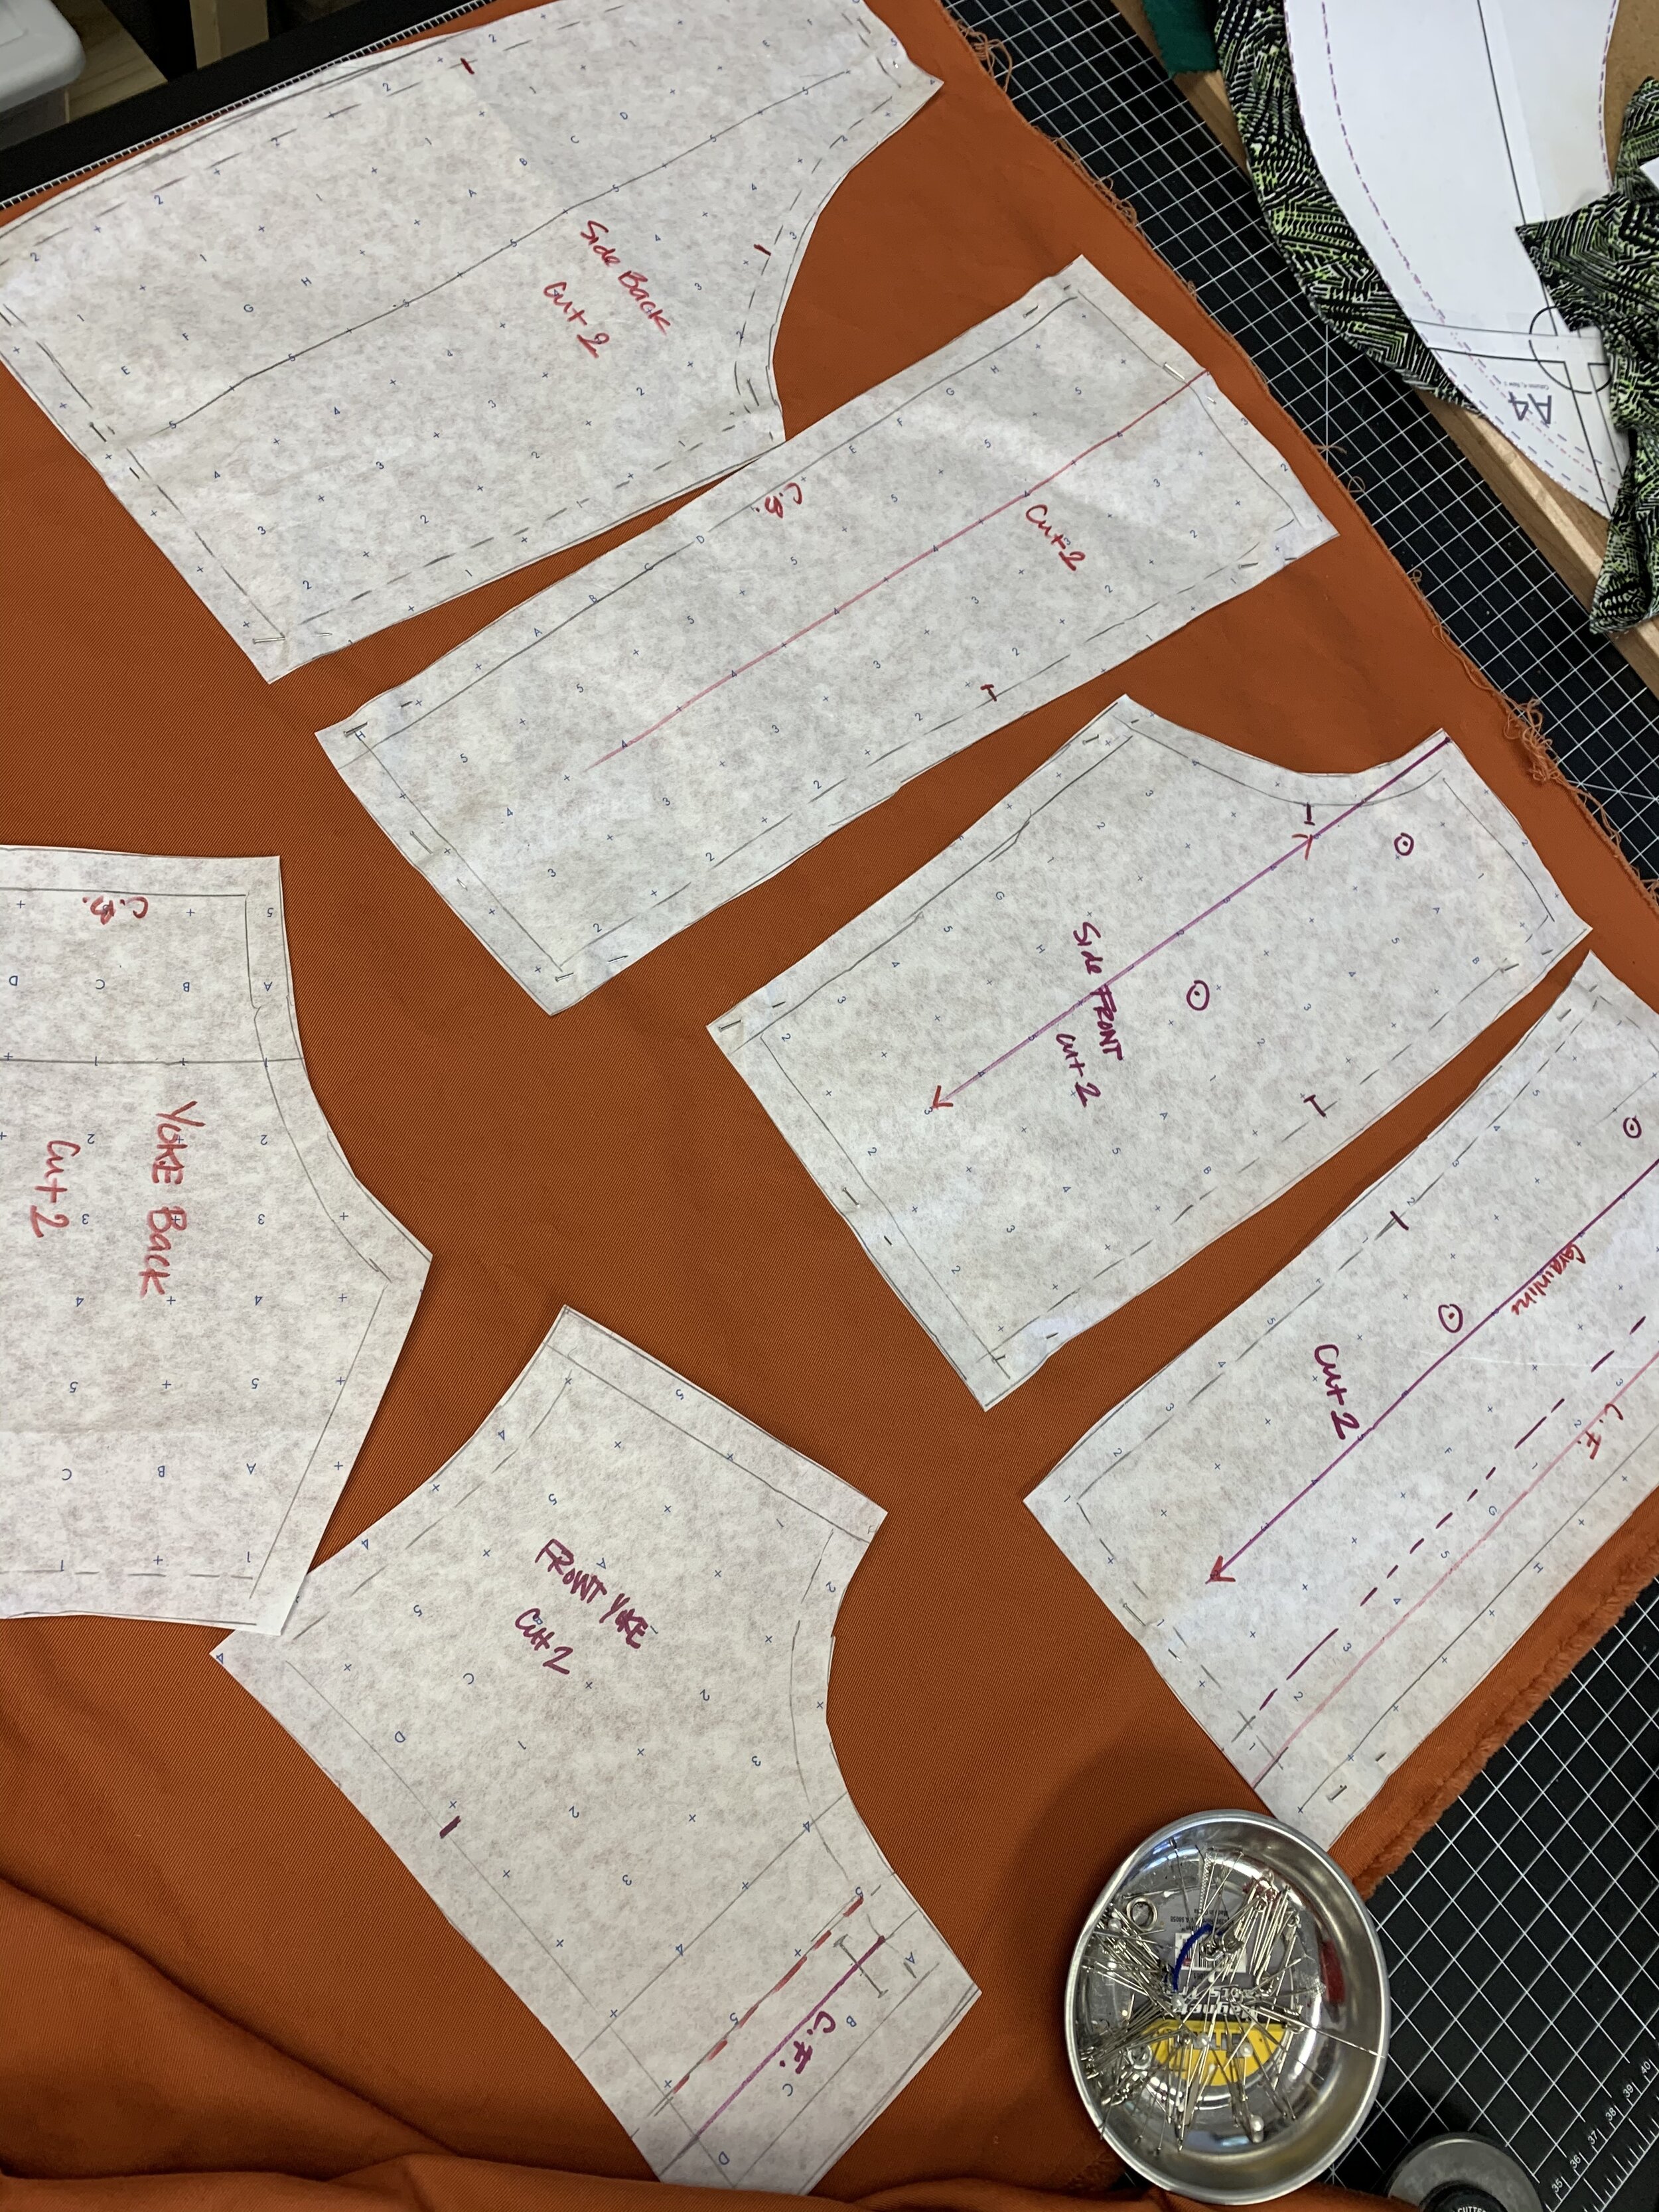
The best part of this project was that it was zero waste. I was able to use up all of my fabric with little to no scraps left.
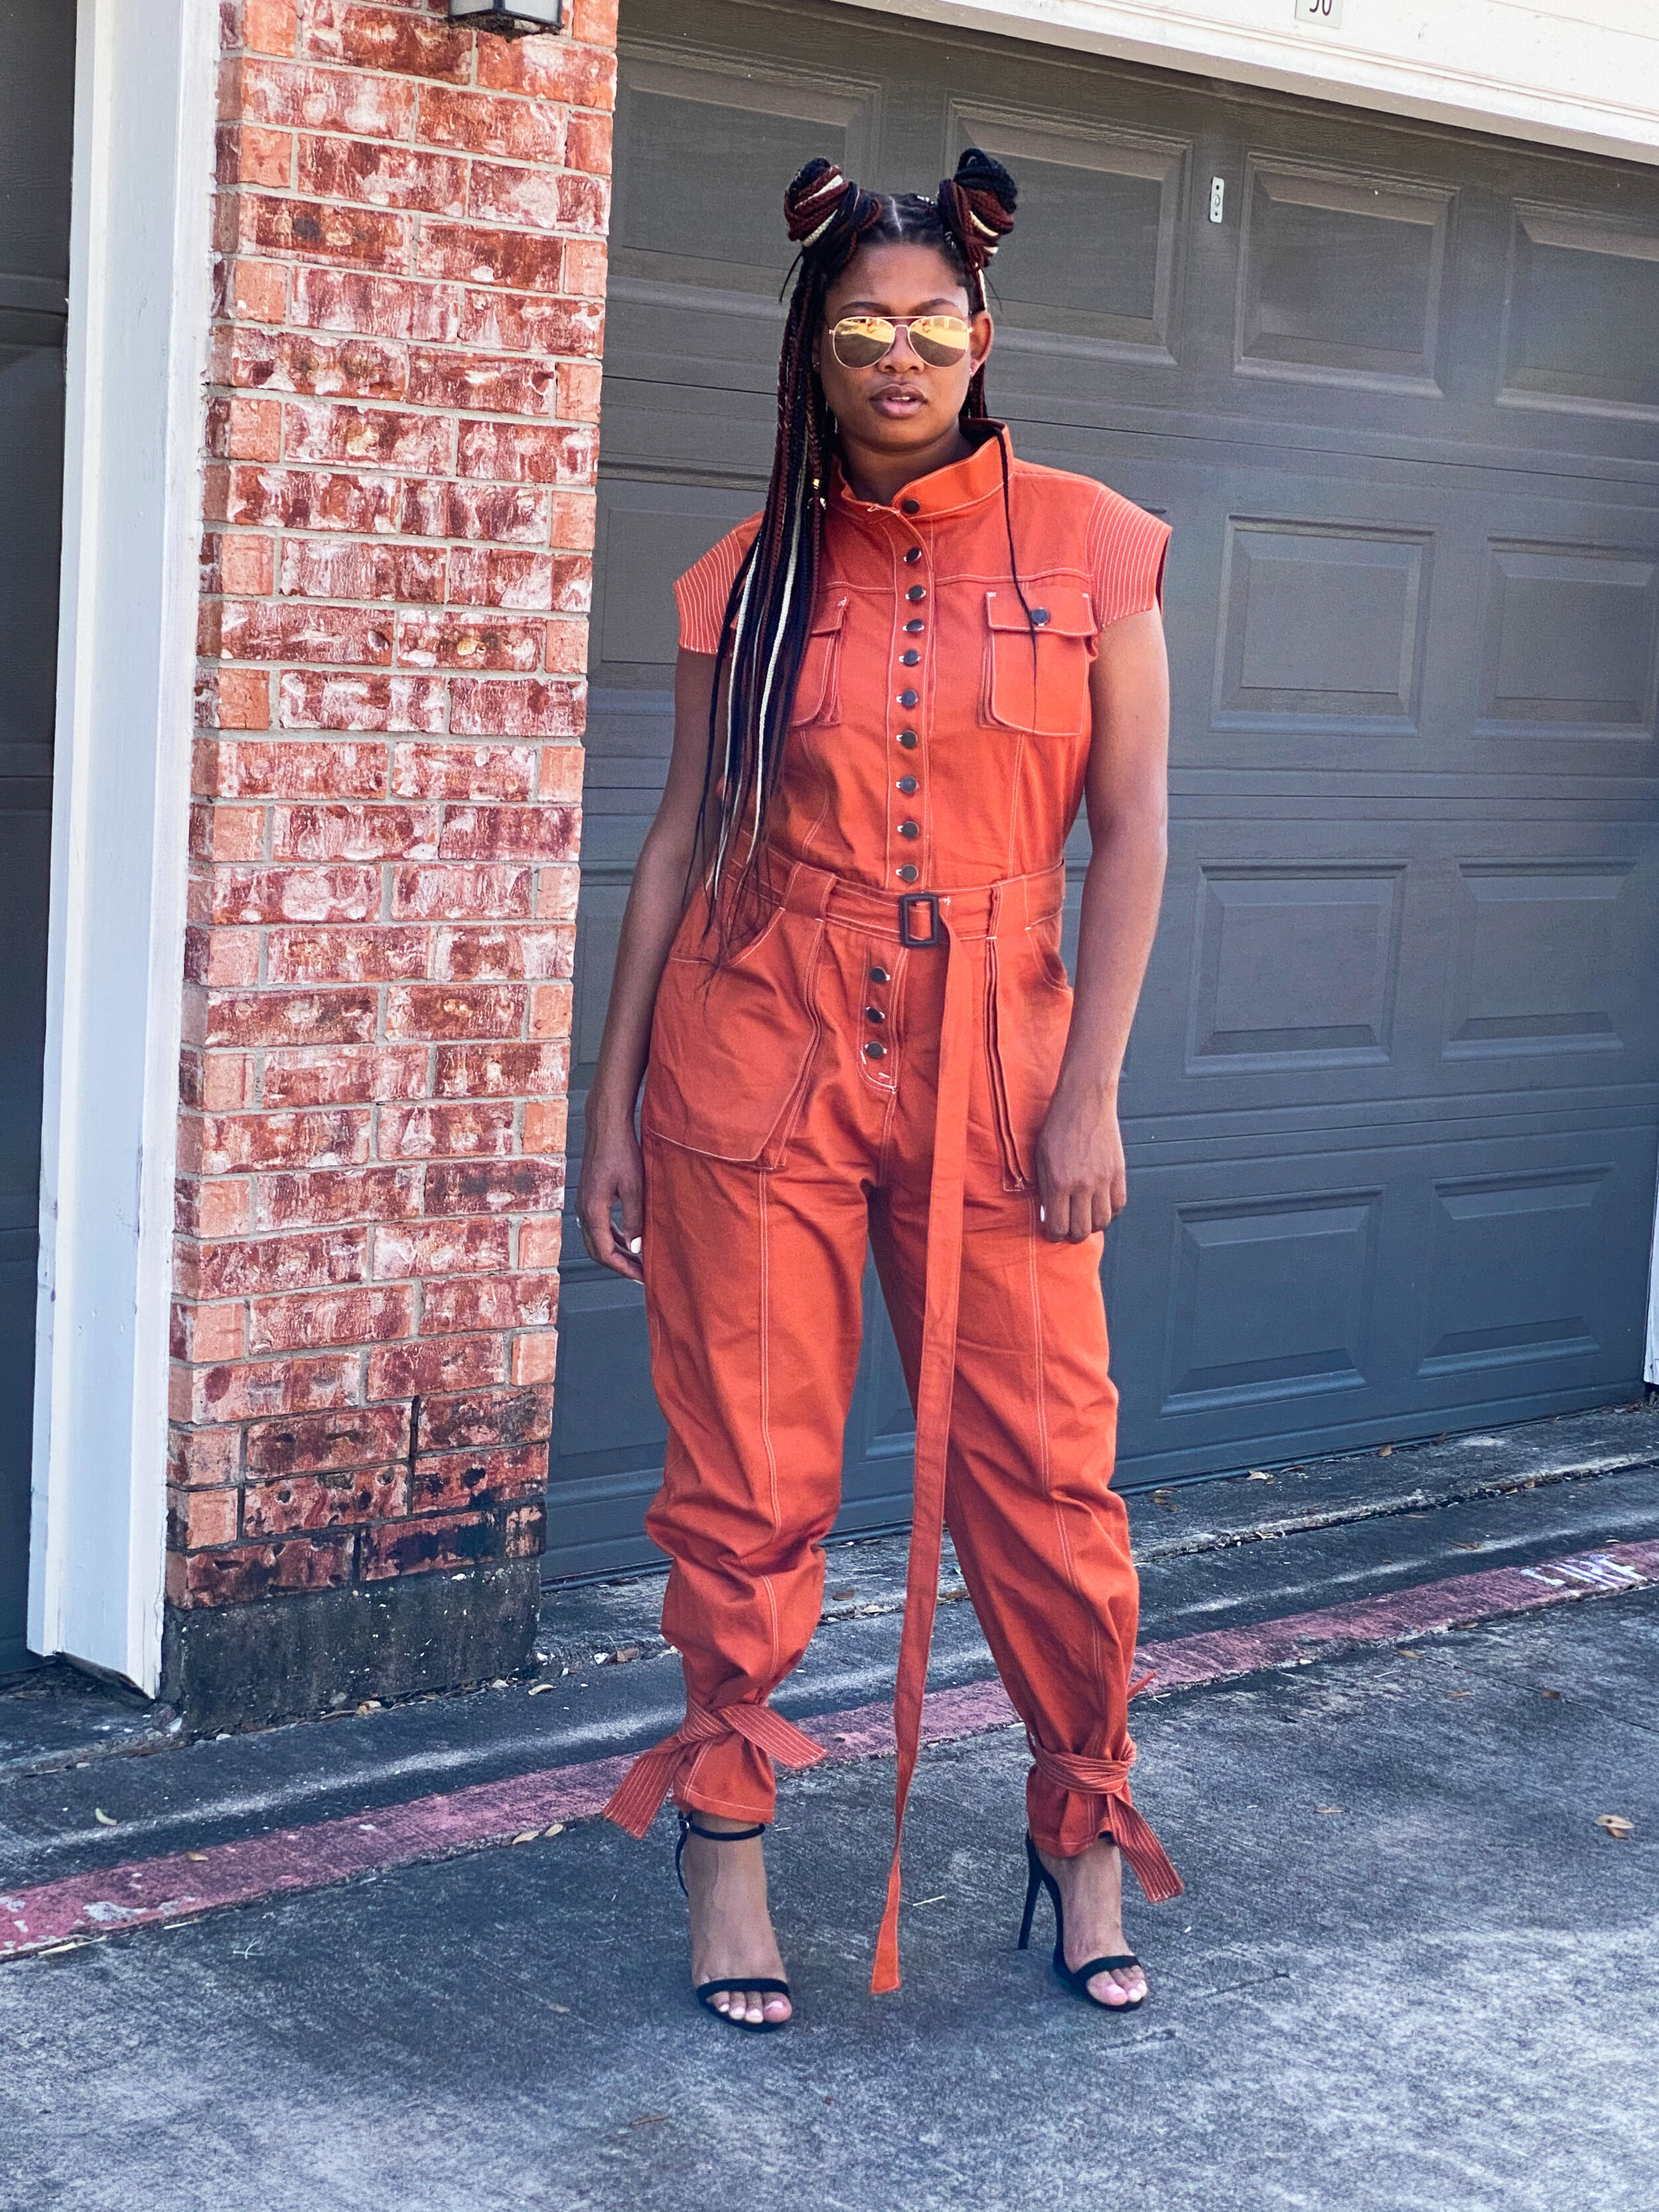
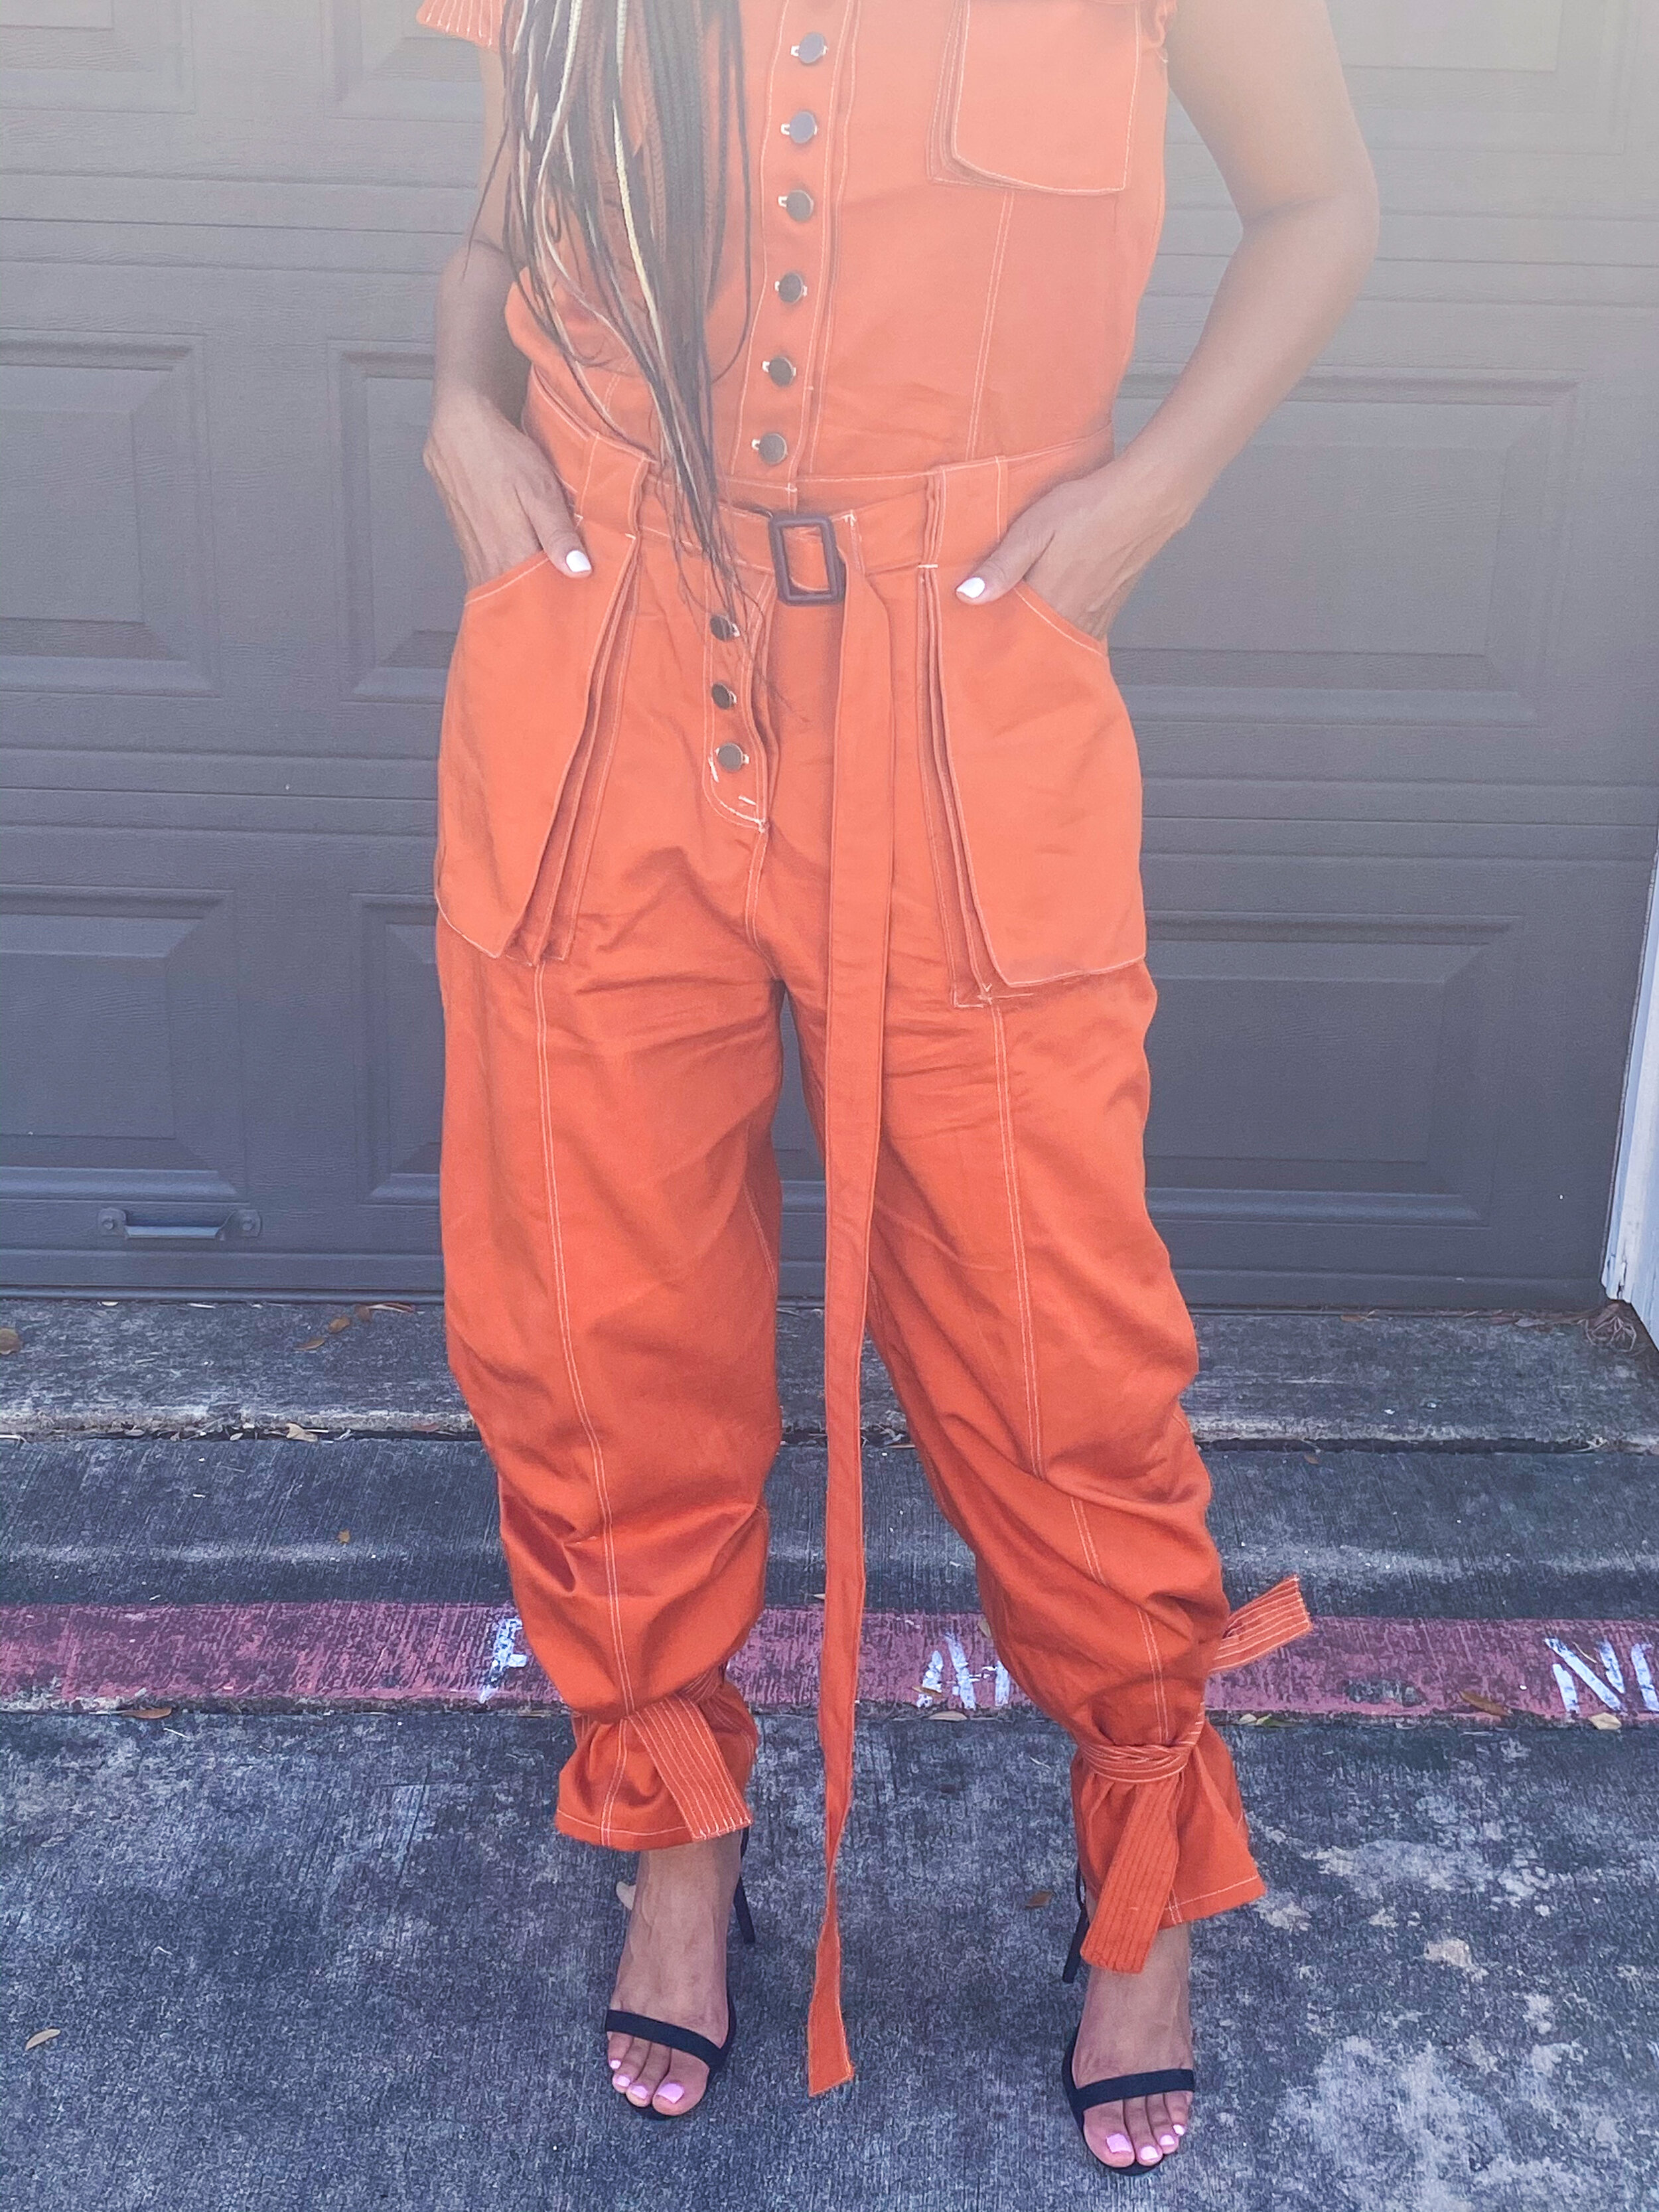
Since I was not following a pattern the most difficult thing for me was figuring out how I wanted to do the closure on the pants. My sketch has buttons going all the way down but I did not want a button fly (I have a fear of them popping open while wearing) but still keep the look of the button fly. What I ended up doing was creating a double fly, it kept the look of the button fly on the outside while adding a zip to the inside of the fly.

Transferring all of my marking to the center front.
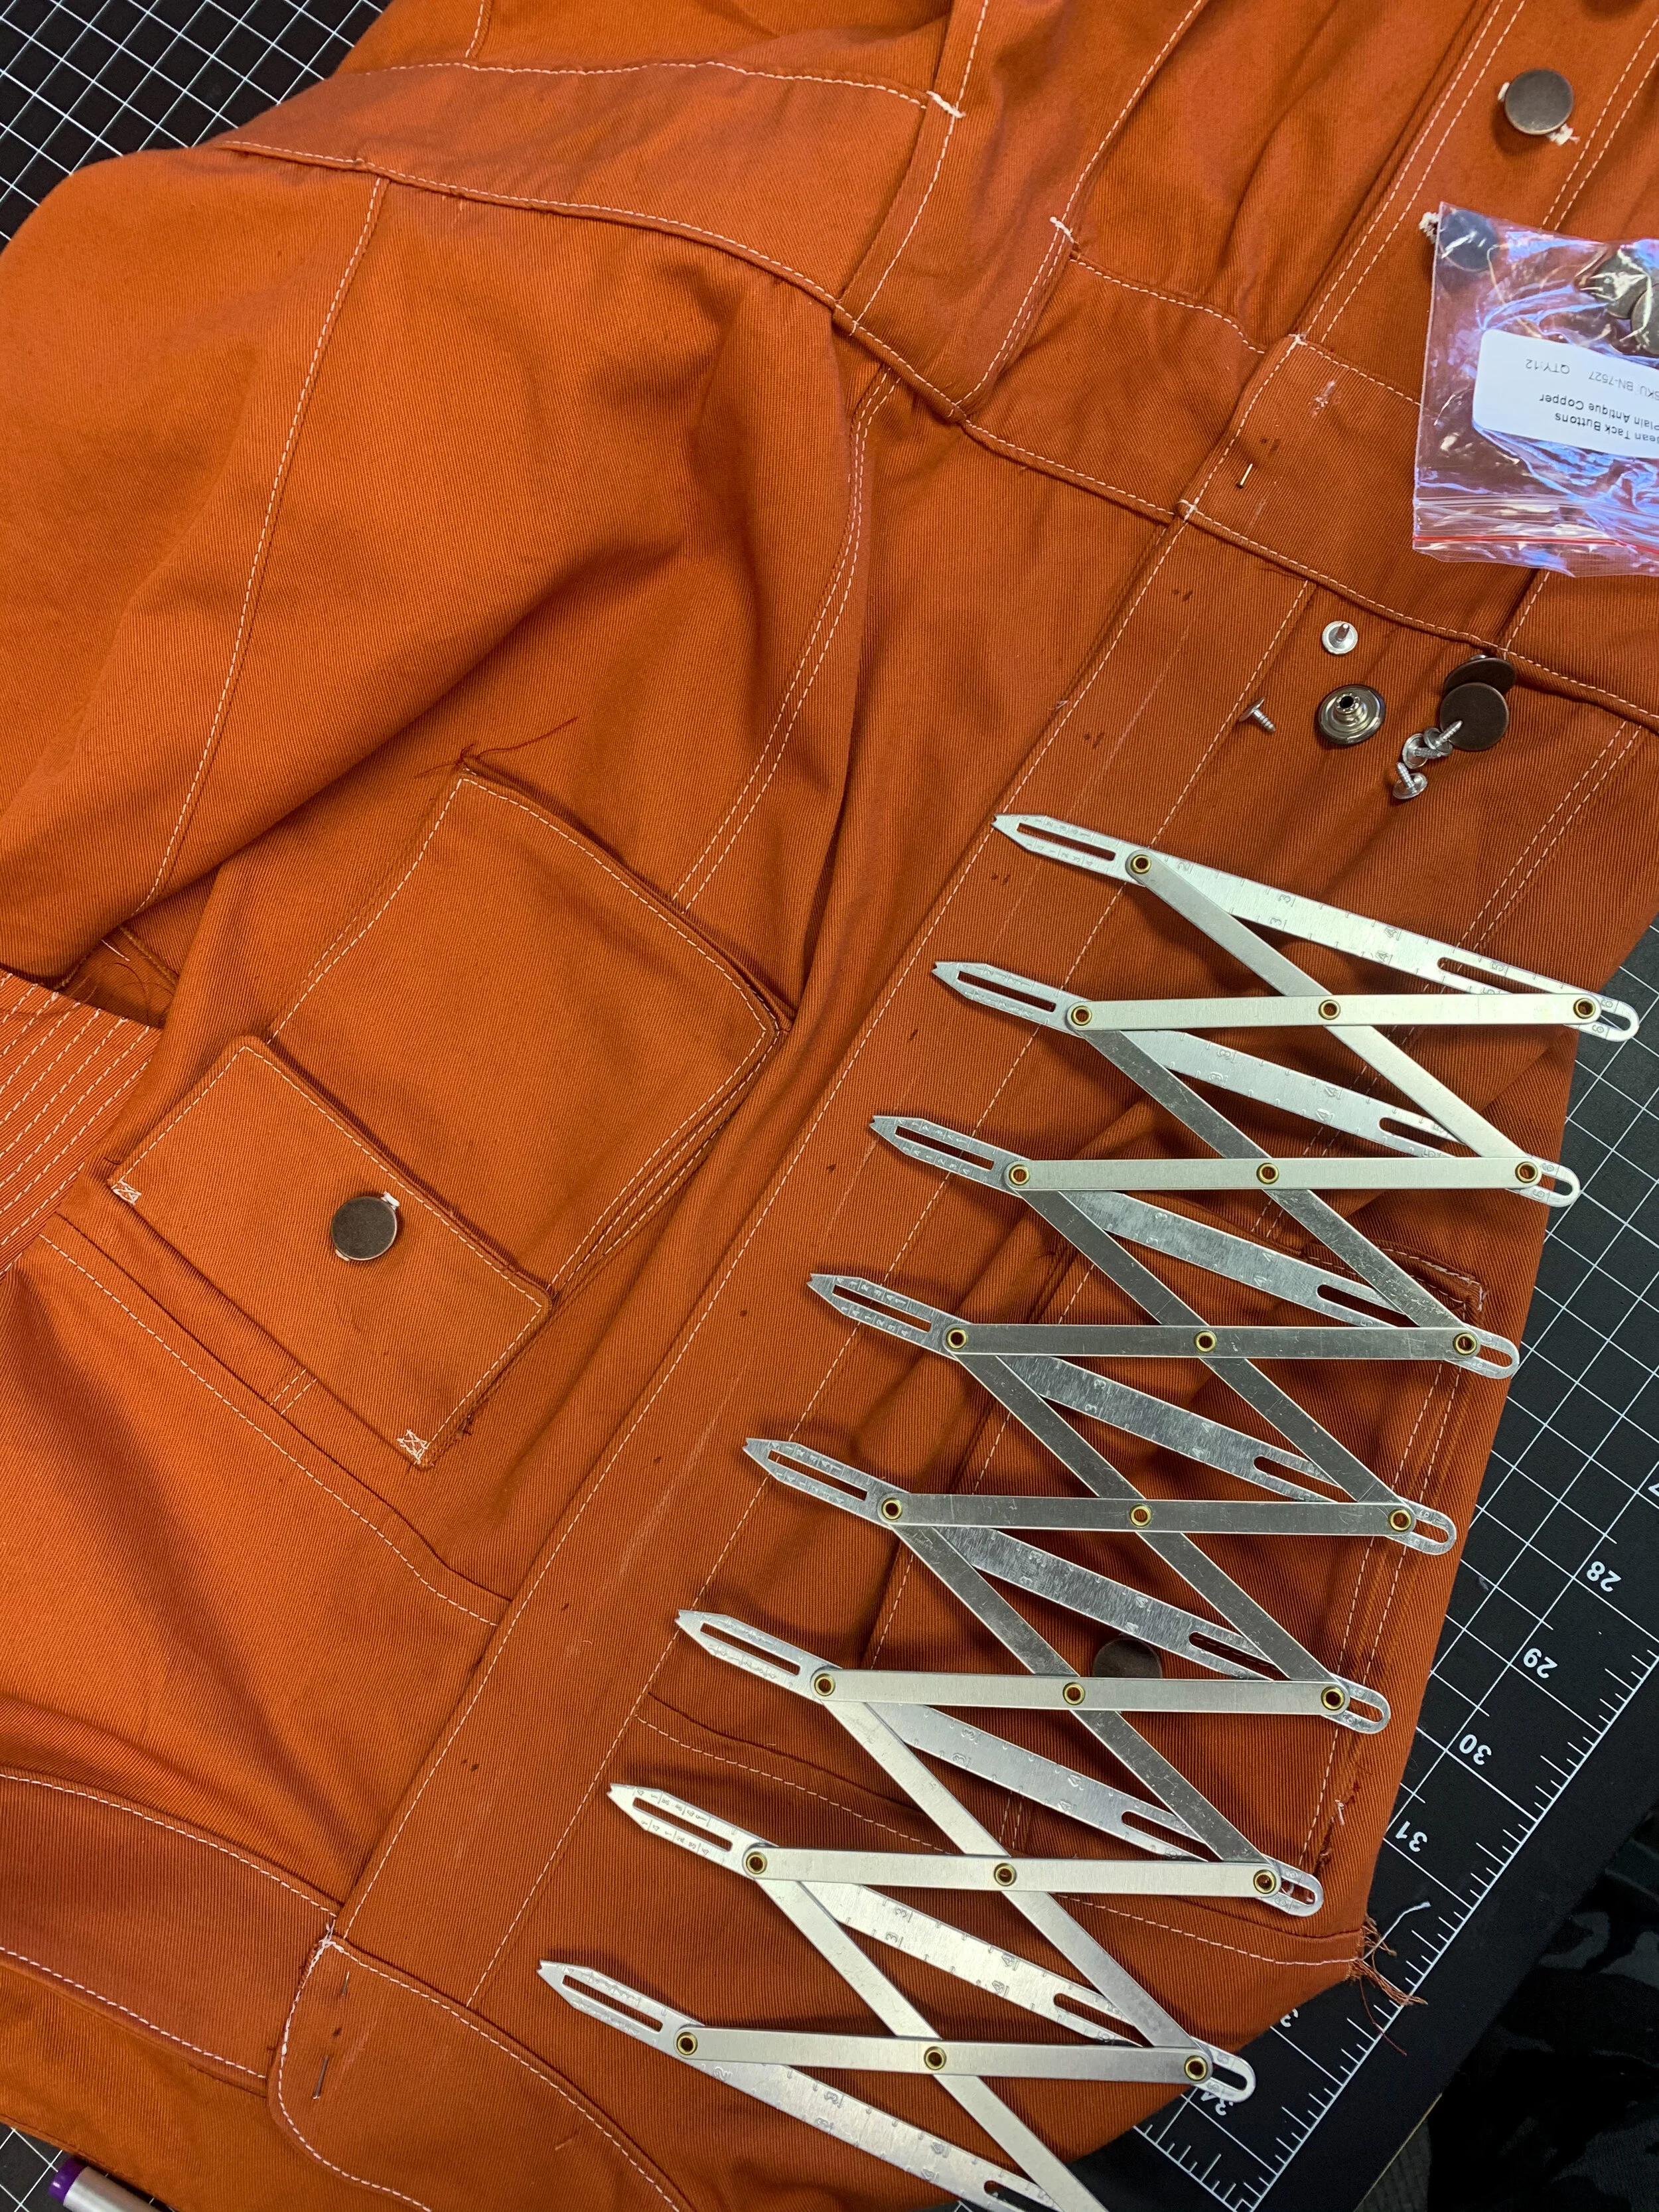
Expanding Sewing Gauge helps with the spacing of my button placements.
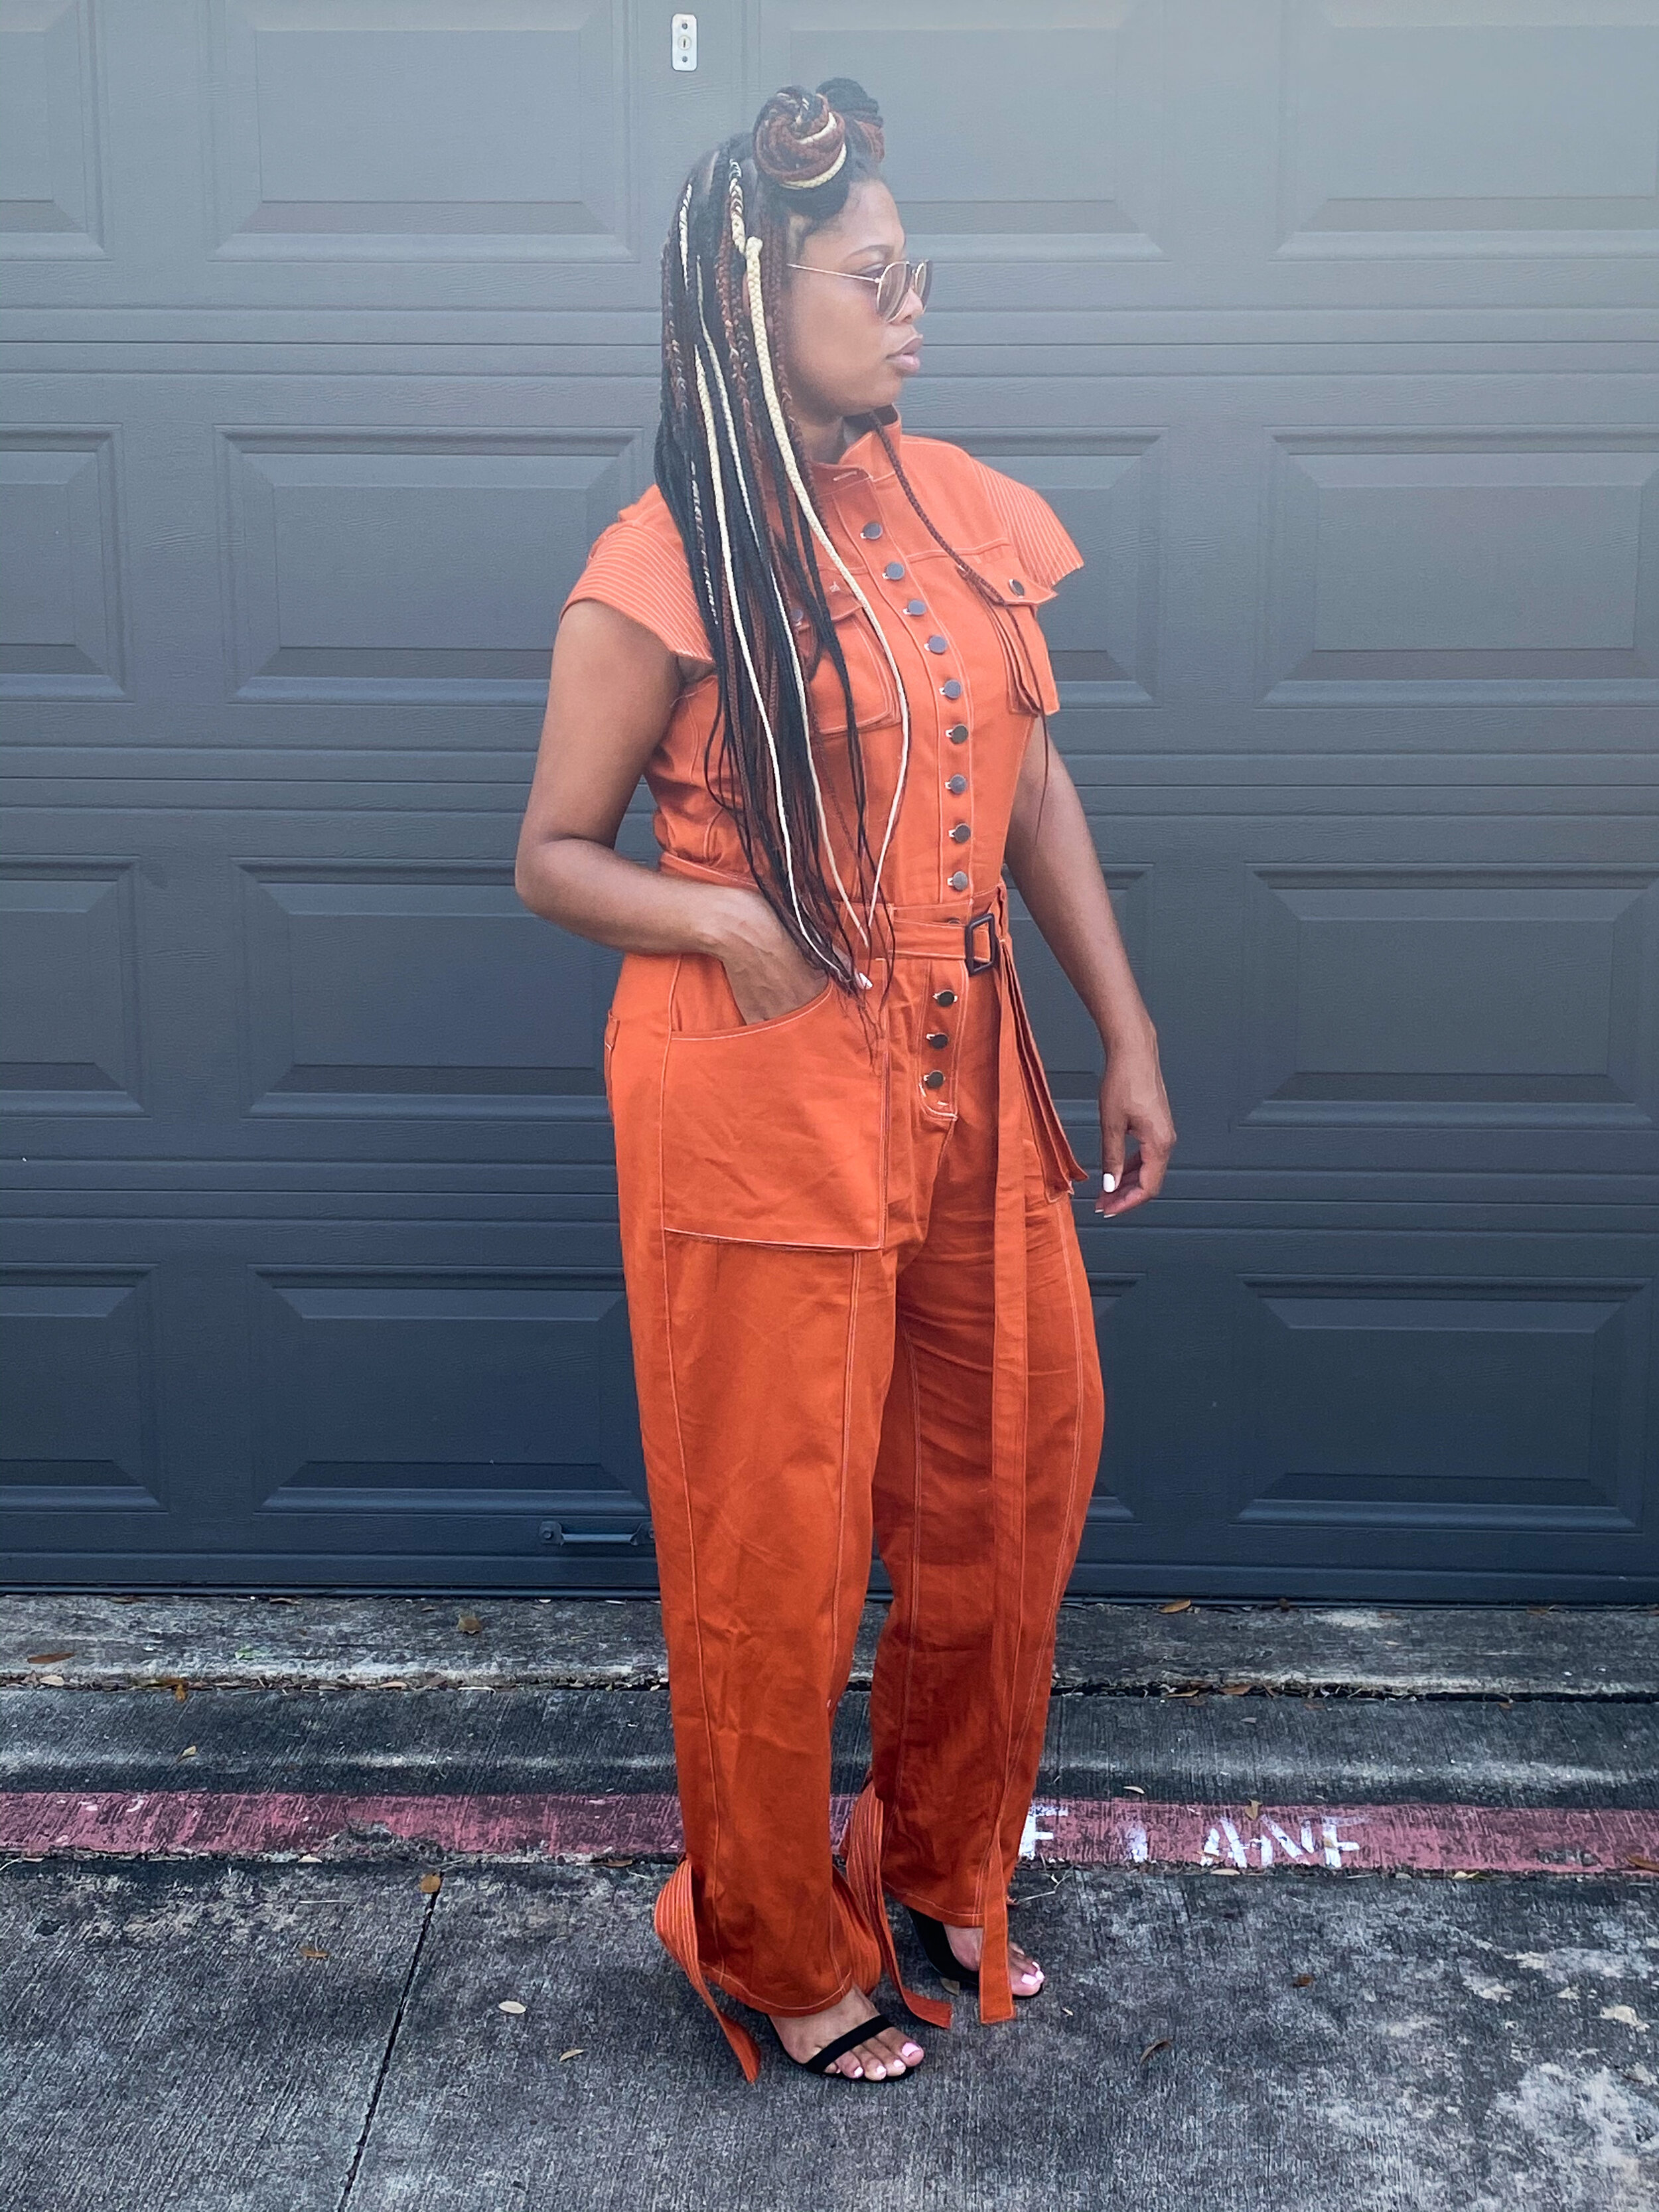
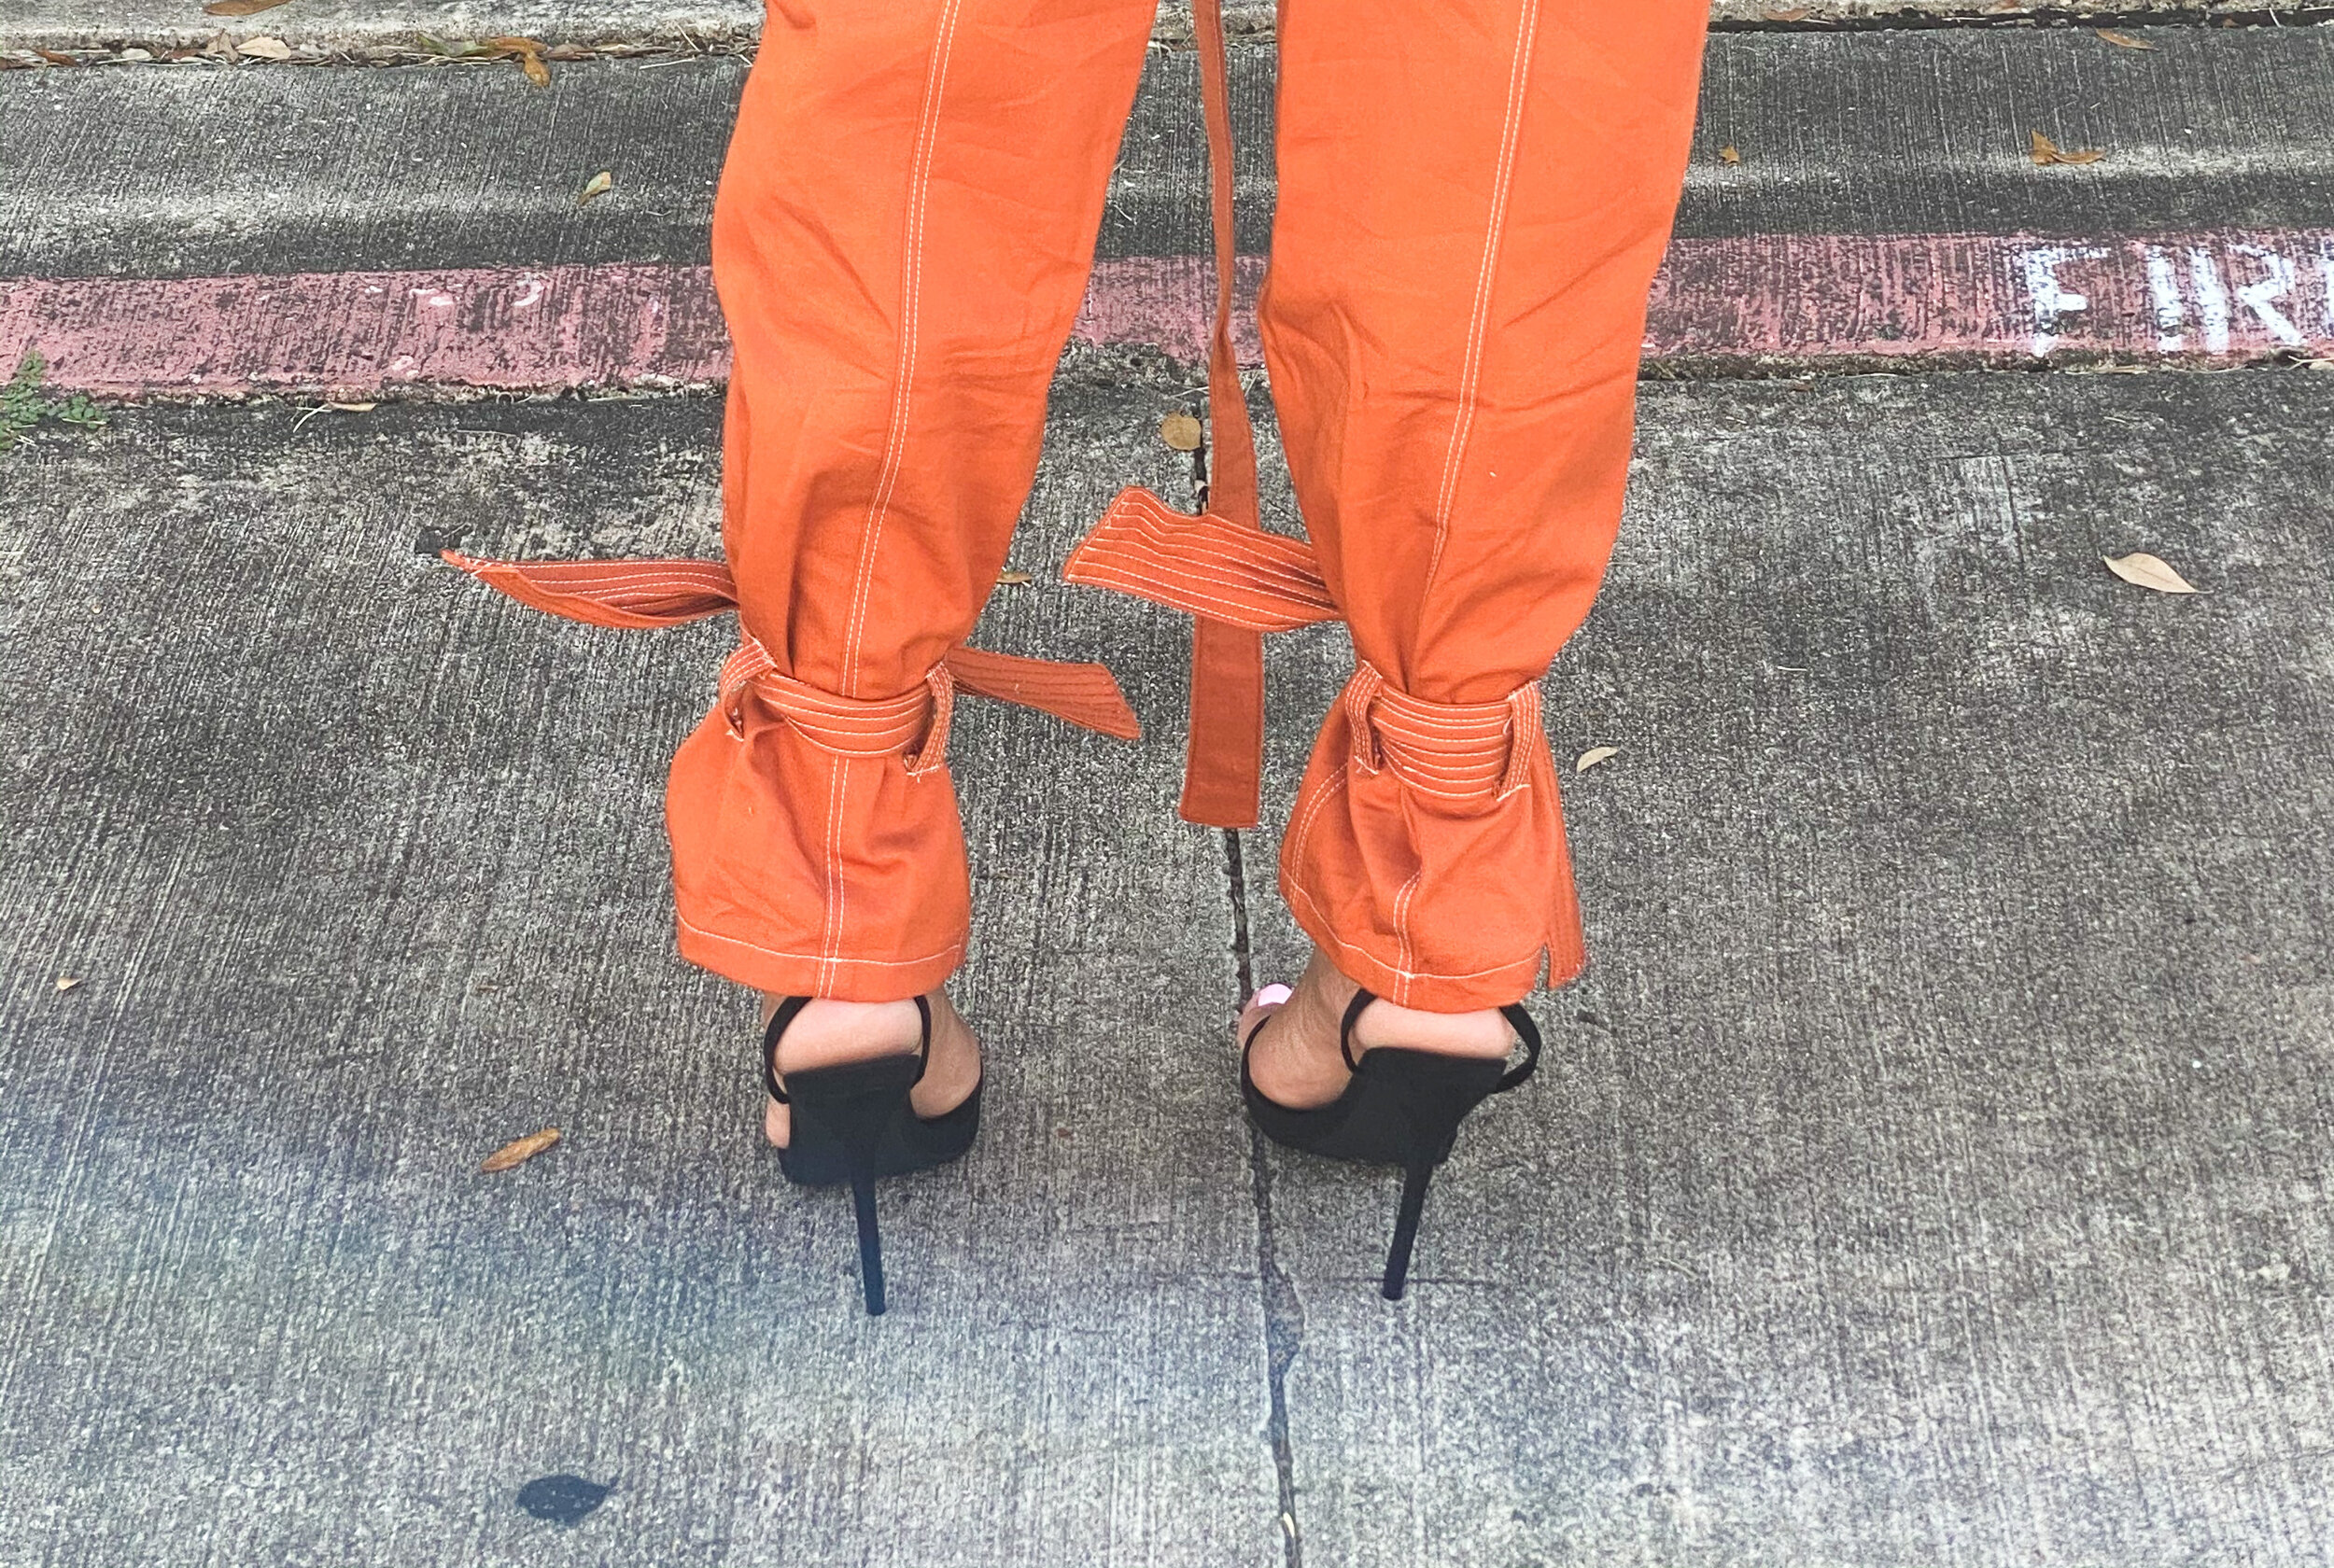
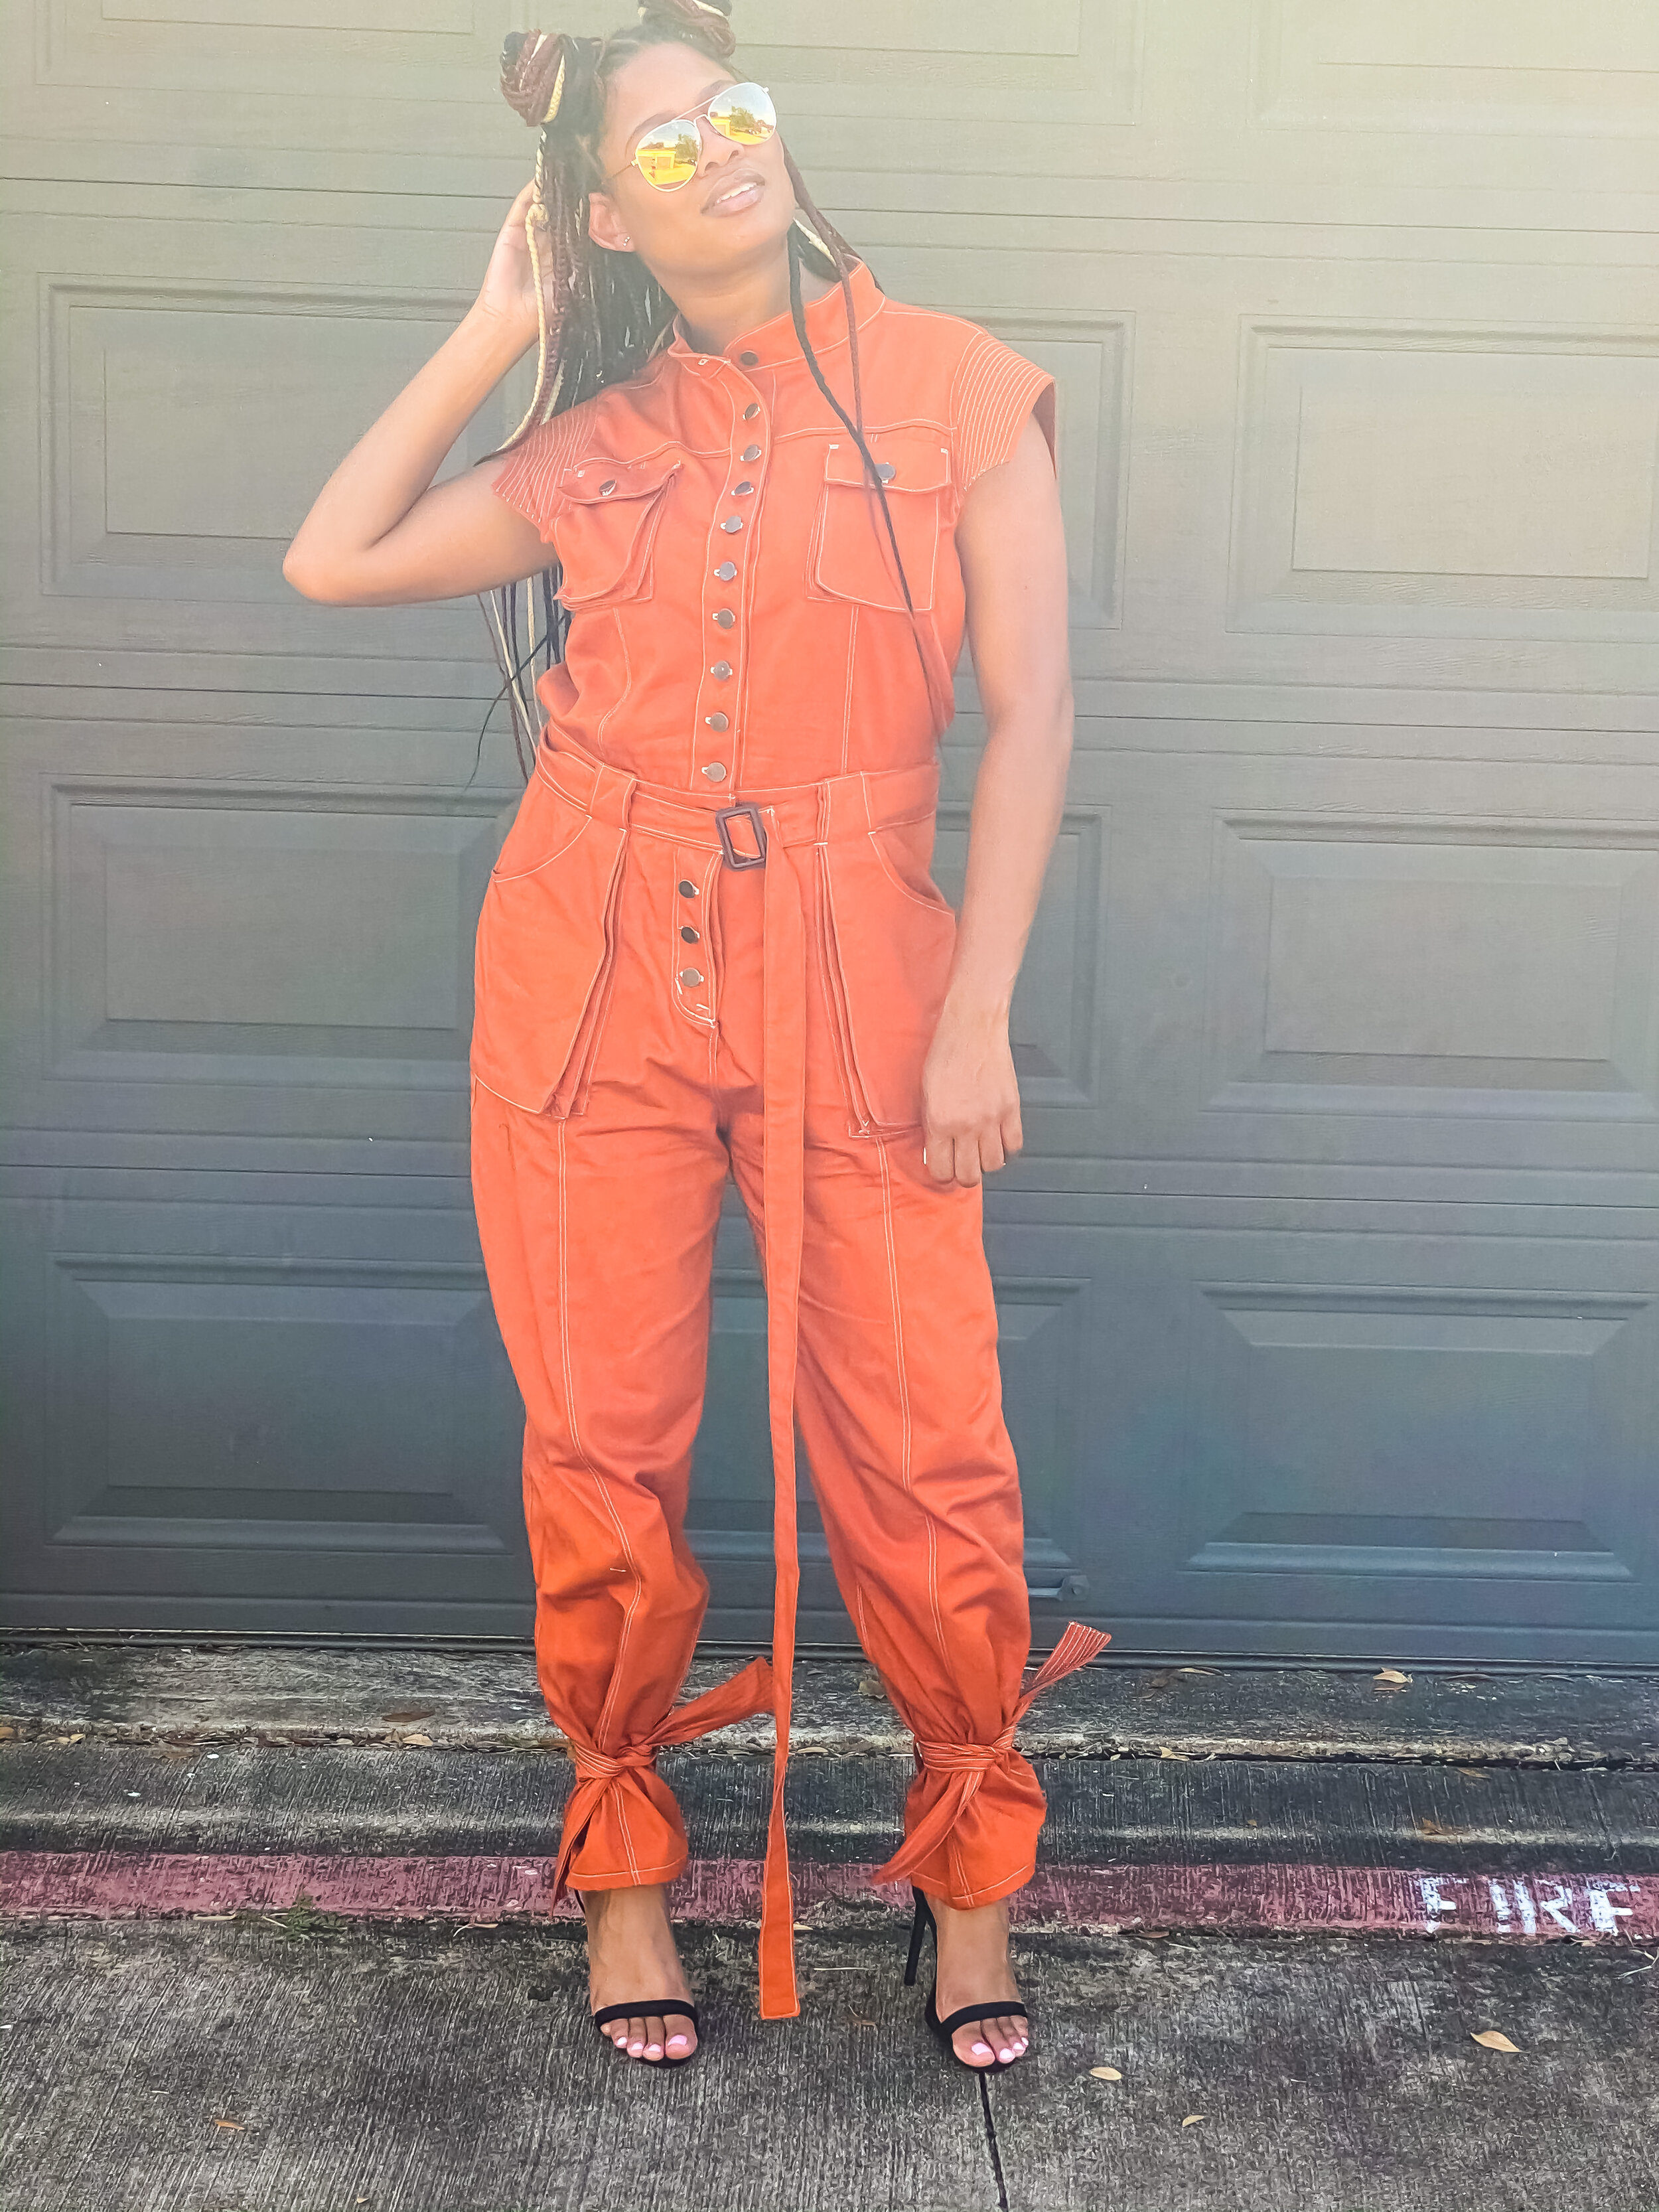
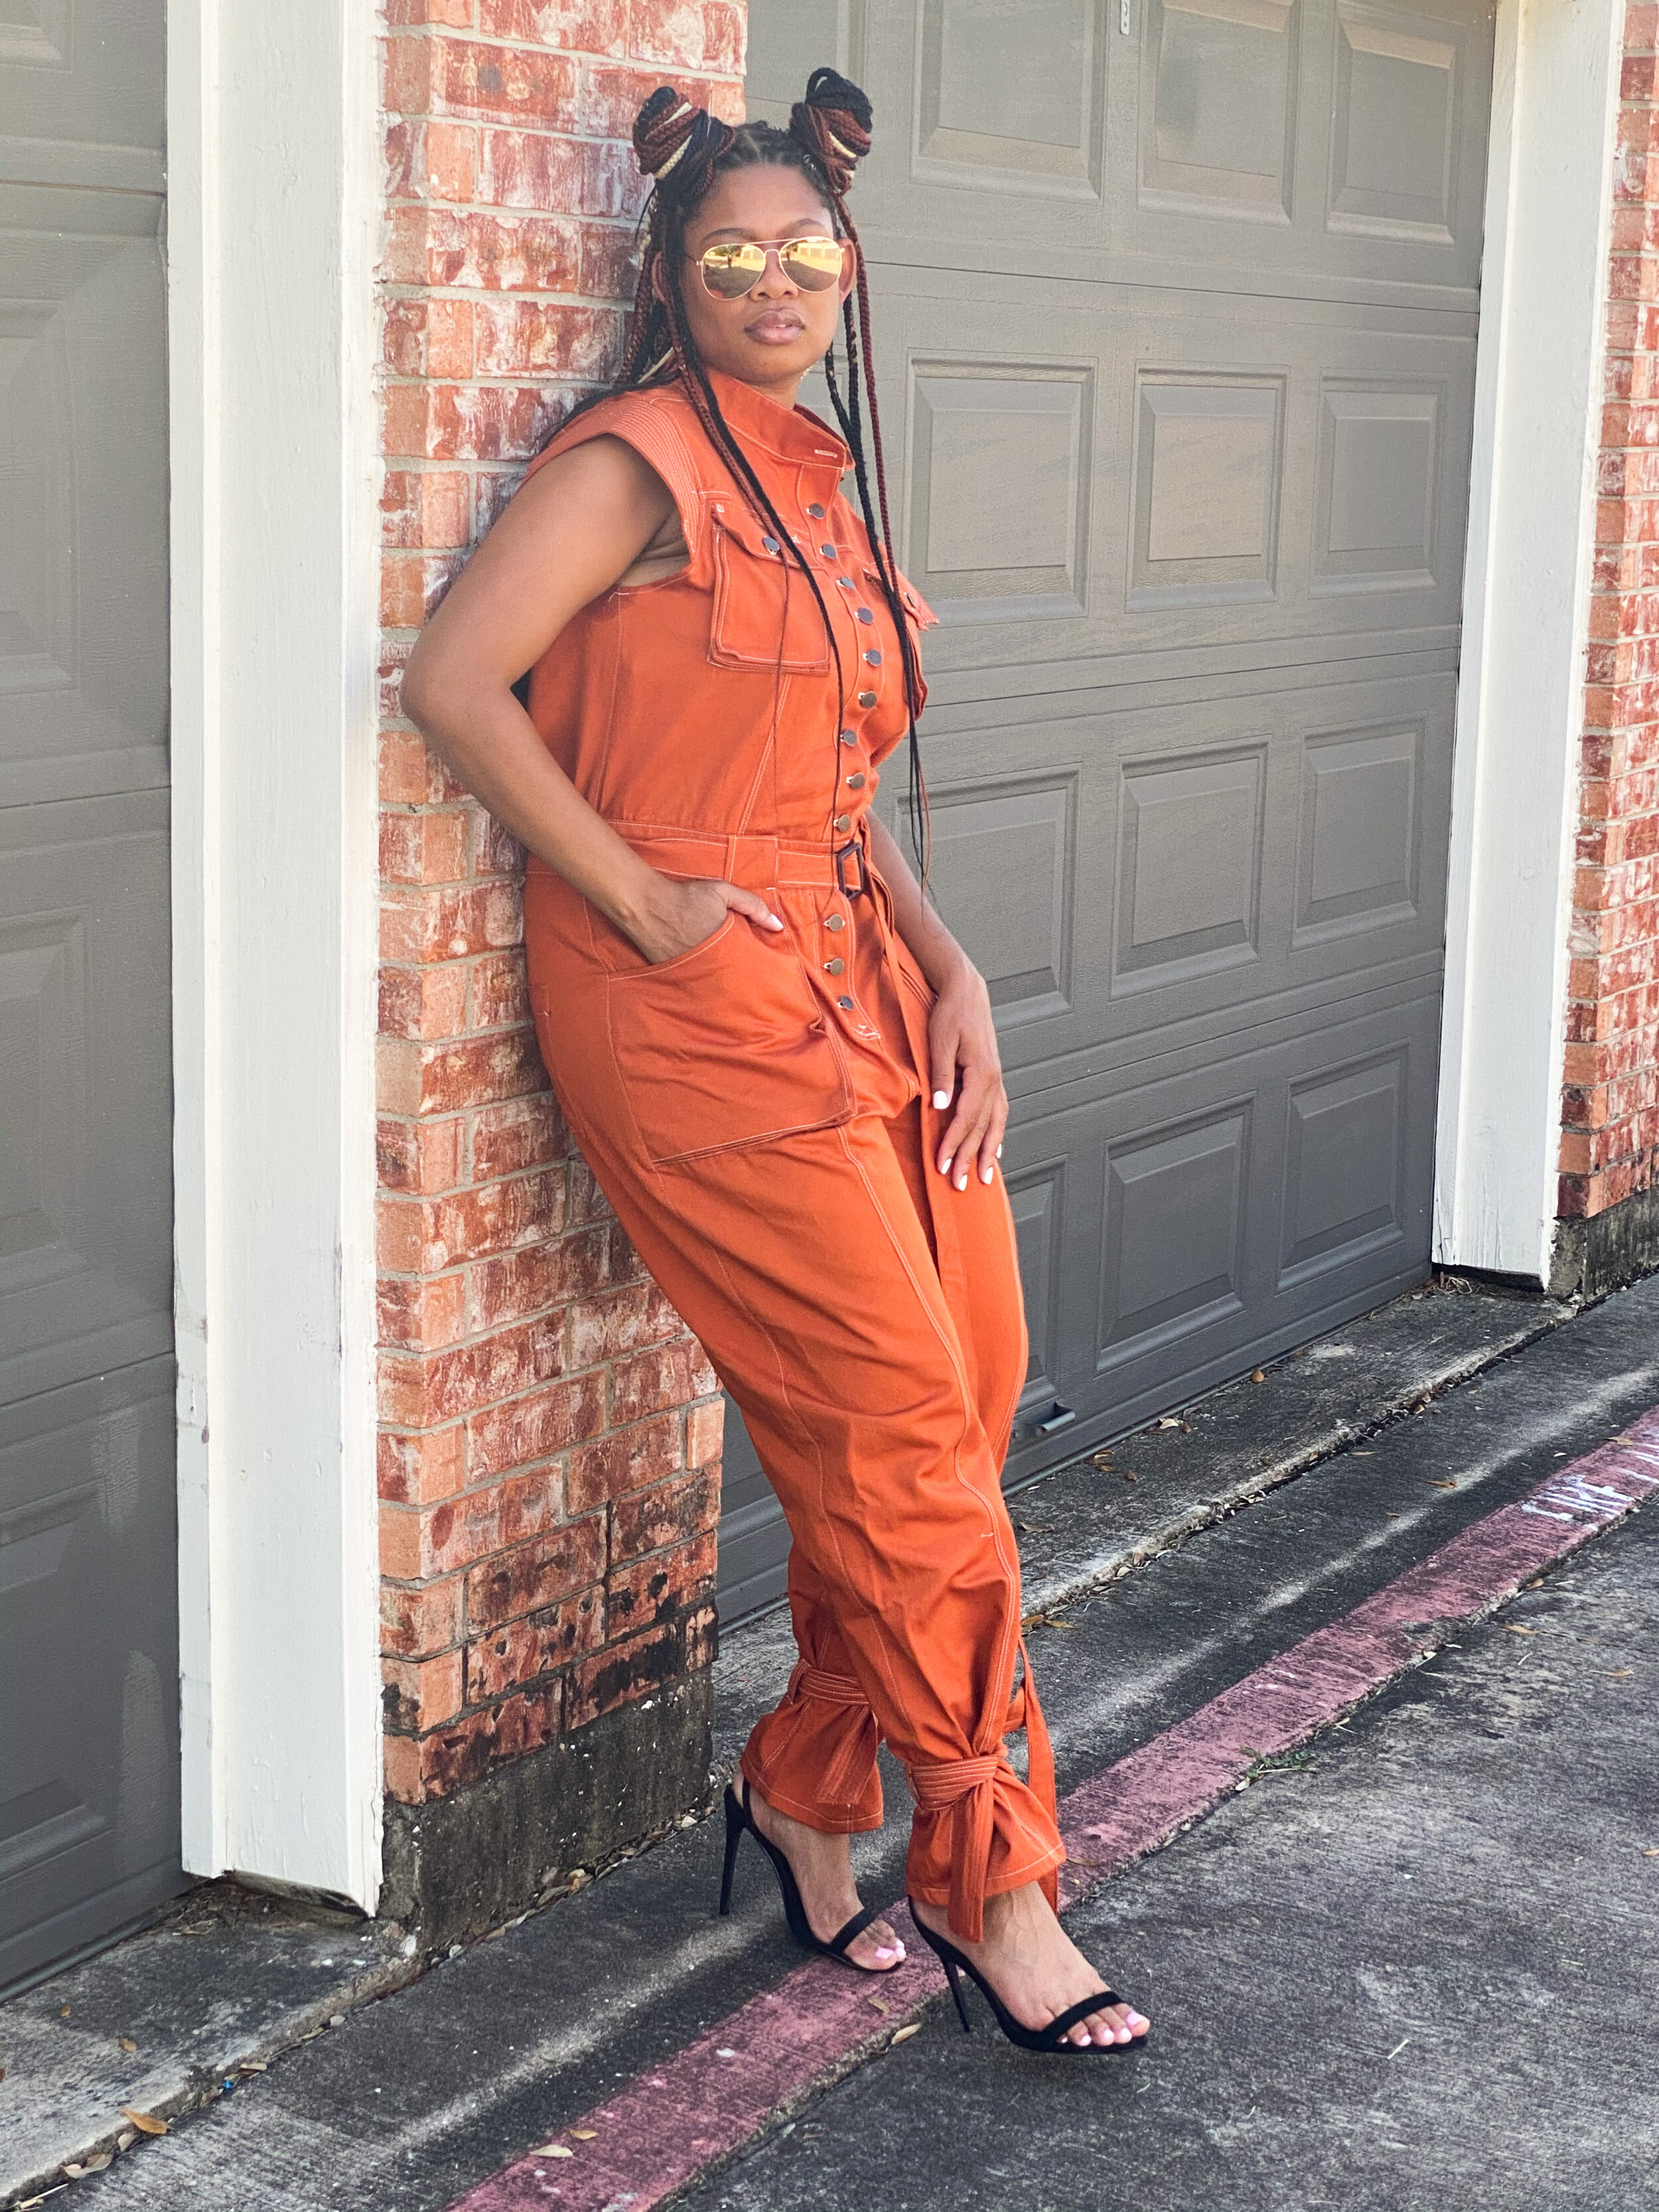
This utility suit came out even better than I imagined and I am actually really proud of myself for achieving this look. Some of my favorite details are the contrasting top stitching (I used a 1/16” and 1/4” edge foot). Accordion pockets to add extra dimension. The extended shoulders with topstitching. The double fly front, and the ankle ties.

Fresh off of the sewing machine.
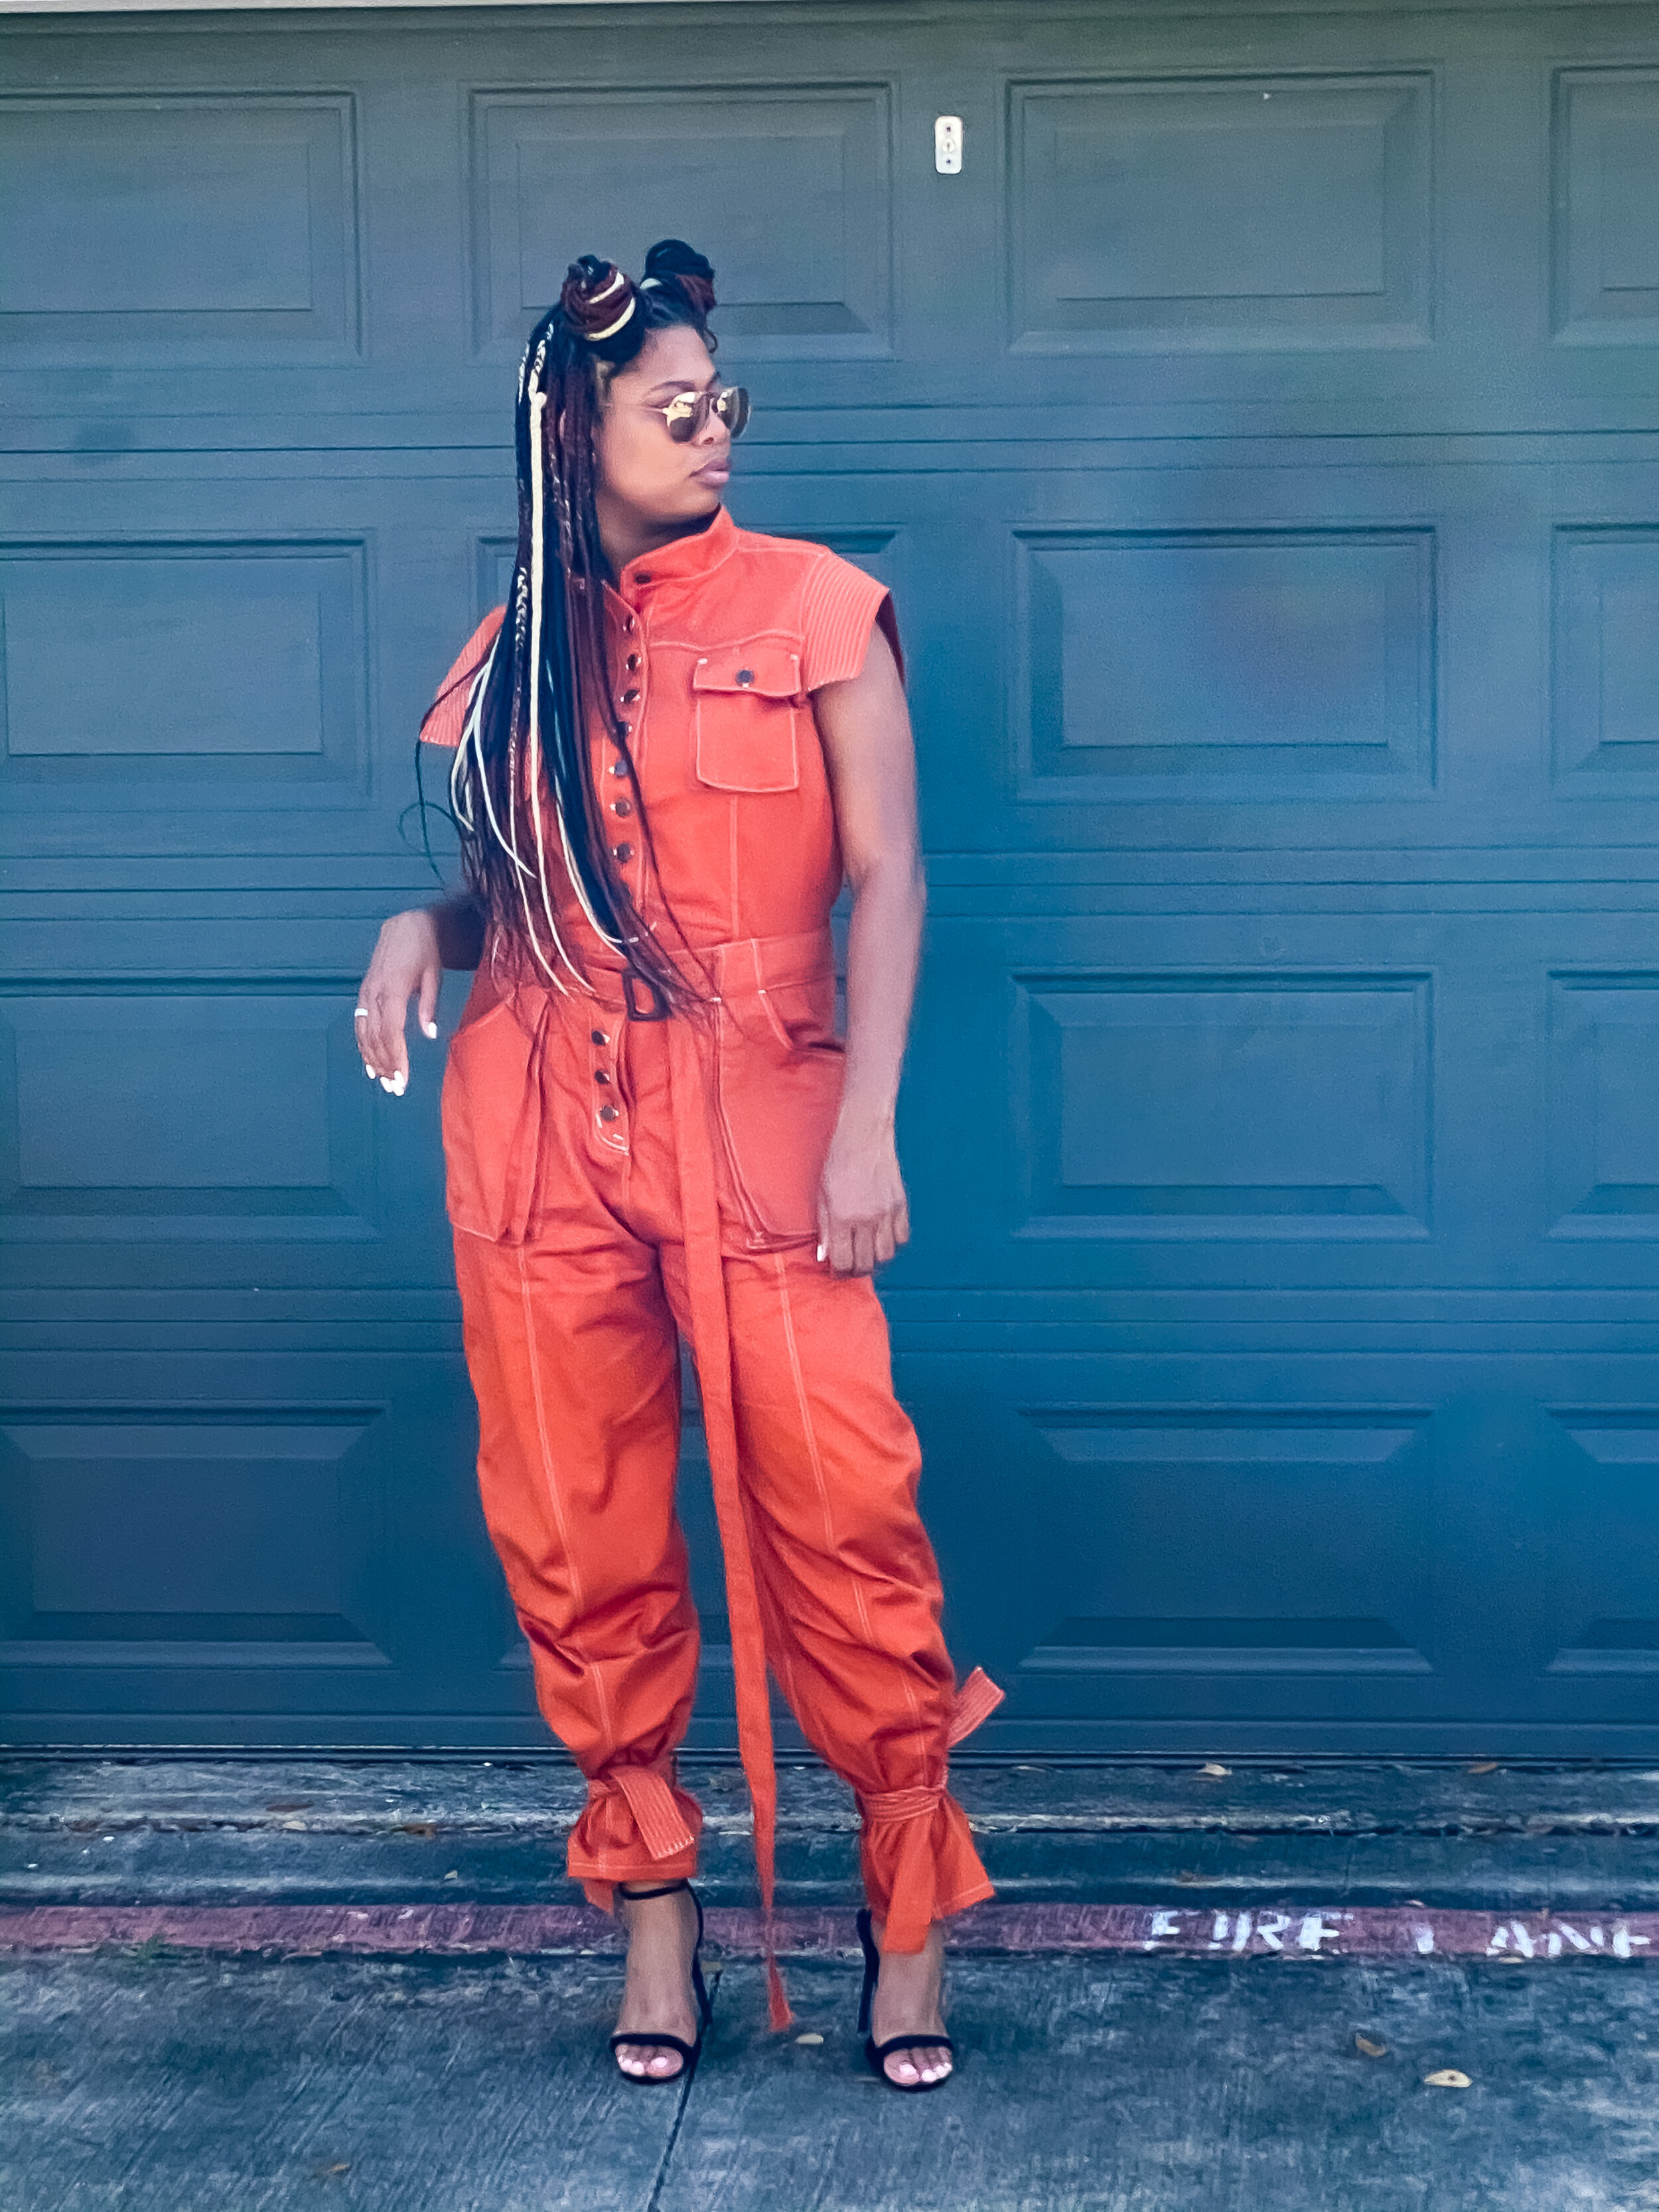

Thanks for reading, til next time.
-Jazz
Follow me on Instagram @sewmuchjazz
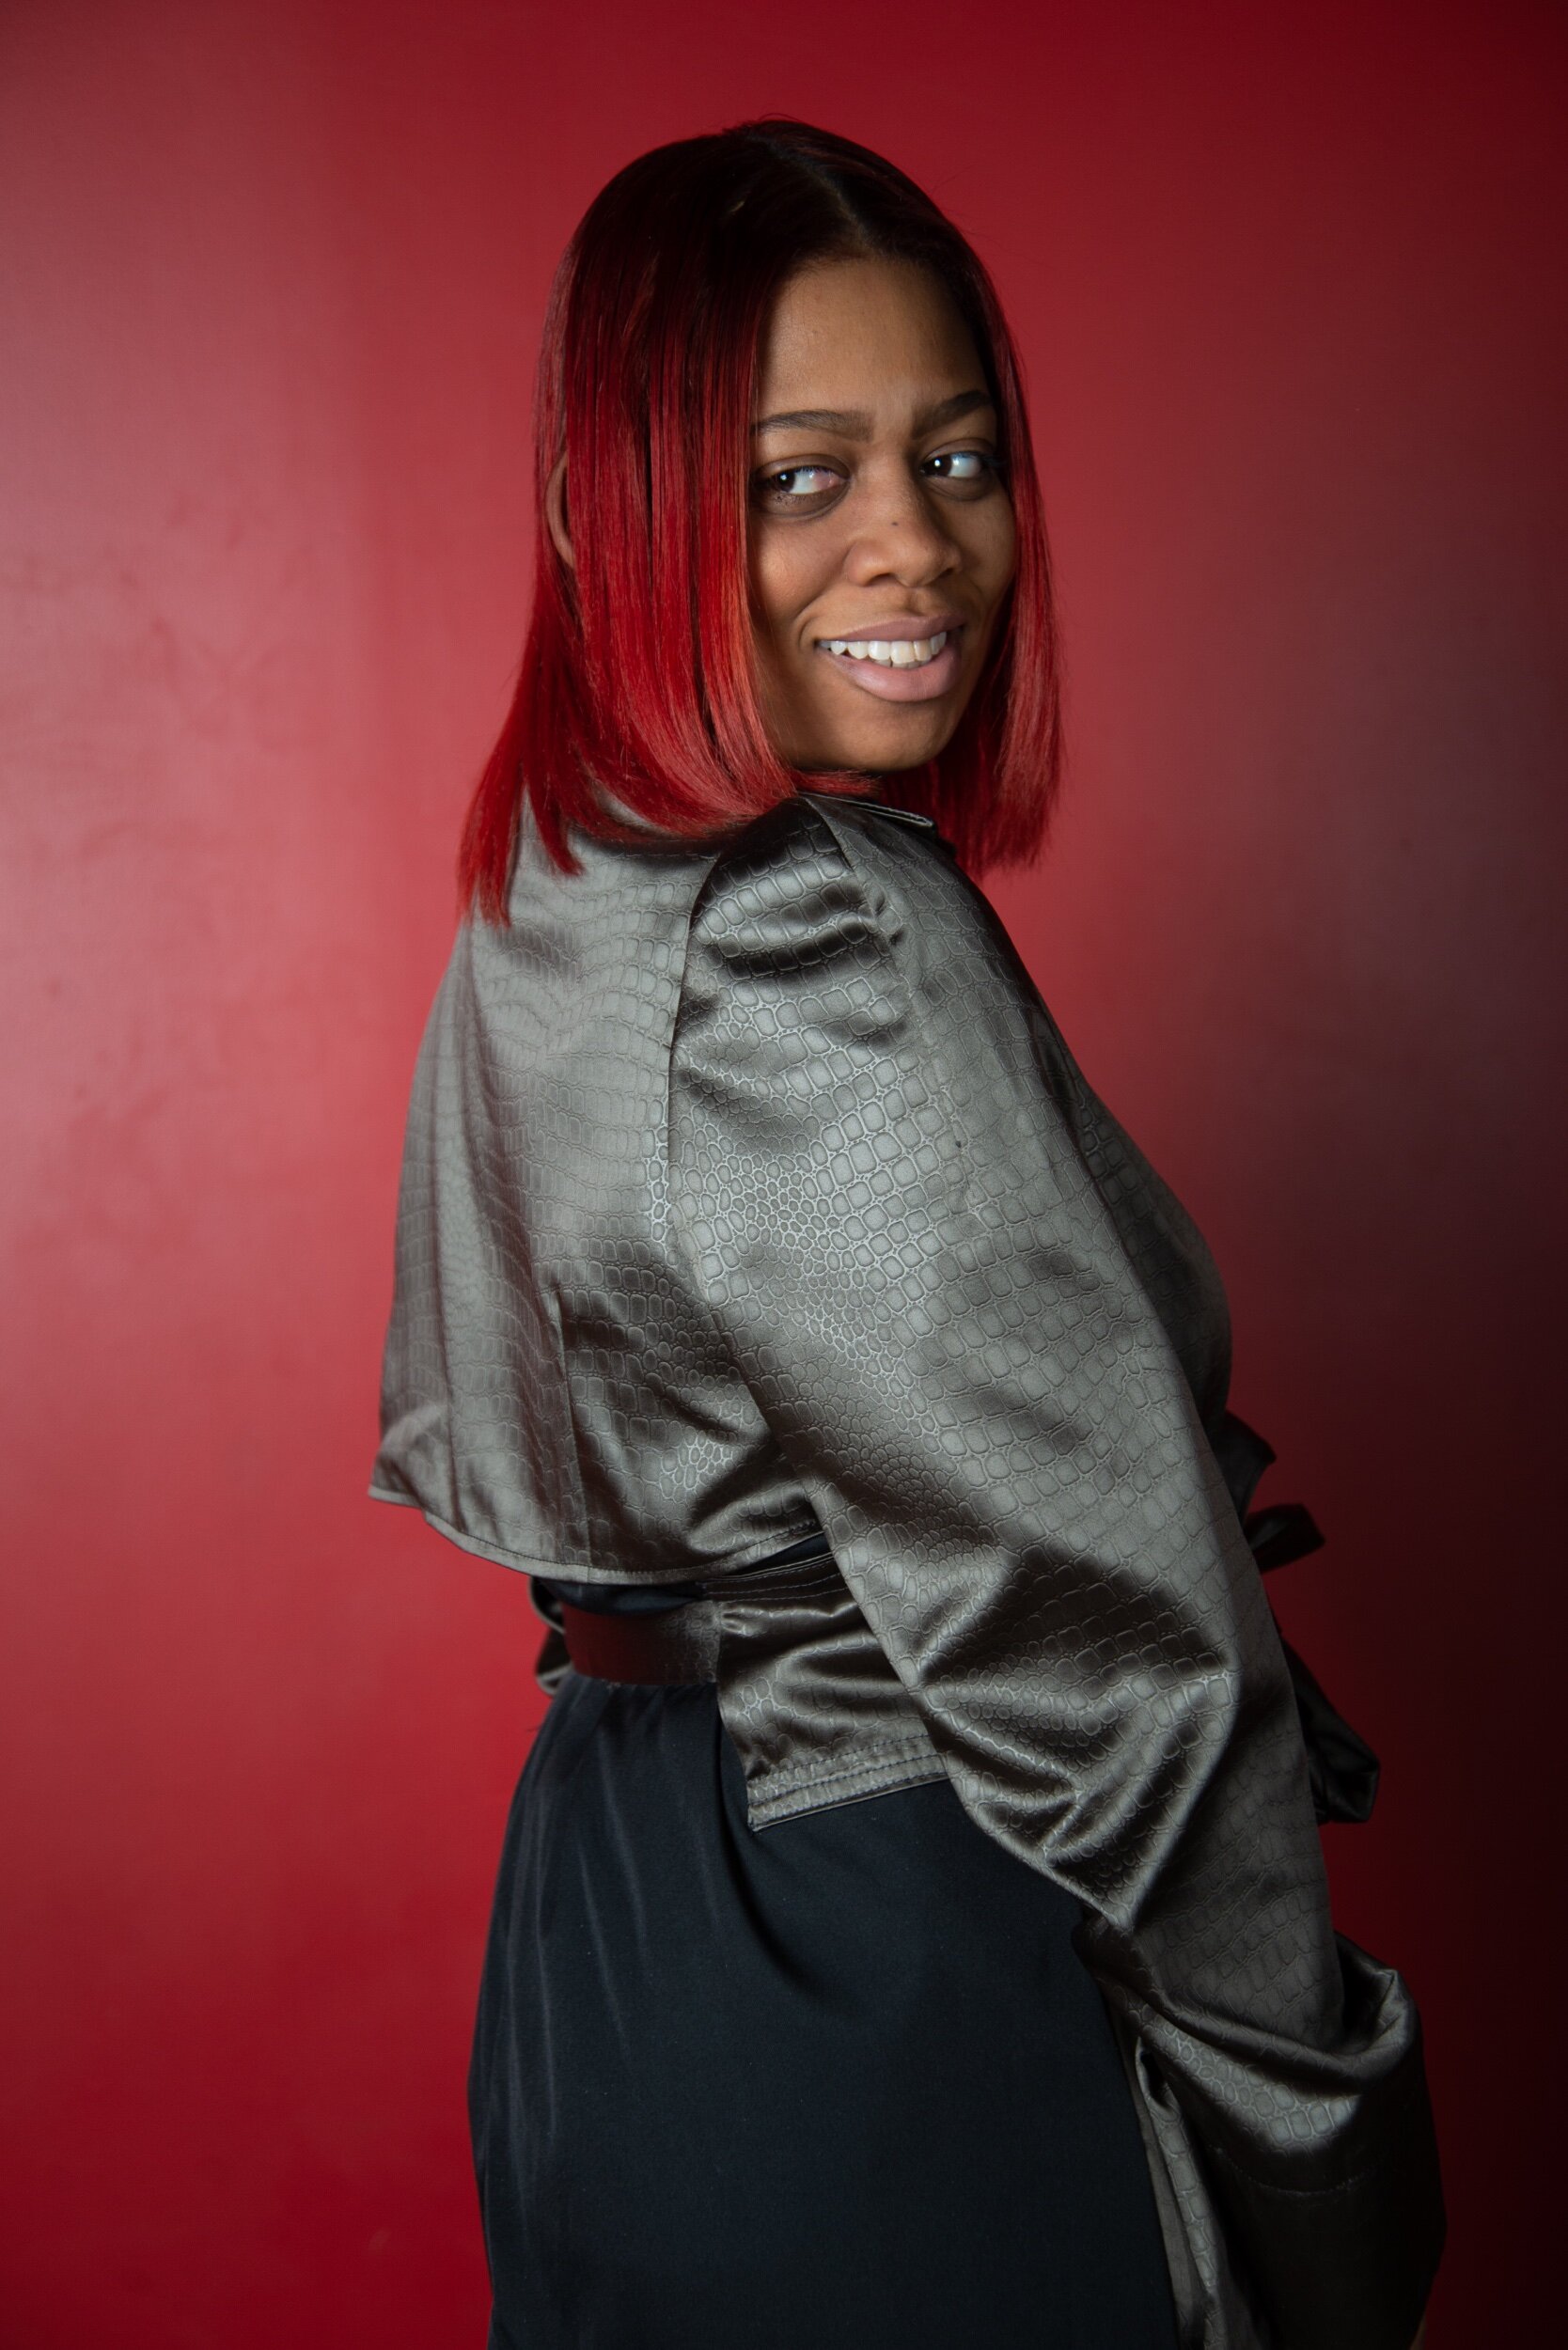
Vogue Pattern #V1650
When this pattern was first released I knew I had to get it, the edgy details incorporated into the design were right up my alley. This was actually my very first time working with a Vogue Pattern and from what I had heard, they are known to be more complex of the Big 4 patterns so I wanted to definitely make sure I took my time with it.
It is a fall release pattern and the goal was to get it completed before the weather turned too cold for winter.
So let’s get into my process of creating this look.
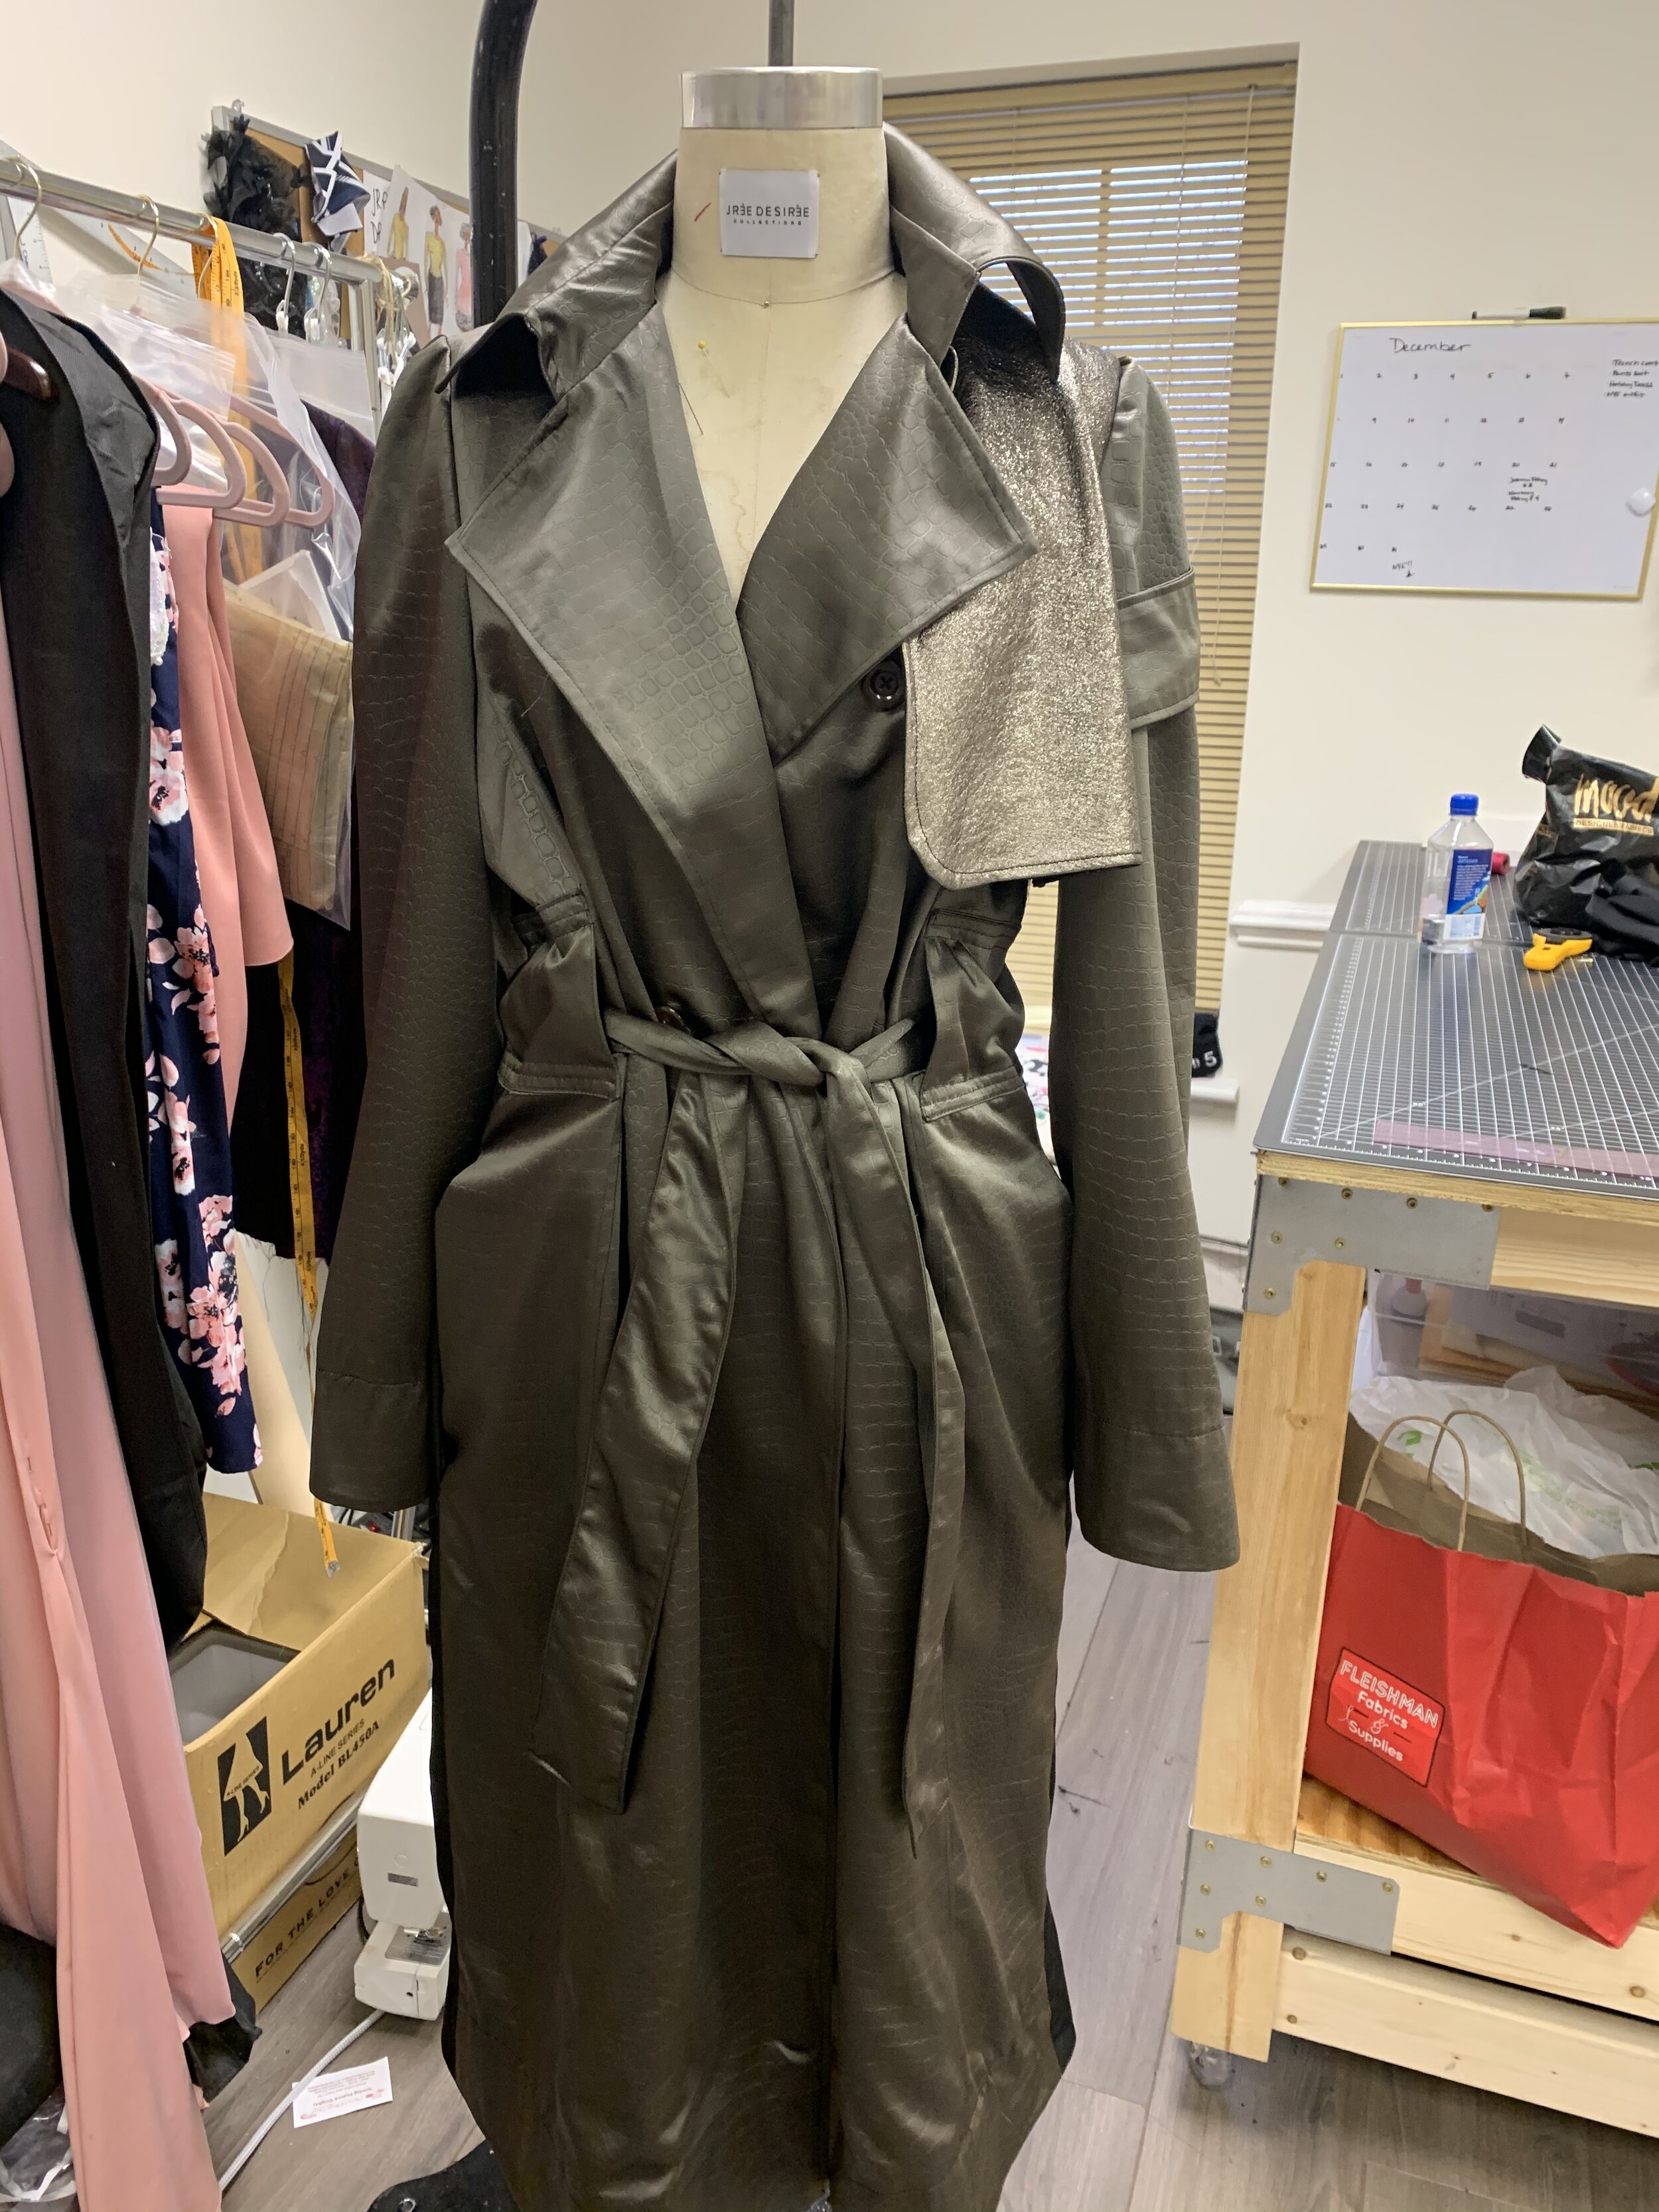
Back in the summer I got about 5 yds of this amazing embossed croc fabric from Jomar Stores located in Philly. I featured it in my Philly Fabric Haul on IGTV.

One thing about me is that I’m always trying to elevate a store pattern by making it unique and mines in some type of way. I loved the storm flap detail on the jacket and decided to use a metallic lambskin leather that I found at Mood Fabrics NYC location. I feel like it gave the perfect contrast.

Now comes my first road block. So now that I finally had all of my materials as you could imagine I was super eager to cut out all of my pieces so I could get started. I rarely ever follow the pattern cutting layout, and this time was not an exception, however now I found myself short of cutting about my full back pieces. Since the fabric had a narrow width I wasn’t too strategic with my cutting. This was also the very last of the fabric. So I ended up getting a lightweight black twill that had a similar sheen as my main fabric from Jo-Ann’s.
This worked fine but then I became worried that my initial plan with using the metallic leather for the front and back flap will now be too much for the design. I was bummed because I bought the leather specifically for this project and wanted to use it. Ultimately I decided to keep the front flap in the leather and the back with the self fabric. I also added the leather to the outer neckband as well. It was a good resolution to being able to still use my fabric without overpowering the design with too many details.


Seeing it slowly come together was definitely super rewarding. The only other hiccup I had with assembling was actually cuffing the sleeves. When it came to topstitching them down it kept getting a pucker in the fabric. To resolve this I ended up creating a hem facing and stitching that on to the sleeve then finishing with my top stitch.
I created keyhole buttonhole and used tortoise buttons to close.

I’m so in love with the outcome! Though now it is a bit too cold to wear out, I def will be ready to rock it out next fall.


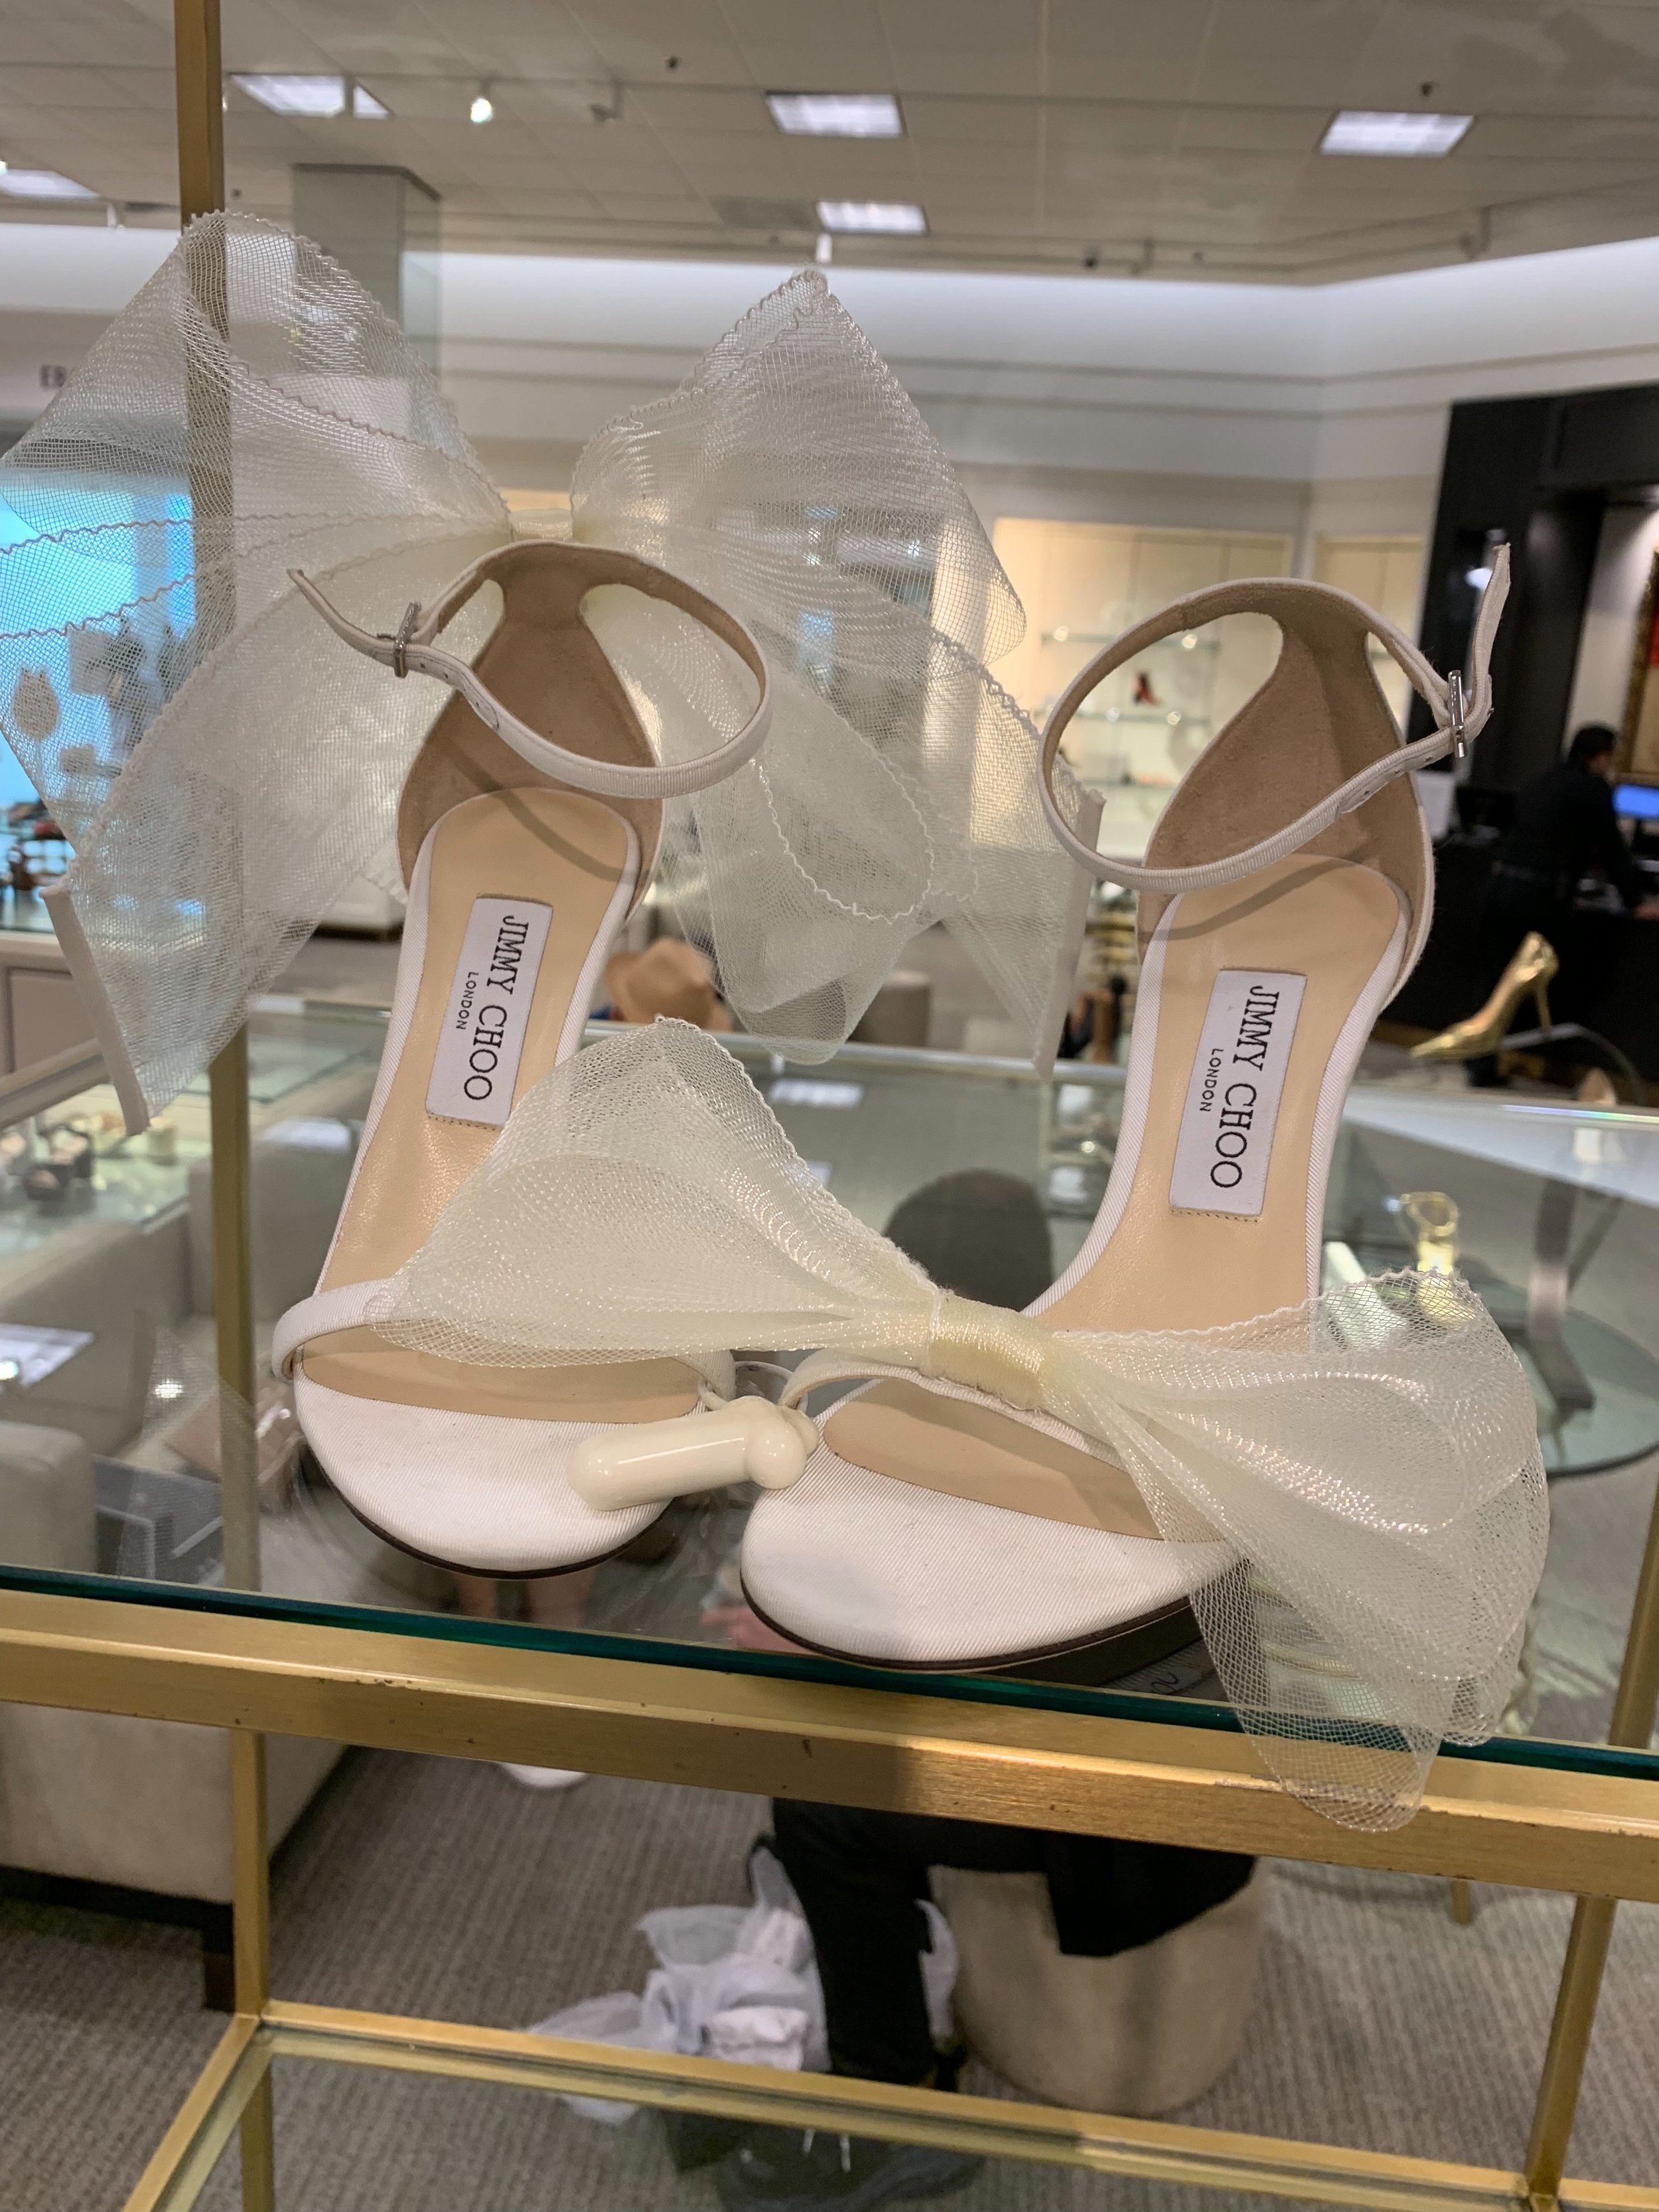
Jimmy Choo inspired Bow Sandals
So a couple of months ago, I was in Nordstrom browsing around and I noticed these GORGEOUS bone colored Jimmy Choo bow sandals. I turned the shoe over and saw the price tag of $975. I examined the shoe more closely and told me boyfriend who was with me that “I could do that”. Looking at it it was nothing more than bow made out of horsehair braid arranged on to the shoe. So I took my phone out and took a few detailed shots of the shoe.

I had a wedding coming up and I knew that this would be the perfect shoe for the event. The only thing I couldn’t decide on what color I wanted to make them.
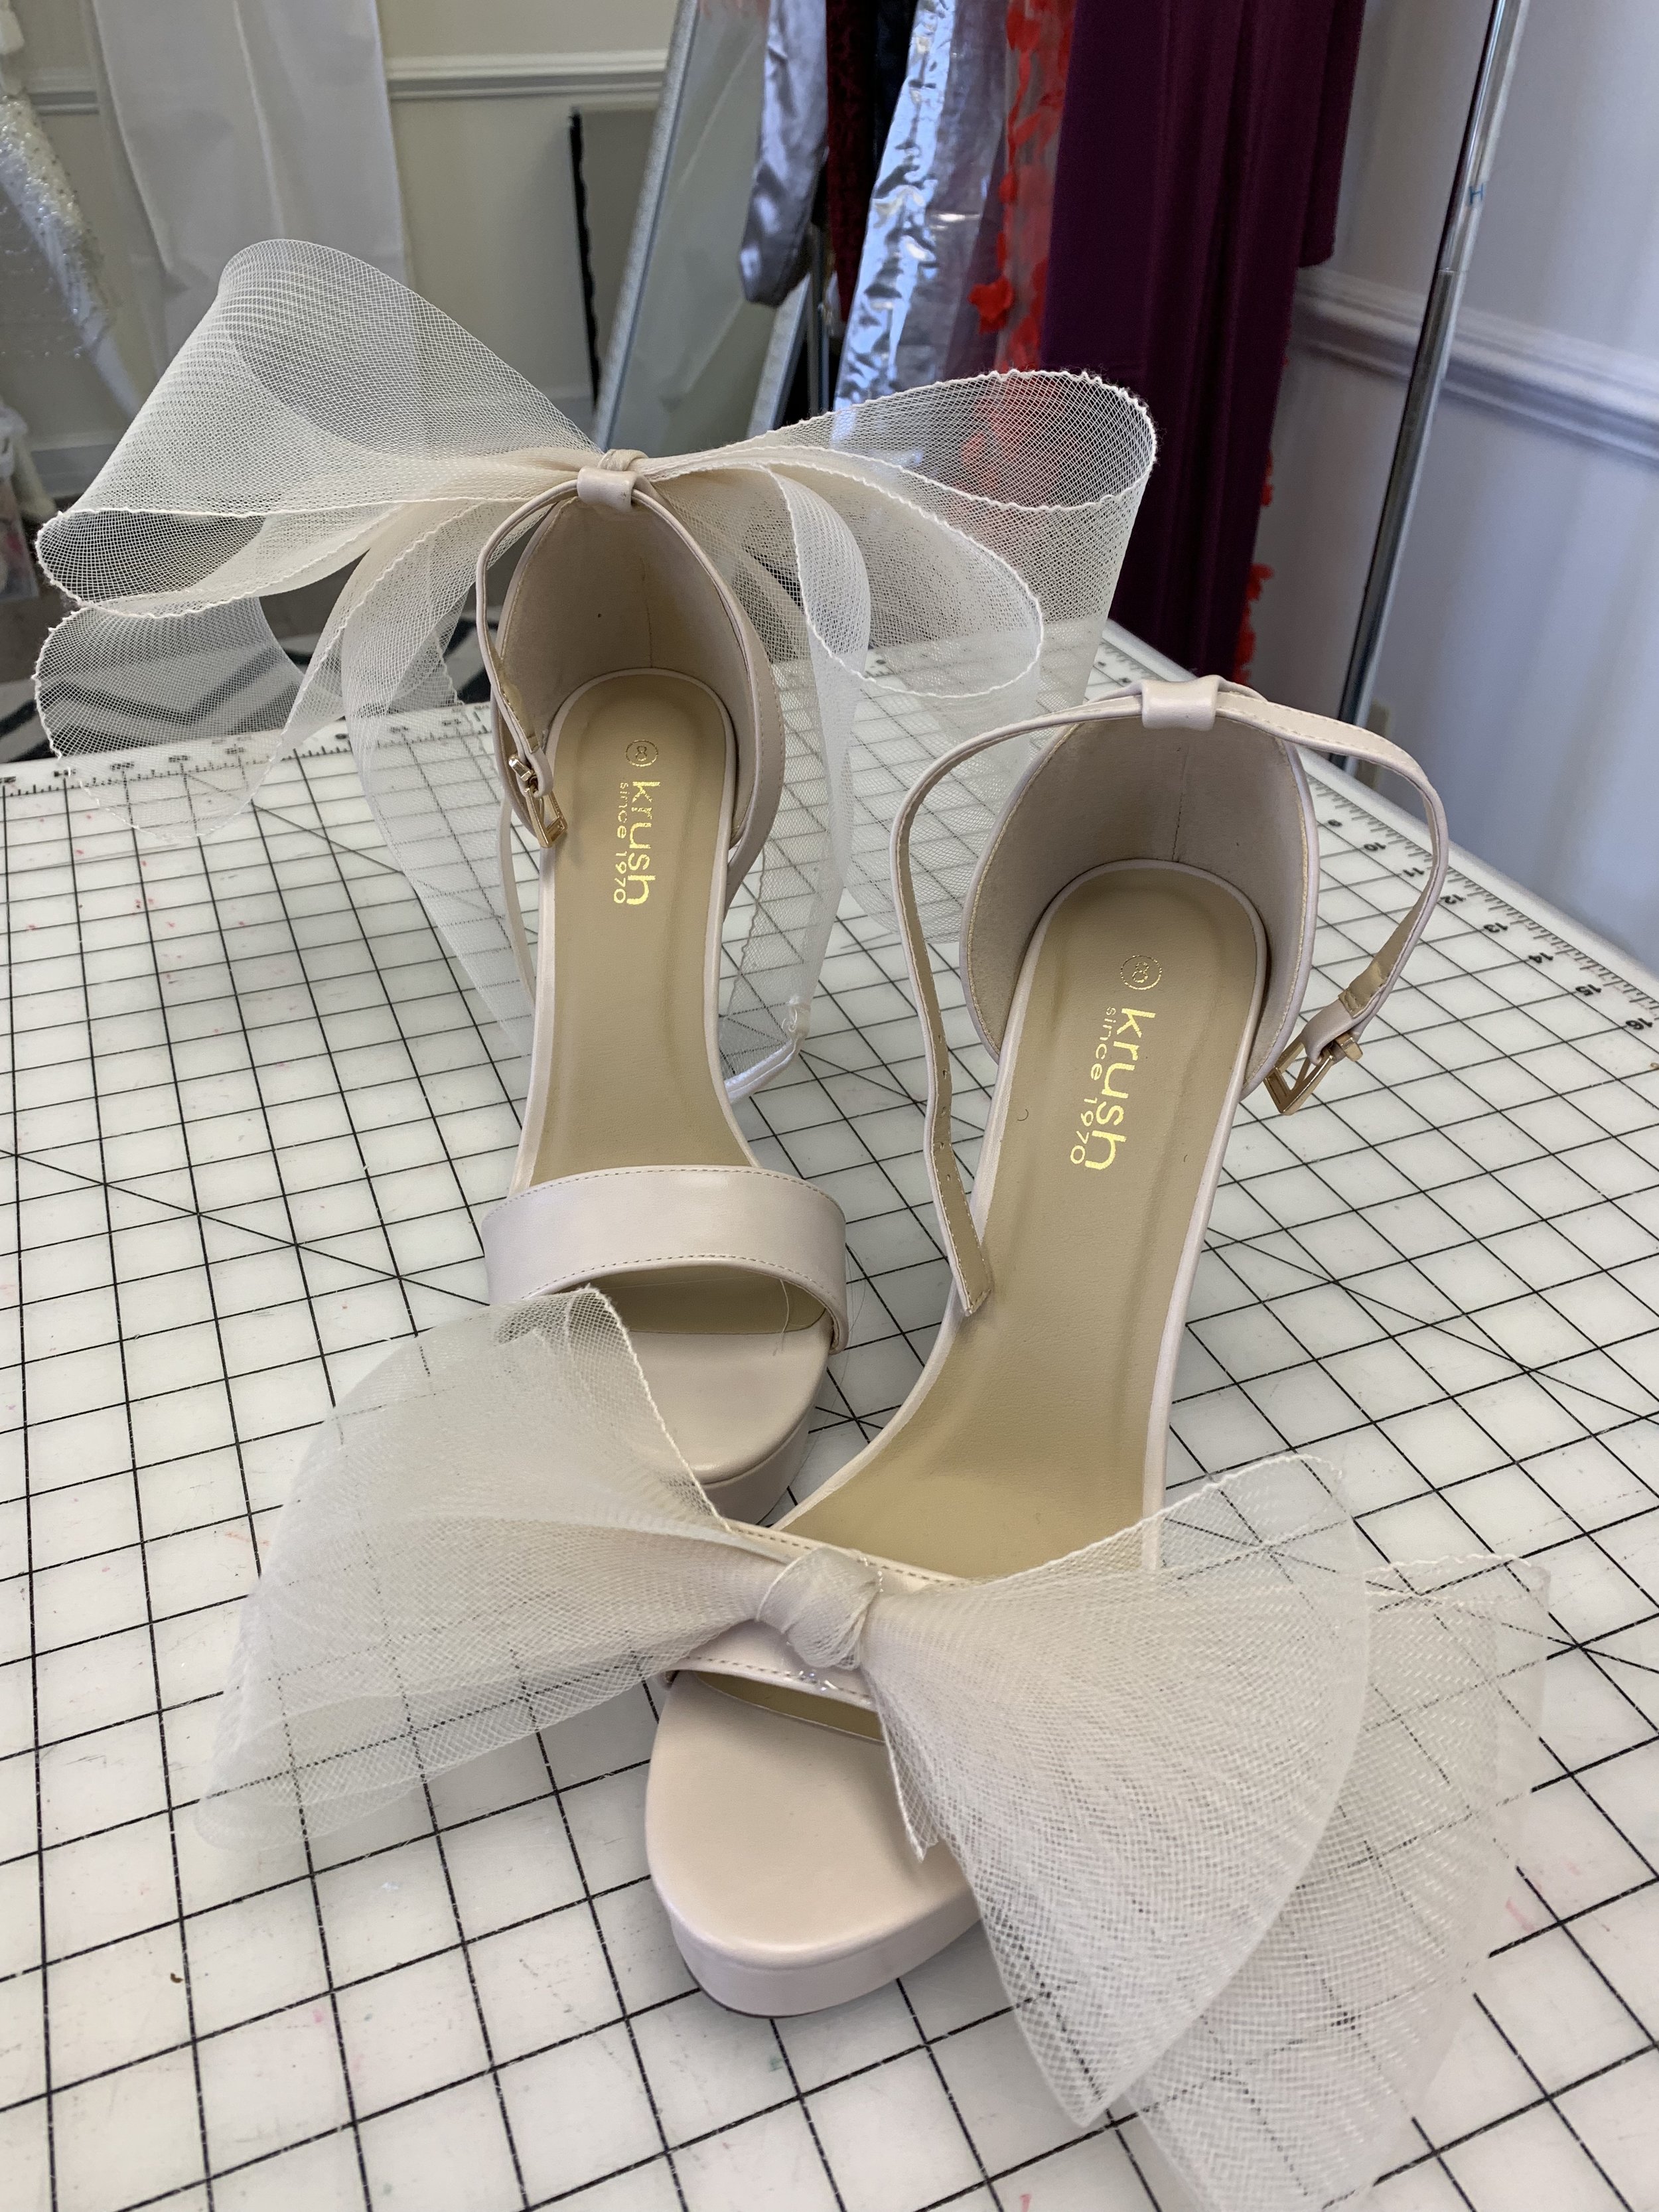
So I started to do an online search for strappy heels and horsehair braid. Eventually I found the perfect pair of shoes from NastyGal and I went on Etsy to order some matching horsehair braid, the color similar to the initial shoe. I even went as far as getting bias tape to cover the ends of the braid.

I played around with the horsehair braid to get the desired fullness of my bow and added the satin bias tape to the raw ends of the braid. I used E6000 glue to attach them, however I do believe the original Jimmy Choo’s were stitched on (I guess that’s what you get for the price).
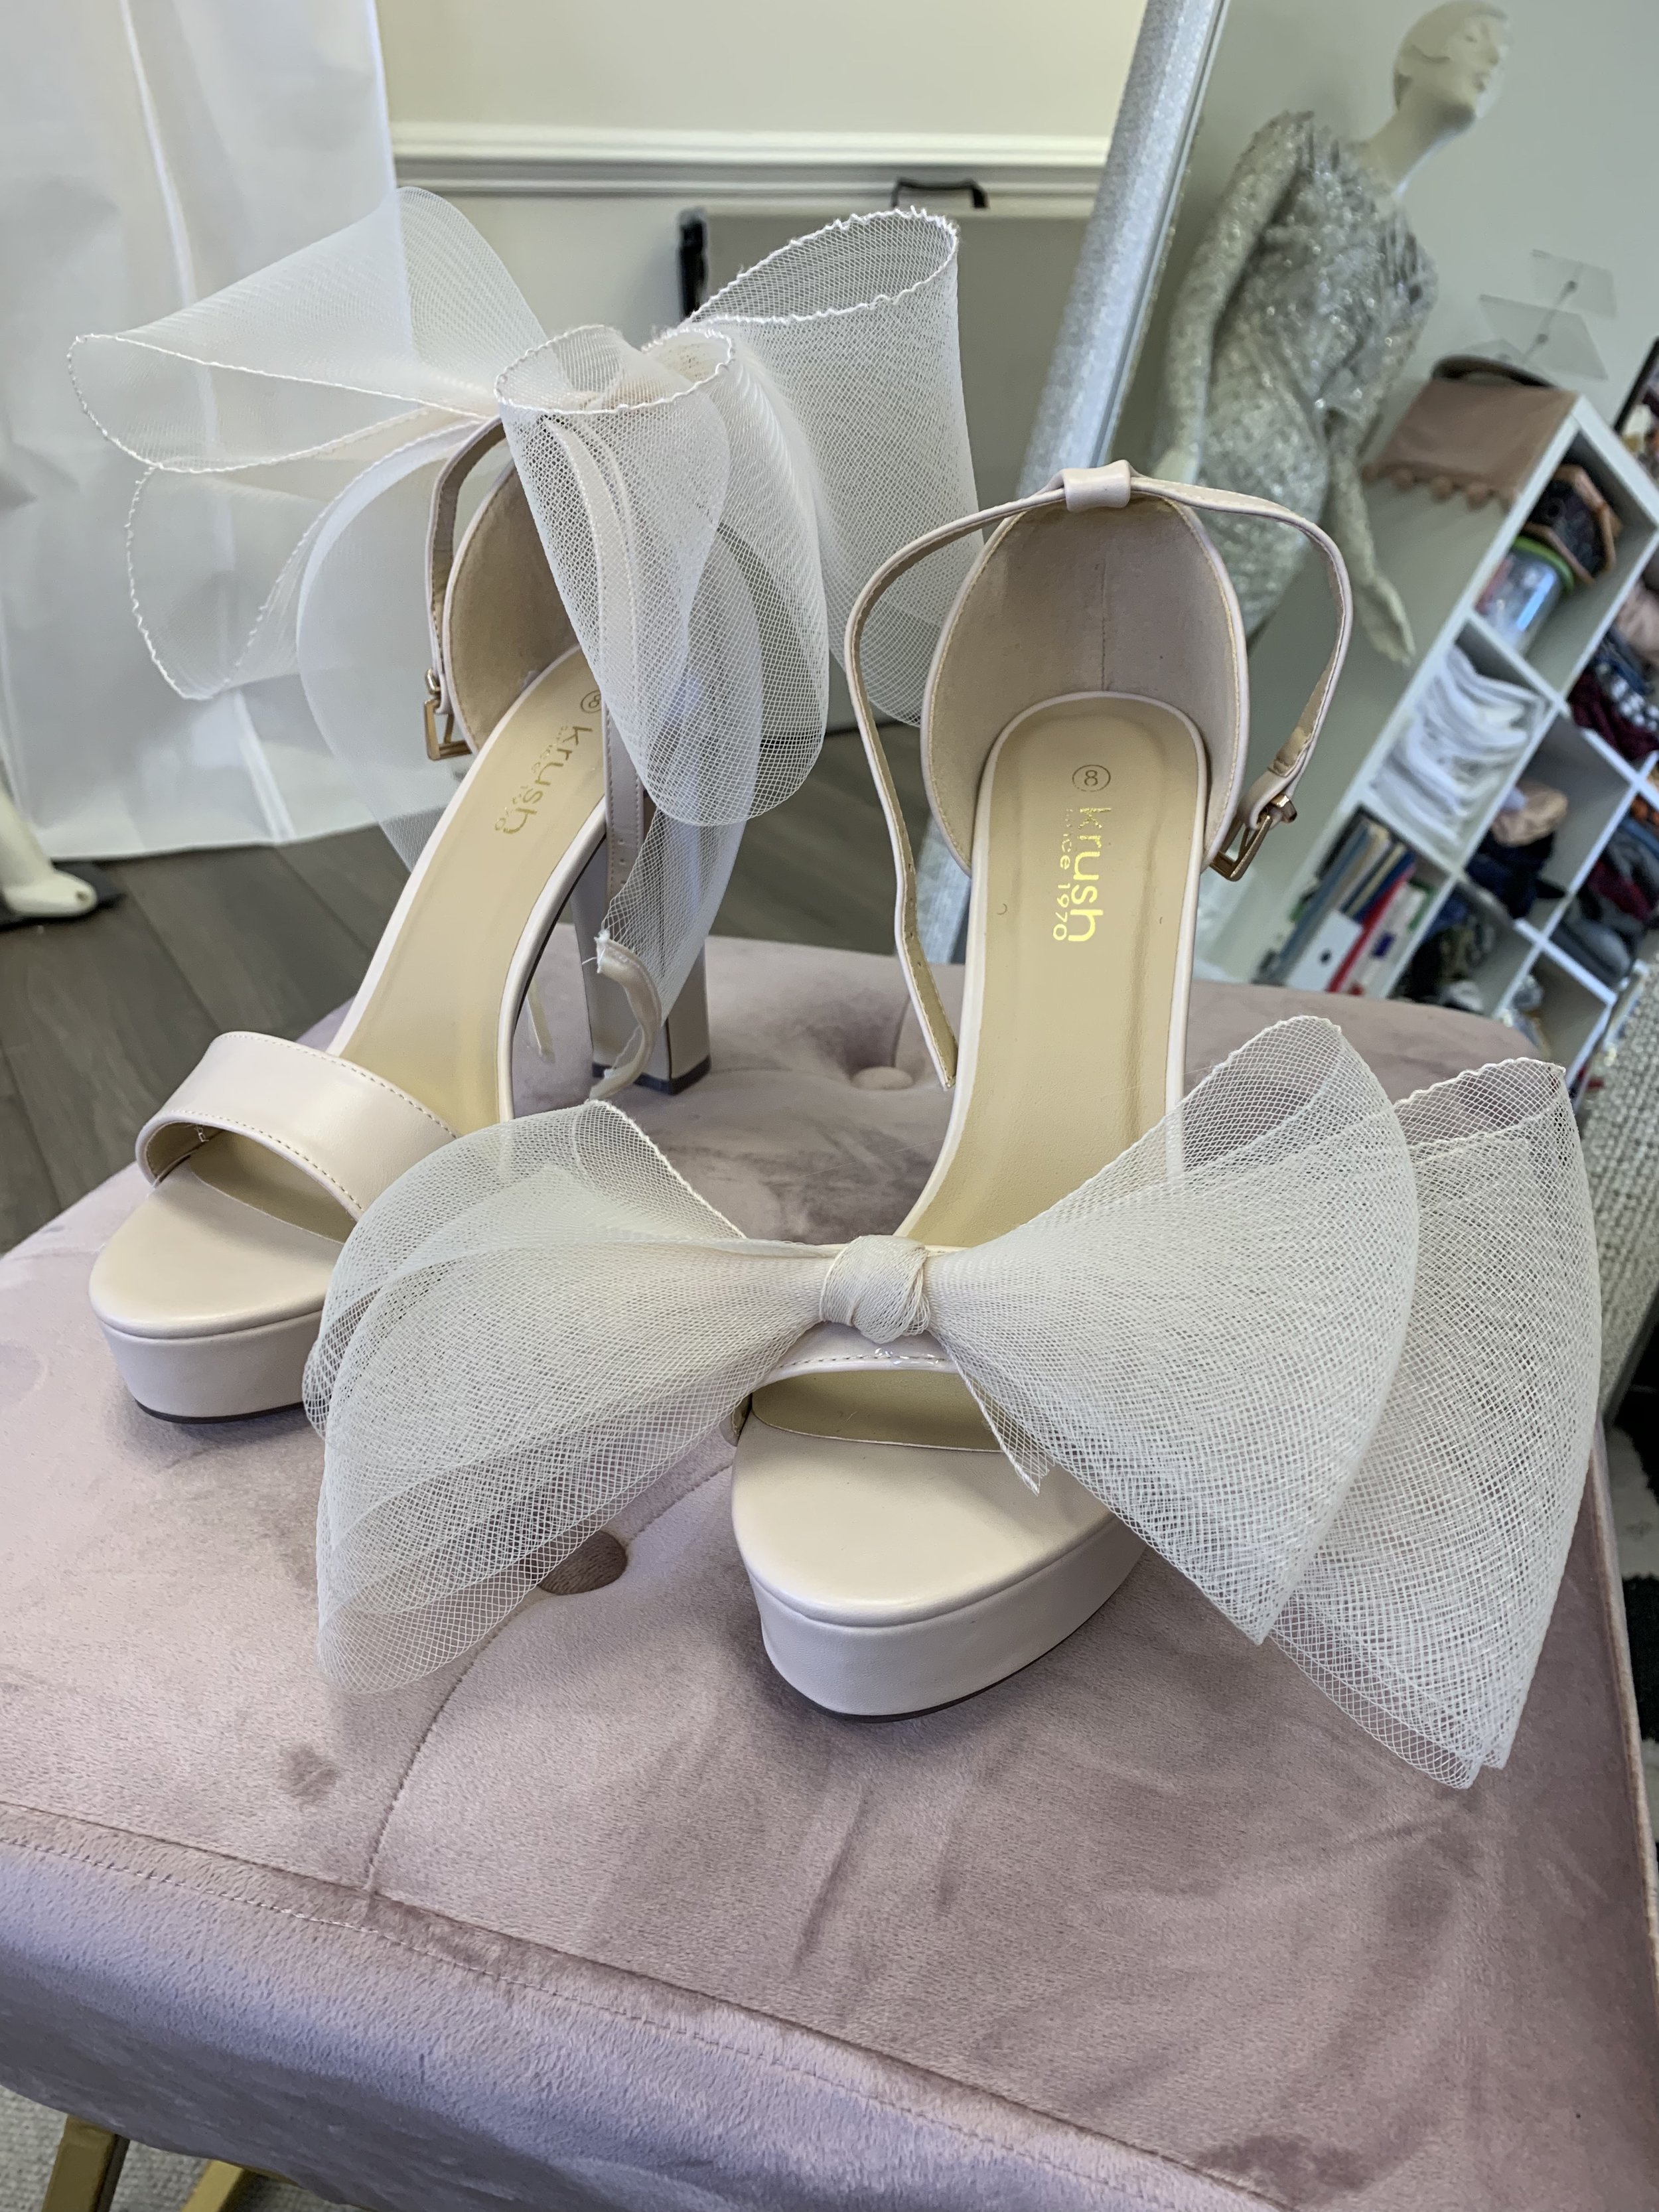
Final look.